 GameWikiStation
 Silver Pines
Story walkthrough and endings (spoilers)
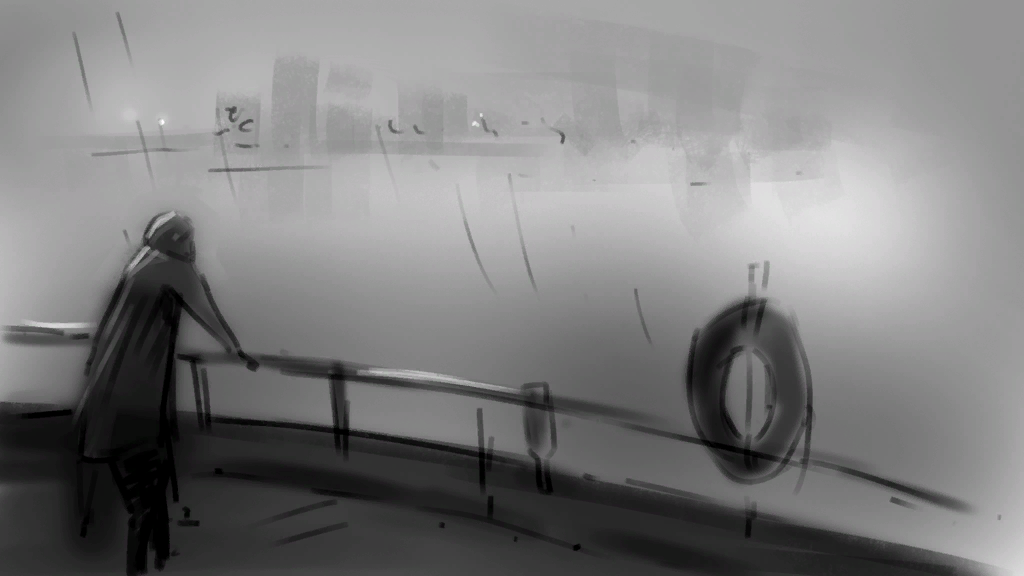
Full plot spoilers. Follow the numbered stops on each map; marked gates may need keys, tools or earlier events. Use the floor selector when a route crosses levels. The interactive map shows rooms and gates, and the item catalog covers keys, rings and tools.
1. Arrive during the evacuation
Section titled “1. Arrive during the evacuation”Start with the files in Red Walker’s car and Jackman’s call: Walker is to find Eddie Velvet, with the Crimson Bear Motel named as the first lead. At the motel, check the guest ledger for Eddie’s Grizzly Suite entry dated September 26, 1993. It places him there but does not reveal where he went. The town is evacuating as a storm approaches; Walker reports that he found the ledger but not Eddie. A later phone report says Eddie left by cable car, turning the motel record into the first onward lead. The map also records Wormbird Bug and Faceless encounters around the motel; neither is established as a mandatory fight.
Follow the ferry and town-access connections on the Outskirts map. If the ferry’s control panel is unusable, its interaction text points to a blown fuse. Its fuse minigame requires an  Electrical Fuse (20A), marked in the Downtown ferry parking-ticket area. This is a conditional repair record, not proof that every first crossing requires a fuse.
29 areas · 7 discoveries
Arrival and motel
Start at the Diner and follow Jackman’s first lead to the motel. Check the ferry afterward only if its panel is blocked; repair the fuse only when the panel says it is blown.
- · F1
- · F1
- · F2
- · F1
Floor transfers
- Transfer between Motel Poolside SubMap 1 and Motel Poolside SubMap 2; the map has no corridor here.
2. Search the Sheriff’s Office
Section titled “2. Search the Sheriff’s Office”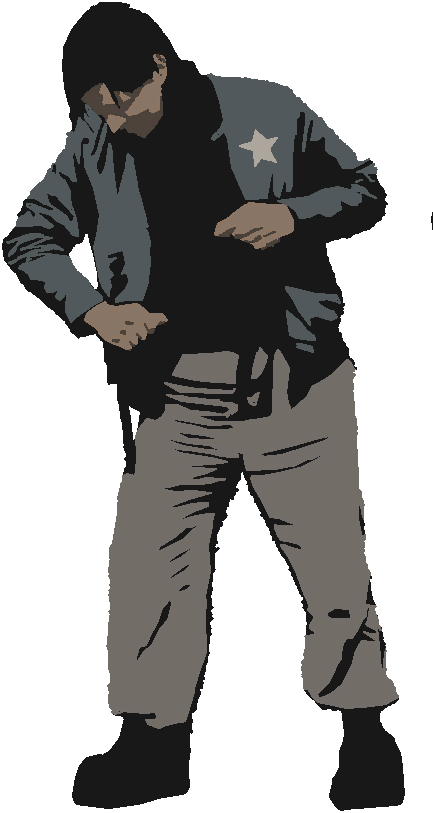 Roberts directs Walker toward the Sheriff’s Department. His dialogue and the office keypad note give the front-door code 17-15. Roberts first encourages the idea that Eddie is in custody, then says Eddie is no longer there and offers the interview tape as a way to open the relevant door. The tape records Sheriff Wulfe accusing Eddie over Alice Baker’s disappearance; Eddie denies killing her and describes their relationship differently. Treat these as testimony, not a solved case.
Use the map to distinguish the interrogation room from optional records and locked wings: Sheriff’s Office interrogation. The map records separate North Wing, Basement, Evidence Lockup and Armory gates. These key names identify their doors; the source does not establish that each room is required for the interview. A missing-person notice and police memo confirm that Alice disappeared and that Wulfe ordered a search for Eddie, not that Eddie is guilty.
49 areas · 4 discoveries
Ferry and Sheriff’s Office
The office code is 17-15; the interview tape opens the interview route. North Wing and Armory rooms are optional side areas.
- · F1
- · F1
- · F1
- · F1
- · B1
Floor transfers
- Transfer between Sheriff Basement Holding Part 2 and Sheriff Lobby Part 3; the map has no corridor here.
3. Hear the town’s version
Section titled “3. Hear the town’s version”At Town Hall, hear the argument about the evacuation and Alice’s disappearance, then speak with Eddie when the scene allows it. He rejects the accusation. A  Dwarf vision describes an unidentified man being killed and stripped of his memories. The source strings never identify the man, so this clue does not settle the Dwarf’s identity or whether the vision is literal.
Use the Town Square map to orient around Town Hall and nearby connections. Localized objective labels are useful signposts; the extracted Objectives table is not a linear quest journal.
13 areas · 0 discoveries
Civic plaza
Use the assembly hall to follow the evacuation and Alice discussion. The vision does not identify the man.
- · F1
- · F1
- · F1
4. Read Alice’s apartment diaries
Section titled “4. Read Alice’s apartment diaries”Look through Alice’s diary pages in the Union Apartments. She describes a growing attachment to Eddie, wanting to leave town, and a “little man” who prevents her from leaving. Later pages say Eddie came to take her away. Other entries shift between longing and anger, so the diaries complicate the police account without establishing the later cause of Alice’s death or a clean event timeline.
The apartment map records independent gates:  Apartment 4B Key opens a fourth-floor apartment,
 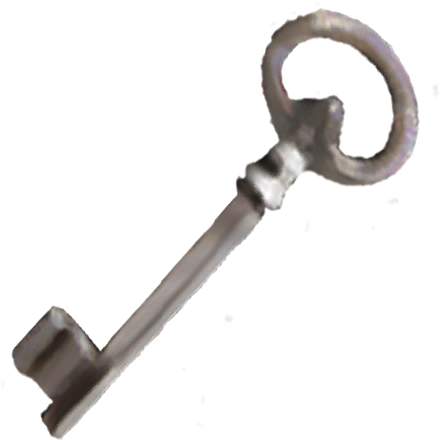 Utility Room Key opens the utility room, and
 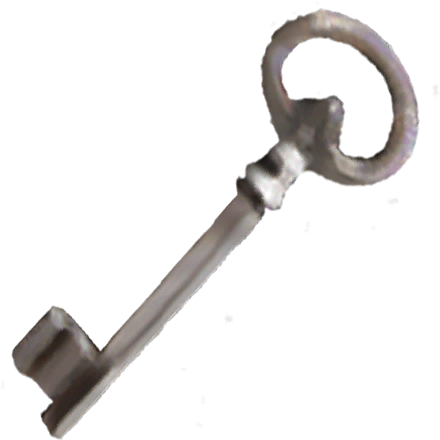 Union Level 3 Key matches the level-three stairwell. Their source locations do not prove how or when you obtain them.
33 areas · 4 discoveries
Union Apartments
Check the diary-bearing apartments across floors. 4B and Utility gates are separate side rooms, not a proven diary order.
- · F1
- · B1
- · F4
Floor transfers
- Transfer between Apartment Stairwell SubMap 1 and Apartment Stairwell SubMap 2; the map has no corridor here.
- Transfer between Apartment Stairwell SubMap 2 and Apartment Stairwell SubMap 3; the map has no corridor here.
- Transfer between Apartment Stairwell SubMap 3 and Apartment Stairwell SubMap 4; the map has no corridor here.
- Transfer between Apartment Stairwell SubMap 4 and Apartment Stairwell SubMap 5; the map has no corridor here.
5. Repair the boat when its route is blocked
Section titled “5. Repair the boat when its route is blocked”At the Downtown dock workshop, the engine interaction says parts are missing. The serialized repair requires a  Gear Box to complete the engine, then the
 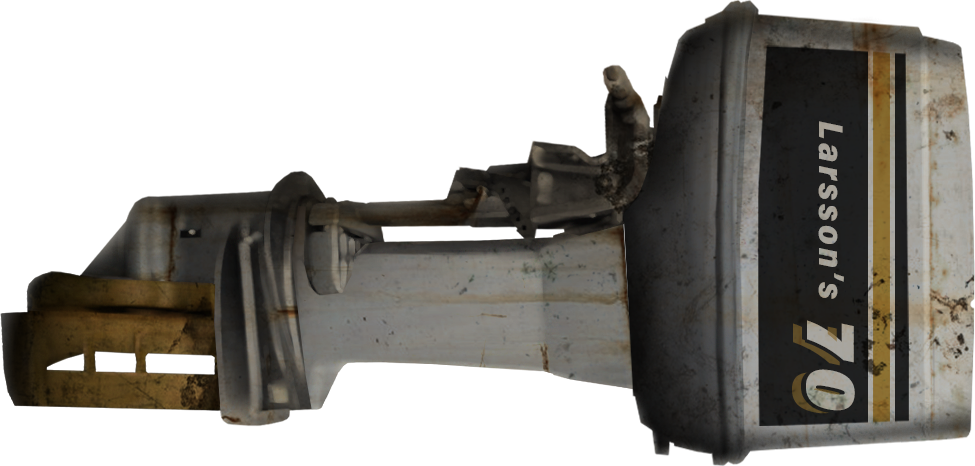 Boat Engine item to finish repairing the boat. The map marks the Gear Box in the Outskirts Diner Shed and the Engine at the dock workshop. Completion writes the boat-repaired progression flag and changes the inspection text to say the boat is fully operational.
Use this as a checklist if the boat route is blocked, not proof that the repair occurs at this exact point in every playthrough: Diner Shed · dock workshop.
30 areas · 3 discoveries
Boat repair, when needed
If the workshop says parts are missing, find the Gear Box in the Diner Shed and use the Boat Engine at the dock. This repair is conditional.
- · F1
- · B1
- · B1
Floor transfers
- Transfer between Downtown Gazette Exterior Part 1 and Downtown WestBridge SubMap 6; the map has no corridor here.
6. Follow the Church Hill leads
Section titled “6. Follow the Church Hill leads”Phone-checkpoint dialogue points Walker toward Church Hill and Alice. Search the cemetery, chapel and funeral-home areas for records. The map matches  Cemetery Key,
  Flower Shop Key,
  Confession Key and
 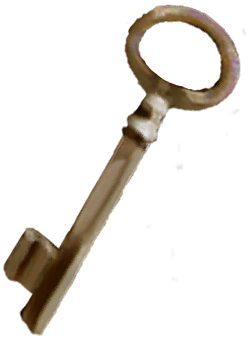 Attic Key to named gates; it does not prove a required story order or acquisition route.
Father Foster’s notes say water once calmed Alice and that he could not reach her after a musician stirred old memories. In the confession scene, the Dwarf identifies the missing woman as Alice Baker and says Eddie tried to take her away. This is the Dwarf’s account, not independent proof. The Church Hill map shows the connected buildings.
25 areas · 3 discoveries
Church Hill
Follow the cemetery, chapel and funeral-home records. The map does not establish a required key order.
- · F1
- · F1
- · F1
- · F1
7. Work through the sewers and streets
Section titled “7. Work through the sewers and streets”A map connection records a  Sewer Key gate between the Loomis Street sewer and Park Sewer. Sewer areas label valves and flow control, but the available objective data does not establish a universal valve order.
Walker’s phone reports and the Dwarf’s visions keep pointing toward Thelend Broadcasting.  Boots’s intimidation is a separate threat; the map records a Talk to Boots event, not a required Eddie/Alice objective. The source also maps a Shroud encounter in the sewer. Check the sewer map before deciding whether to fight or avoid mapped encounters.
12 areas · 2 discoveries
Sewers and streets
The Loomis-to-Park gate uses the Sewer Key. Valve markers do not provide a confirmed universal order.
- · B1
- · B1
- · B1
8. Get the cable car running and reach the peak
Section titled “8. Get the cable car running and reach the peak”The minigame source records the call sequence E → G → D → C → F → A → B. Five portable bells—A, B, D, E and F—are missing and must be installed; C and G are already present. The broken-plaque clue C → F → A → B is only the final four calls. Use the 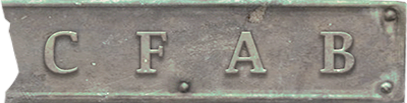 Broken Plaque on its separate damaged-plaque interaction to restore the plaque and read the C → F → A → B fragment. This clue is optional; the minigame entry does not require the plaque. The full order comes from the serialized minigame data.
At the peak, Alice’s records and the Dwarf’s account challenge Wulfe’s accusation, but none settles what happened to Alice. Phone notes point from the peak to the studio. See the cable station map and Mount Siah Kopa map.
28 areas · 1 discoveries
Cable car and peak
Install the five portable bells A/B/D/E/F; C and G are already present. Use E–G–D–C–F–A–B. The plaque clue C–F–A–B is optional.
- · F1
- · F1
- · F2
- · F1
Floor transfers
- Transfer between Downtown Cable Station Interior SubMap 2 and Downtown Cable Station Interior SubMap 3; the map has no corridor here.
- Transfer between Downtown Cable Station Interior SubMap 3 and Downtown Peak Gondola; the map has no corridor here.
- Transfer between Peak Cable Station Back Part 1 and Peak Cable Station Machine Room Part 2; the map has no corridor here.
9. Reach Thelend and learn Jackman’s real assignment
Section titled “9. Reach Thelend and learn Jackman’s real assignment”Explore the studio spaces by their map connections;  Tower Key,
 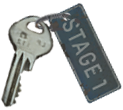 Stage 1 Key and
  Backdoor Key match named gates. These side-room gates do not prove the required final route or key acquisition. Near the end, Jackman tells Walker to kill Eddie and presents the promised beach escape as the price. The Dwarf separately urges Eddie’s death for revenge. Eddie says he expected to escape with a woman, blames himself and asks Walker to end the nightmare.
The sources support those conflicting motives, not a supernatural explanation. Use the studio map and read the final interaction before choosing.
17 areas · 1 discoveries
Thelend Broadcasting
Use the studio map to find the final Eddie interaction. Side-room keys are only needed for their marked gates.
- · F1
- · F1
- · F1
10. Follow the Rabbit Hole and choose an ending
Section titled “10. Follow the Rabbit Hole and choose an ending”The Rest route: rings, Dwarf and exit
Section titled “The Rest route: rings, Dwarf and exit”To reach Rest, follow this sequence:
- Open the curtains on the Rabbit Hole stage and confirm Yes to expose the cracked wall and its two sockets.
- Bring two Gold Rings to the wall; either ring variant fits either socket. Use one ring in each socket.
- Proceed through the altered Rabbit Hole conversations with the Lady and Cowboy, then face the Dwarf’s arena fight.
- After defeating the Meatball V2, talk to the Dwarf until all three post-fight conversations finish and the exit unlocks.
- Leave through the unlocked exit to enter the beach scene and receive Rest / 安息.
At the Rabbit Hole stage map area, pull the curtains open with the Pull open the curtains? prompt and confirm Yes; no item is needed. The opened curtains reveal the cracked-wall event: the ring wall. Each socket accepts either the tarnished Gold Ring or the plain Gold Ring; one ring goes in each socket, and the game consumes both. The game does not require a particular ring on a particular side. The source interaction consumes both rings when the two sockets are filled.
There are two item routes:
- At the body the game presents as Alice’s in Downtown West Road Water, examine it and complete the ring minigame to receive the tarnished ring. Choosing Leave at the Eddie interaction returns Walker to West Road Water. The minigame record itself does not name an Eddie-spared requirement; that does not establish access through every branch.
- For the plain ring, combine one
 Star at a time with a Locked Ring Box. Five Stars advance the box through its serialized states and produce a plain Gold Ring. The mapped box pickup is in the Outskirts Diner water closet; another source names Linus’s Fight Club but has no mapped location. The five Star locations are the Downtown Mess Hall, Motel Bungalow 3 safe, Caravan Hole entrance, Studio Exterior entrance, part 2 and Rabbit Hole bar. The Bungalow safe uses code 6671. The Caravan pin marks the fall entrance, not an interior floorplan; once inside, complete the
  Shovel dig sequence to expose the Star crate.
Inside the altered Rabbit Hole, the Lady describes Walker as a former onstage drinker who looked for young women in the audience. Walker says she has mistaken him for someone else, says “That’s not me,” and insists he is Red Walker, a private investigator. She then says the pattern changed when “she” appeared, “like a moth to a flame.” The dialogue raises an identity and memory question without establishing that Walker is Eddie or that the woman is Alice. Cowboy tells Walker that his part is done and the rest is up to him. Outside, the Dwarf demands that Walker kill Eddie and blames him for Alice. Walker refuses to treat Eddie’s death as a way to bring her back. This is the Dwarf’s accusation, not an independent account of Alice’s death or proof that the Dwarf is the “little man” from the diaries.
After the fight, the Dwarf says both of them are finished; Walker says he will end it his own way. The unlocked exit leads to the beach. The ending summary is Rest / 安息; no separate Rest menu appears. The Ending Beach scene has a sunrise conversation with Alice followed by the star-field sequence as the stars go dark. The game presents the body at Downtown West Road Water as Alice’s, and the later scene shows Alice with Walker. Her cause of death and the relationship between those scenes and the visions remain unresolved.
122 areas · 15 discoveries
Rest route
Collect the tarnished ring at West Road Water and the Locked Ring Box at the Diner WC, then gather the five marked Stars. The Motel safe uses code 6671; in Caravan Hole, complete the Shovel dig sequence to expose its container, then collect the Star. These are item-preparation stops, not a fixed pickup order.
- · B1
- · F1
- · F1
- · F1
- · F1
- · F1
- · F1
- · F1
Floor transfers
- Transfer between Downtown West Road Water and Downtown West Road Part 1; the map has no corridor here.
- Transfer between Downtown Cable Station Interior SubMap 2 and Downtown Cable Station Interior SubMap 3; the map has no corridor here.
- Transfer between Downtown Cable Station Interior SubMap 3 and Downtown Peak Gondola; the map has no corridor here.
Off-map story steps
- Caravan Hole dig crate
Enter at the mapped fall entrance, then complete the Shovel dig sequence to expose the forced-loot container and collect its Star.
- Open curtains and place two rings
Confirm Yes on Pull open the curtains?; no item is required. Each wall socket accepts either Gold Ring variant and consumes it.
- Nightmare boss and unlocked exit
Follow the Lady/Cowboy scenes, defeat Meatball V2, then complete all three post-fight Dwarf conversations. The last unlocks the exit to standard Ending Beach, which sets Rest / 安息. The arena/ending scenes have no map geometry.
Eddie’s first choice: Leave or Kill
Section titled “Eddie’s first choice: Leave or Kill”At the final Eddie interaction, choose Kill Eddie Velvet / 杀死艾迪·韦尔维特 or Leave / 离开. Confirming Kill starts the shooting sequence and transitions to Nightmare Diner Exterior. There, confirm the car prompt “Leave Silver Pines?” to reach Nightmare Drive and the summary Leave / 离开. Walker’s narration frames this route as completing Jackman’s assignment and expecting the promised pay and beach escape. Choosing Leave at the Eddie prompt spares him and returns to Downtown West Road Water, where the body interaction above is available.
The furnace choice: Live
Section titled “The furnace choice: Live”At the furnace interaction in Outskirts Shore Shack, the prompt asks whether to burn all Mementos and end this. Confirming Yes leads to the displayed summary Live / 存活. The ending montage combines fire and fading memory with a separate scene of people finding Eddie in the water; the samples do not establish the order of those images. The serialized prompt-to-ending route is exact once you reach the furnace; earlier access requirements remain unverified.
23 areas · 2 discoveries
Final choice and branching routes
The mapped stops show branch preparation locations. Eddie’s Leave/Kill choice and the Live furnace enter separate scenes not drawn as one walkable route.
- · B1
- · F1
Floor transfers
- Transfer between Downtown West Road Water and Downtown West Road Part 1; the map has no corridor here.
Off-map story steps
- Eddie selector and Leave car prompt
Kill transitions to Nightmare Diner Exterior; confirming Leave Silver Pines? reaches the UI Leave ending. Choosing Leave at the Eddie selector spares Eddie and returns to West Road Water.
- Live furnace prompt
At Outskirts Shore Shack, confirming Yes to burn all Mementos reaches the UI Live ending; earlier access to the prompt is unresolved.
Leave, Rest and Live are alternative outcomes with separate transitions, not one continuous ending. The source evidence leaves Alice’s cause of death and the meaning of the visions unresolved.
Review pending · Inspected Windows file snapshot, 2026-10-11; Steam build ID unverified
Sources and credits
Story dialogue, bilingual strings and scene/choice records: story evidence. Room connections, gates and encounter markers: world evidence. Configured enemy records: enemy evidence. Exact identity-linked full-body sprite references for Boots, Deputy Roberts and the Dwarf: character evidence; portraits are not included and reuse permission is unreviewed. The Bilibili recording by 友利奈绪大魔王丶 (uploaded October 8, 2026) is available at the original video. All 17 parts were frame-sampled locally; the recording was not watched continuously, and no audio transcription or native caption track was used. See the bounded frame-review record for sampled timestamps and frame hashes. No video or frame was rehosted.
Topic art: native Silver Pines comic panel, credited to Wych Elm / Team17. Source records and asset hashes; reuse permission for the underlying artwork has not been established.
- Silver Pines supplied Windows dialogue and objective data — Extracted data · story-files-2026-10-11
- Silver Pines supplied Windows world and gate data — Extracted data · world-files-2026-10-11
- Silver Pines supplied Windows enemy data — Extracted data · enemies-files-2026-10-11
- Silver Pines supplied Windows character source sprites — Extracted data · characters-files-2026-10-11
- Silver Pines player-recording frame review — Observed in-game · frames-reviewed-2026-10-11
- Silver Pines topic artwork and source-art compositions — Extracted data · page-art-files-2026-10-11
Unofficial fan wiki, not affiliated with Wych Elm / Team17. Game content belongs to its owners.
Comments & feedback
Share a tip or suggest a correction. Comments appear publicly right away; display names are unverified. All language pages share this discussion. Please keep personal information private.