
 Order of the Sinking Star
Beams Reflected selected layouts

This guide covers eight matched room layouts from the article’s nine numbered Beams Reflected stills. Puzzle 8 remains unassigned. Article puzzle numbers are separate from internal level-set positions.
Article stills show selected layouts, not confirmed starting states. The short hints paraphrase article-reported ideas. Blue rings identify visible landmarks. No route or finish was independently verified; exact video timestamps and the Steam depot mapping remain unverified.
Puzzle 1 — orange_doubleback
Section titled “Puzzle 1 — orange_doubleback”Internal level-set position: 13.
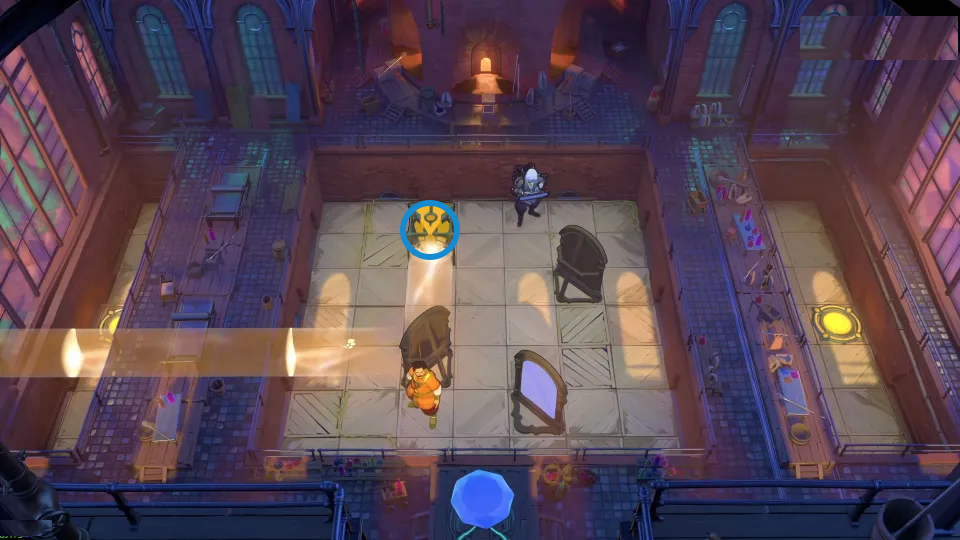
Article-reported hint: Cross orange beams to lengthen steps.
Check: The blue ring marks the yellow emitter above the tiled floor.
Open full-size image in a new tabPuzzle 2 — orange_doubledoubleback
Section titled “Puzzle 2 — orange_doubledoubleback”Internal level-set position: 14.
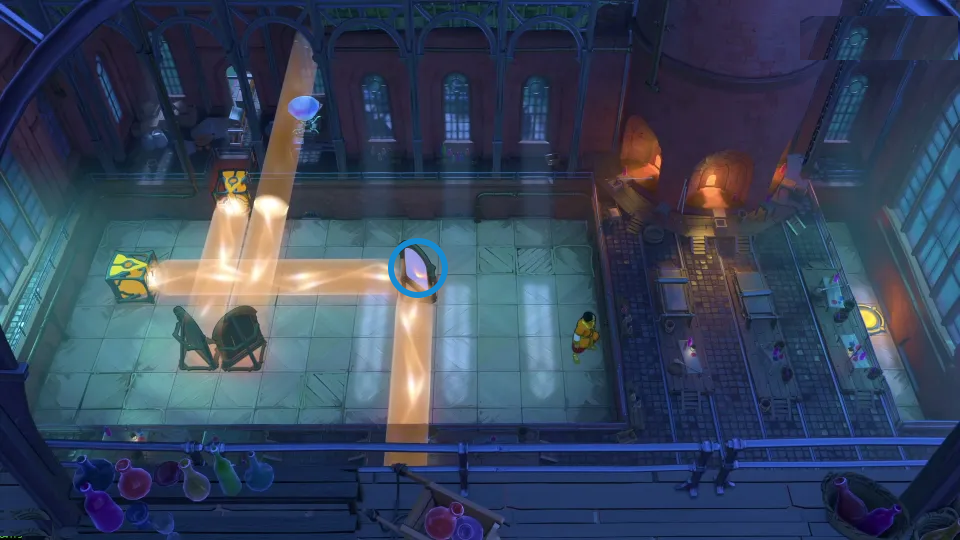
Article-reported hint: Overlap beams at their crossing.
Check: The blue ring marks the mirror where the horizontal beam turns downward.
Open full-size image in a new tabPuzzle 3 — sidetrack
Section titled “Puzzle 3 — sidetrack”Internal level-set position: 10.
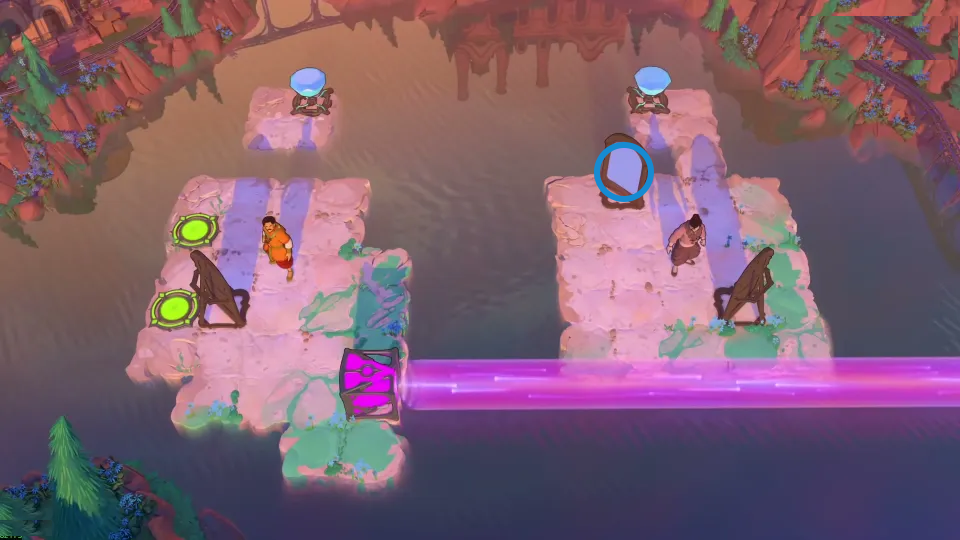
Article-reported hint: Loop purple light back to emitter.
Check: The blue ring marks the upper mirror on the right island.
Open full-size image in a new tabPuzzle 4 — purple_wall_around_easier_vp
Section titled “Puzzle 4 — purple_wall_around_easier_vp”Internal level-set position: 11.
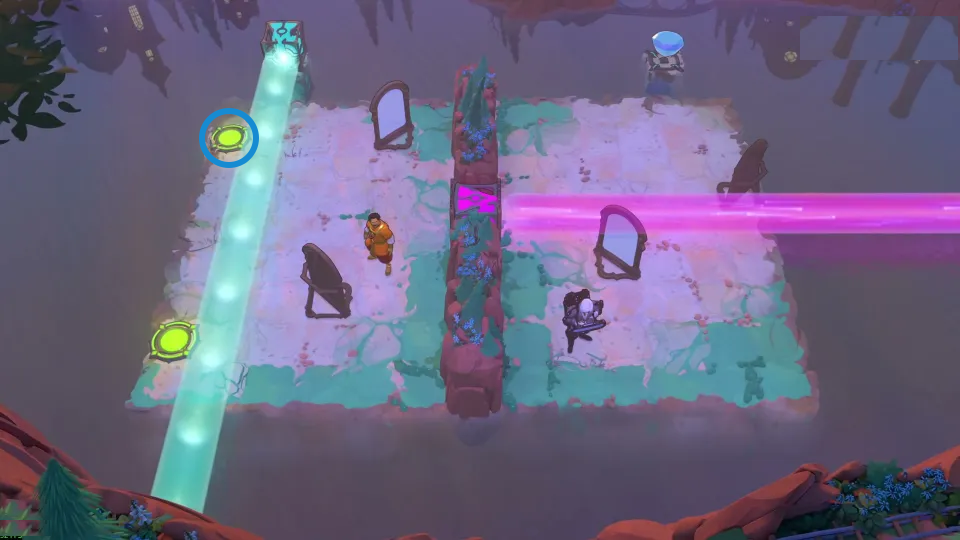
Article-reported hint: Use cyan light to enable pushing.
Check: The blue ring marks the upper green exit pad.
Open full-size image in a new tabPuzzle 5 — purple_clm_v4
Section titled “Puzzle 5 — purple_clm_v4”Internal level-set position: 21.
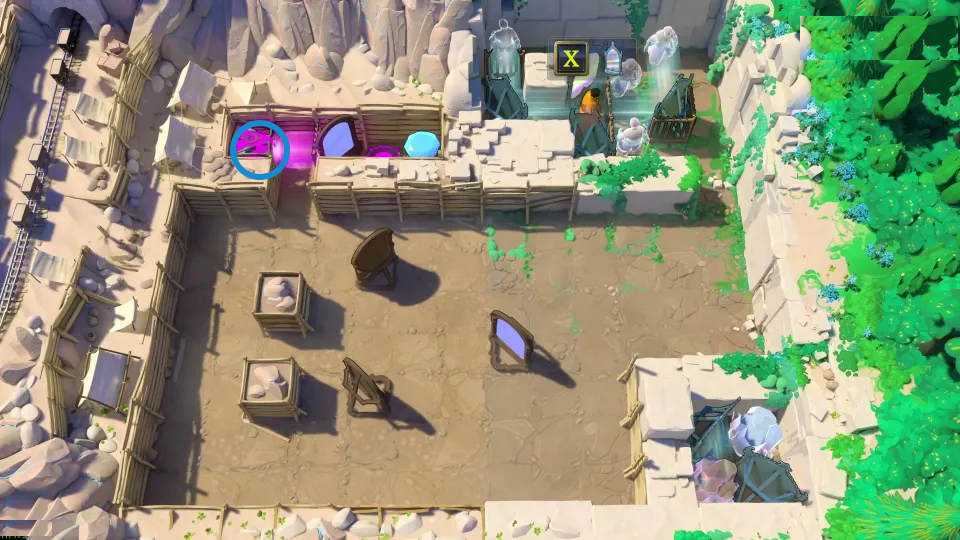
Article-reported hint: Send four clones along one beam.
Check: The blue ring marks the purple emitter in the top wall.
Open full-size image in a new tabPuzzle 6 — orange_clm_s
Section titled “Puzzle 6 — orange_clm_s”Internal level-set position: 22.
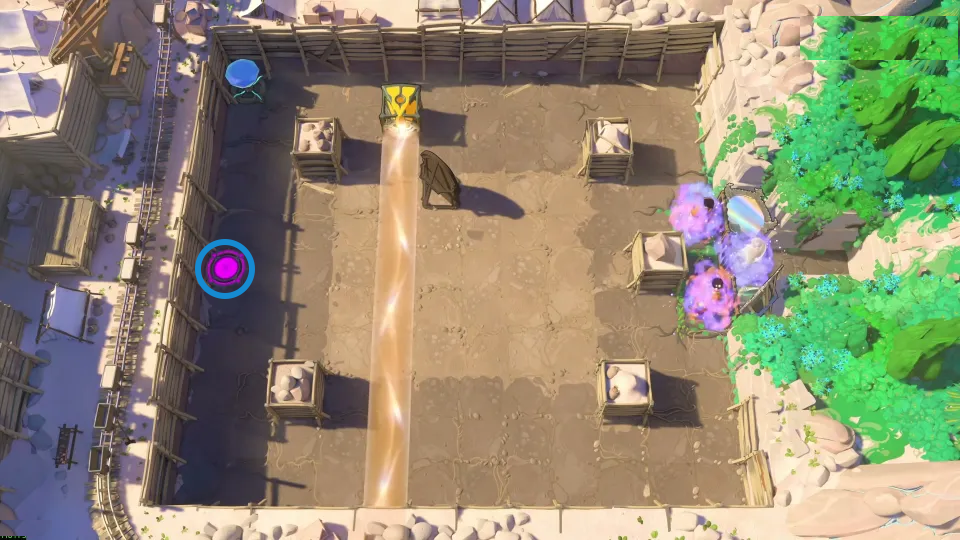
Article-reported hint: Place one clone on the crossing.
Check: The blue ring marks the magenta pad inside the left wall.
Open full-size image in a new tabPuzzle 7 — purple_corner_gem
Section titled “Puzzle 7 — purple_corner_gem”Internal level-set position: 33.
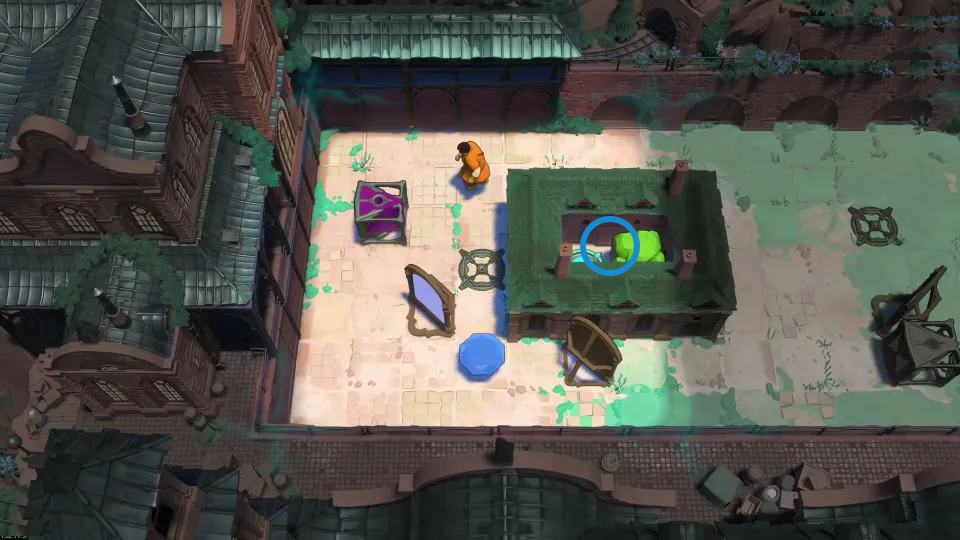
Article-reported hint: Power the holder with white light.
Check: The blue ring marks the opening in the mossy central structure.
Open full-size image in a new tabPuzzle 8 — unassigned
Section titled “Puzzle 8 — unassigned”No distinct candidate match was approved for this article still.
Puzzle 9 — red_yellow_alter_with_intro_v2
Section titled “Puzzle 9 — red_yellow_alter_with_intro_v2”Internal level-set position: 32.
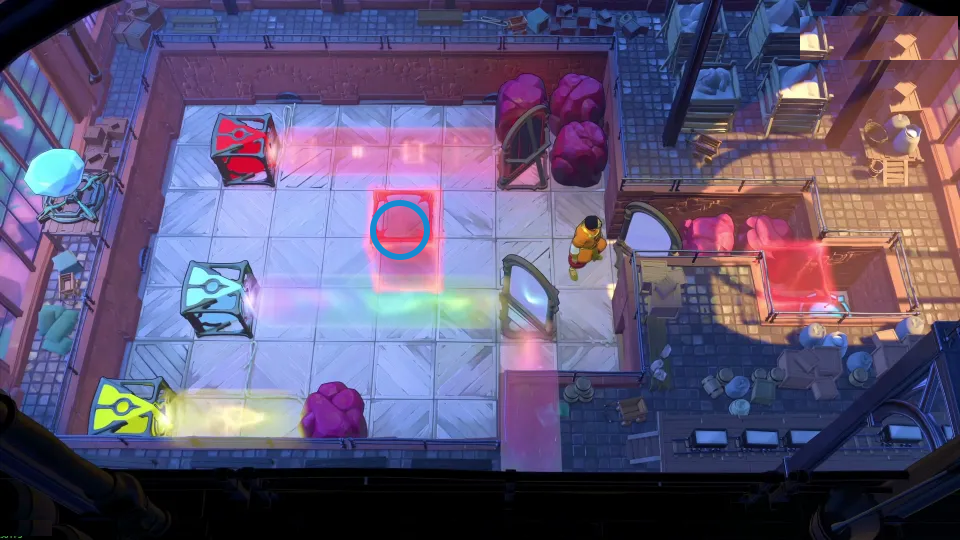
Article-reported hint: Reactivate the central piston block.
Check: The blue ring marks the red energy block in the middle.
Open full-size image in a new tabSources
Article: Sinking Star Walkthrough — Beams Reflected. Video: 塞德莎, Order of the Sinking Star walkthrough. The video link is an untimed source credit; no exact playhead is claimed.
- Order of the Sinking Star Beams Reflected Walkthrough – All 9 Puzzle Solutions — Documentation · article-capture-2026-10-23
- Order of the Sinking Star walkthrough video, untimed source link — Observed in-game · article-capture-2026-10-23
- Beam/Mirror crossover candidate crosswalk — Extracted data · beam-mirror-crossover-source-review-2026-10-23-remaining29-display-upgrades-2026-10-25
- Beam/Mirror crossover bilingual selected layouts — Extracted data · beam-mirror-crossovers-selected-layouts-2026-10-23-remaining29-display-upgrades-2026-10-25
Unofficial fan wiki, not affiliated with Thekla, Inc. / Arc Games / Gamirror Games. Game content belongs to its owners.
Comments & feedback
Share a tip or suggest a correction. Comments are public. Guest names are unverified; verified accounts show their account username. All language pages share this discussion. Please keep personal information private.