
 Order of the Sinking Star
Heroes 3: six heroes together

Send all six heroes to the numbered exits inside the central gate ring. Follow the map’s crystal numbers, plant labels T1–T4 and switch A; directions follow the picture as shown.
Open the central gate ring
Section titled “Open the central gate ring”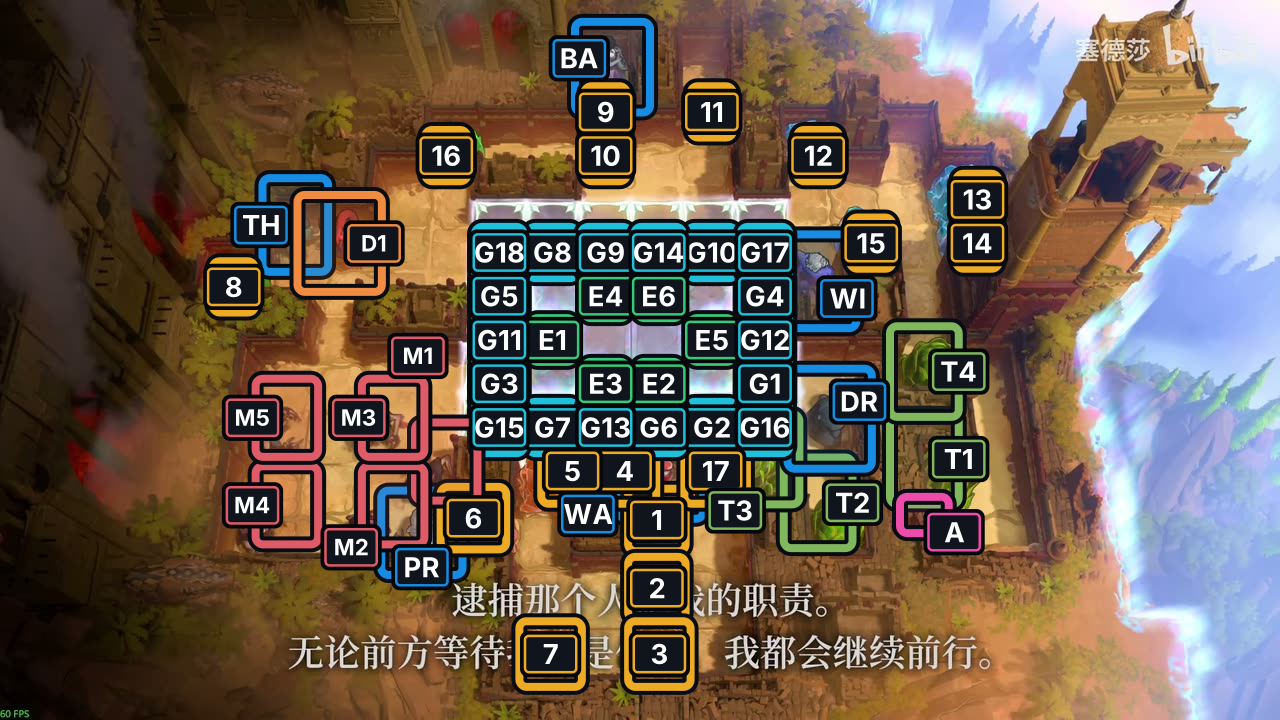
- Crystals 1–17
- Plants T1–T4
- Switch A
- Gates G1–G18
- Exits E1–E6
- BA Bard
- DR Druid
- WA Warrior
- TH Thief
- WI Wizard
- PR Priestess
- Goblins M1–M5
- Dragon D1
Selected source view beside the existing model map.
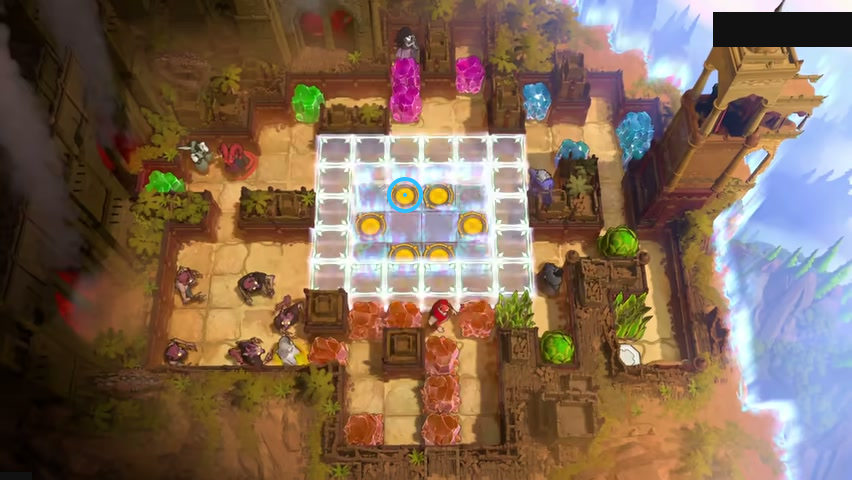
Locate the six exits inside the central gate ring.
Check: Ring marks The upper-left exit of the central six.
Open full-size image in a new tabHint
 Druid prepares T3, then
 Warrior clears the way for the
 Priestess. Keep the Priestess beside the
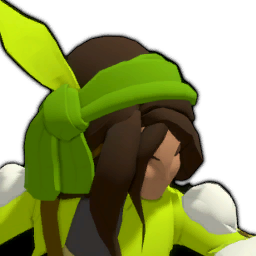 Thief for the first Crystal 8 pull; Crystal 8 then screens the Dragon’s lane. The Thief repositions crystals 16 and 10 to open the upper route.
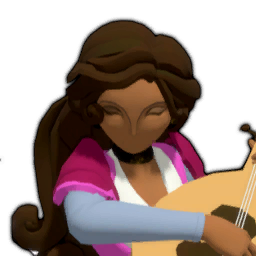 Bard charms the pink crystal train, then
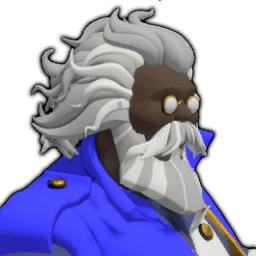 Wizard and Druid relay the T1 crystal onto A to hold the ring open. Finish by placing Warrior, Druid, Priestess and Wizard, with Bard and Thief already at their numbered exits.
Solution
- Free the Priestess and protect the first pull. Druid changes T3 into a crystal at step 2, then moves away. Warrior clears the route and frees the Priestess by step 13. Keep her beside the Thief for the first Crystal 8 pull; this protects him while the crystal is pulled into the Dragon’s lane. She completes her handoff by step 18.
- Open the upper approach. The Thief works through the outer lane at steps 19–34, pulling Crystal 8 twice to screen the Dragon. Leave Crystal 8 in that lane. The later pulls reposition crystals 16 and 10, clearing the upper route.
- Prepare the pink train and right-hand passage. Bard charms Crystal 12 one screen tile down at step 40. Wizard crosses the blue-crystal lane through step 48. Druid changes T4 into a crystal at step 51; at 52 Wizard swaps with that crystal, then swaps places with Druid at 53, freeing Druid into the right-hand corridor. Druid reaches switch A at step 58 and changes T1 into a crystal at 59.
- Hold the ring open and move the pink train. At step 65, Wizard swaps onto A and places Druid on the tile to A’s screen-right. At 66, Wizard swaps screen-up with the T1 crystal, leaving it on A to hold the ring open. Bard charms down through steps 67–70, carrying the pink train and Thief toward the exits. Thief reaches exit 4 at step 71.
- Place the remaining heroes. Warrior pushes orange Crystal 5 through the open ring and reaches exit 1 at step 76; the crystal stops one tile beyond that exit. Druid reaches exit 6 by step 87, and the Priestess reaches exit 3 by step 93.
- Finish with Wizard. Wizard’s final two screen-left swaps move crystals 11 and 9 while he reaches exit 2 at step 98. Bard is at exit 5; all six numbered exits are occupied. Three Goblins and the Dragon remain alive.
If the Priestess is not beside the Thief before the first Crystal 8 pull, undo and bring her alongside. If the gate ring closes near the end, check that the T1 crystal still weights A before continuing. Keep crystals 11 and 9 in place for Wizard’s final swaps.
Full direction sequence
- DR Druid
↓ ← ↑ - WA Warrior
→ ↓ ↓ ↓ ← ↑ ← ← ↑ ← - PR Priestess
← ↑ ↑ ↑ ↑ - TH Thief
↓ → → ↑ ↑ → ↓ ↓ ← ↑ ↑ → ↑ → → ← - BA Bard
↓ ↓ → → ↑ ↓ - WI Wizard
↑ → ↓ ← ↑ → ↓ ← - DR Druid
↑ → → - WI Wizard
↓ ← - DR Druid
→ ↓ ↓ ↓ ← ↑ - WI Wizard
→ → ↓ ↓ ↓ ← ↑ - BA Bard
↓ ↓ ↓ ↓ - TH Thief
↑ - WA Warrior
→ ↑ ↑ ↑ ↑ - DR Druid
↑ ↑ ↑ ← ← ← ← ↑ ↑ ← ← - PR Priestess
↓ → → → → → - WI Wizard
→ ↑ ↑ ← ←
Sources and credits
Room layout and labels: PC r67121 game files. The route was independently replayed in a scoped rules model; the video shows the starting layout and selected stages. Video: 塞德莎, Heroes 3, part 4. Board artwork: Thekla, Inc.
- Four additional source-only Heroes 3 room layouts (PC r67121) — Extracted data
- Supplemental Heroes 3 finale route check (bounded model) — Documentation · bounded-heroes3-finale-2026-10-17
- Joric's PuzzleScript movement-rule port — Documentation · commit-4e6e0784727d95c7337d50f6d5b3ef912aa0e8ae
- Heroes 3 finale visual observations, part 4 / 英雄3结尾关卡画面观察,第4部分 — Observed in-game
- Character portraits and selected puzzle-board images (PC r67121) — Extracted data
- 塞德莎 Bilibili playlist part 5 selected-view encoding — Observed in-game · playlist-part-5-cid-42574283342-selected-frames-2026-10-24
- Twelve room-display and three legacy source-view observations — Observed in-game · twelve-plus-three-video-frame-observations-2026-10-24
- Selected video views beside legacy model layouts — Observed in-game · legacy-source-views-2026-10-24-selected-third-view
Unofficial fan wiki, not affiliated with Thekla, Inc. / Arc Games / Gamirror Games. Game content belongs to its owners.
Comments & feedback
Share a tip or suggest a correction. Comments are public. Guest names are unverified; verified accounts show their account username. All language pages share this discussion. Please keep personal information private.