
 Order of the Sinking Star
Endgame High: selected design puzzles

Spoilers: Endgame High is a late-game design area. Each room asks you to place pieces so a hero can solve the layout below.
Article stills and selected video views identify layouts. The short route notes summarize source narration and have not been independently replayed.
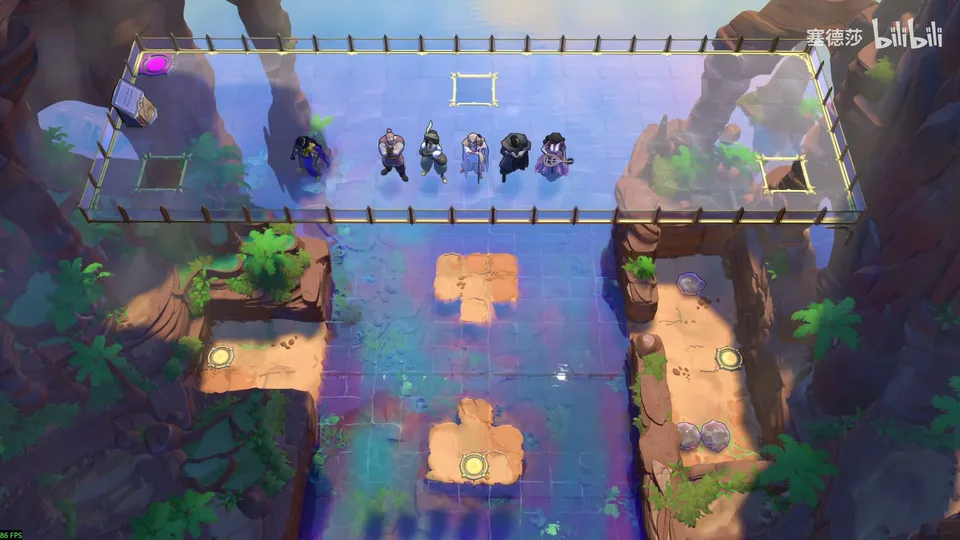
Puzzle 1 · Allocate the heroes (allocate_heroes_v2)
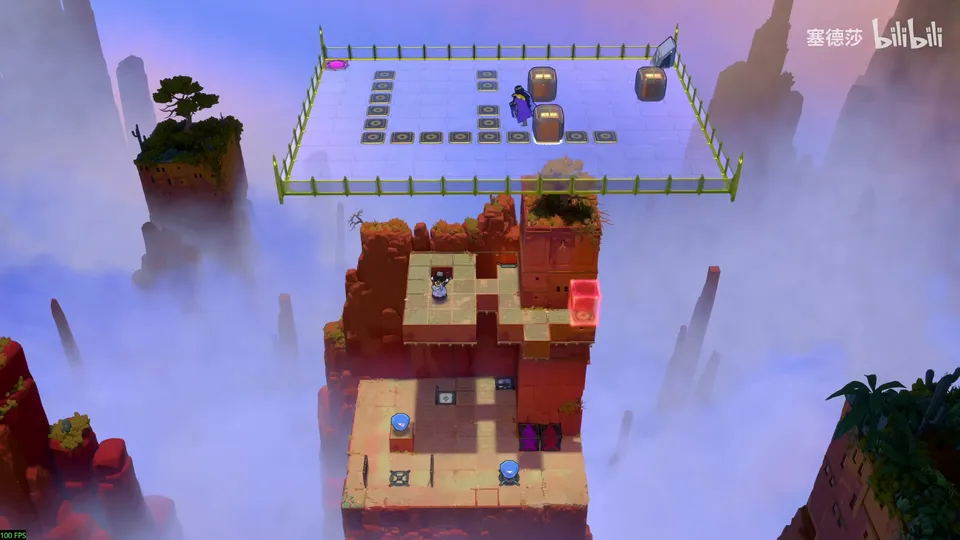
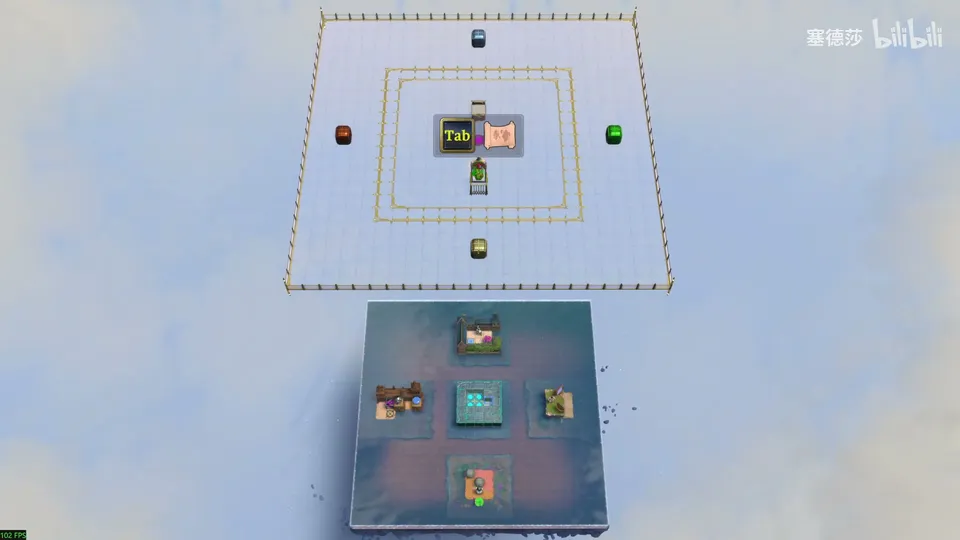
Section titled “Puzzle 1 · Allocate the heroes (allocate_heroes_v2)”Drop one hero into each of the three lower rooms. The 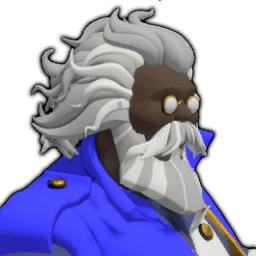 Wizard solves the left room, the
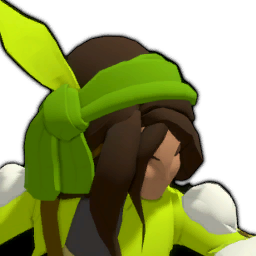 Thief the middle room, and the
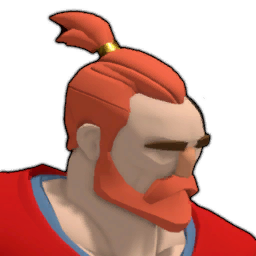 Warrior the right room.
Images show selected video checkpoints; the first frame is the starting position.
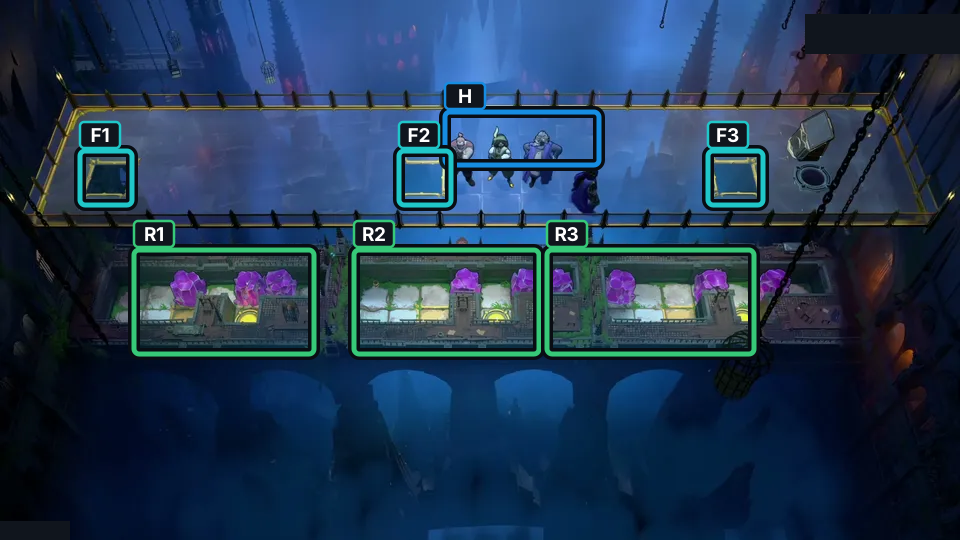
P43 8:43 cue. Use F1–F3 to place one hero in each lower room: Wizard left, Thief center, Warrior right.
Check: Before dropping, confirm each framed slot leads into the intended lower room.
Open full-size image in a new tabPuzzle 2 · Warrior’s second tutorial (end2_heroes_1_2)
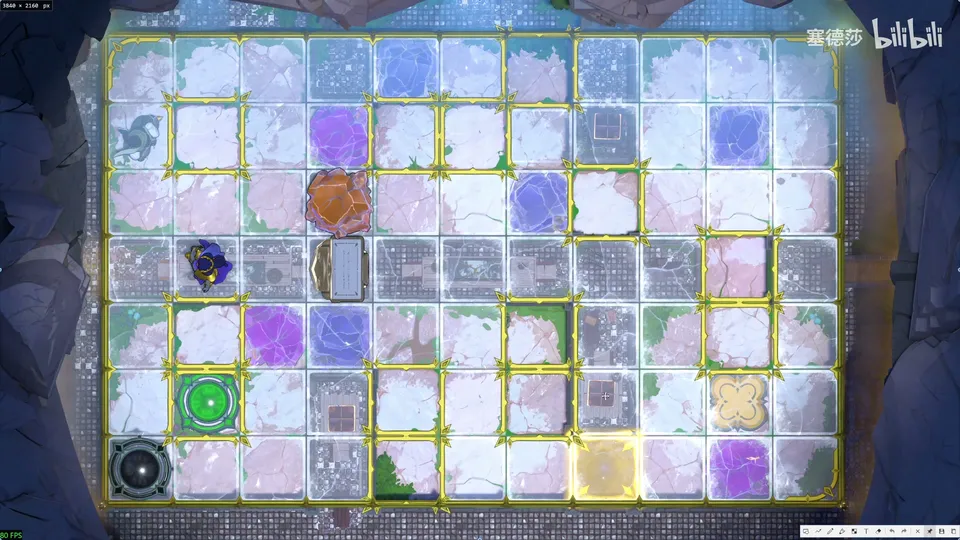
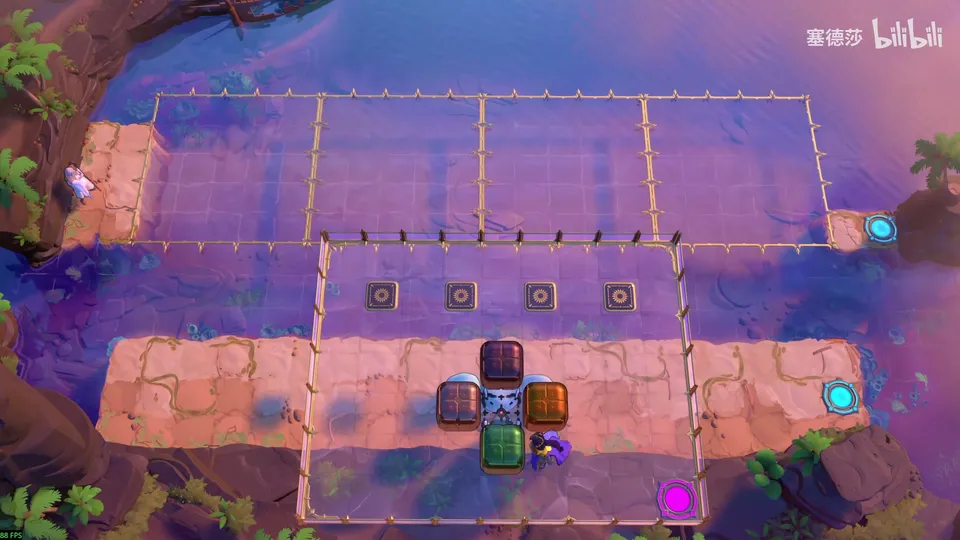
Section titled “Puzzle 2 · Warrior’s second tutorial (end2_heroes_1_2)”Add one crystal to the Warrior’s second tutorial room. Only the yellow framed cells are valid drop spots. Trace the Warrior’s route and leave its walking and pushing tiles clear; once those cells are excluded, one safe frame remains. Place the crystal there, then play the tutorial.
Images show selected video checkpoints; the first frame is the starting position.
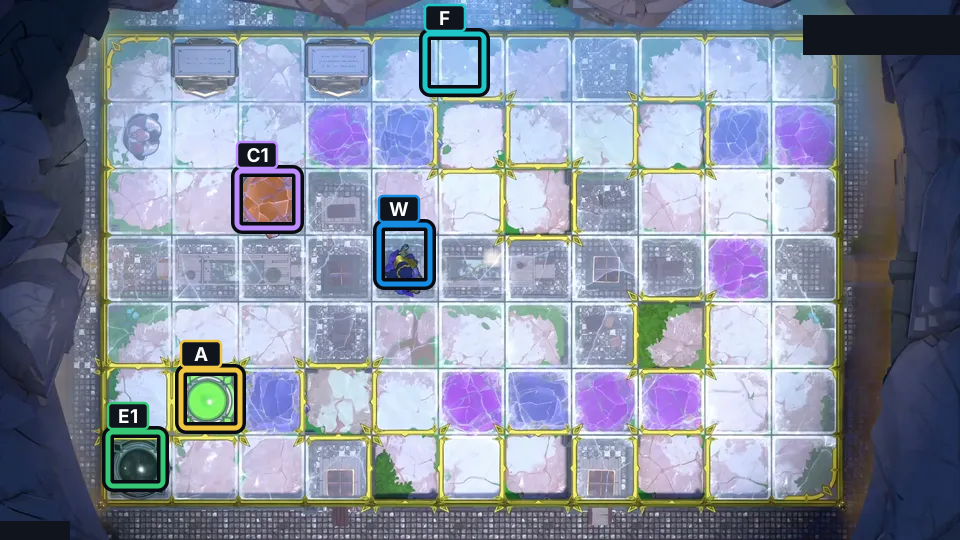
P43 9:48 cue. The yellow frames are the legal drop cells. Keep the Warrior’s required walking and pushing tiles open; after those are ruled out, only one safe frame remains.
Check: The orange crystal is the extra piece. Keep the Warrior's walking and pushing lanes open.
Open full-size image in a new tabPuzzle 3 · Thief’s tutorial (end2_heroes_1_5)
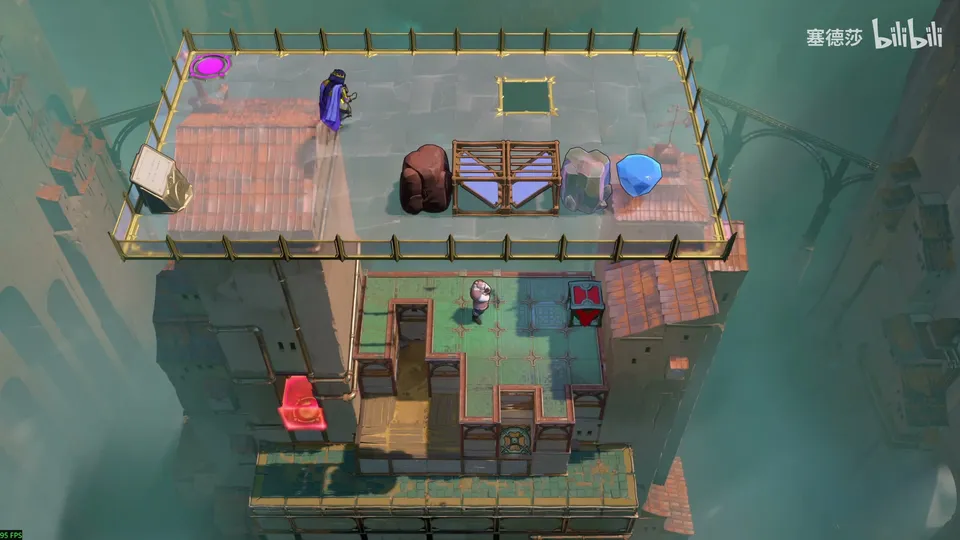
Section titled “Puzzle 3 · Thief’s tutorial (end2_heroes_1_5)”Place the extra crystal on the framed tile immediately above the exit. The Thief’s route uses the other available frames, so this is the only safe placement.
Images show selected video checkpoints; the first frame is the starting position.
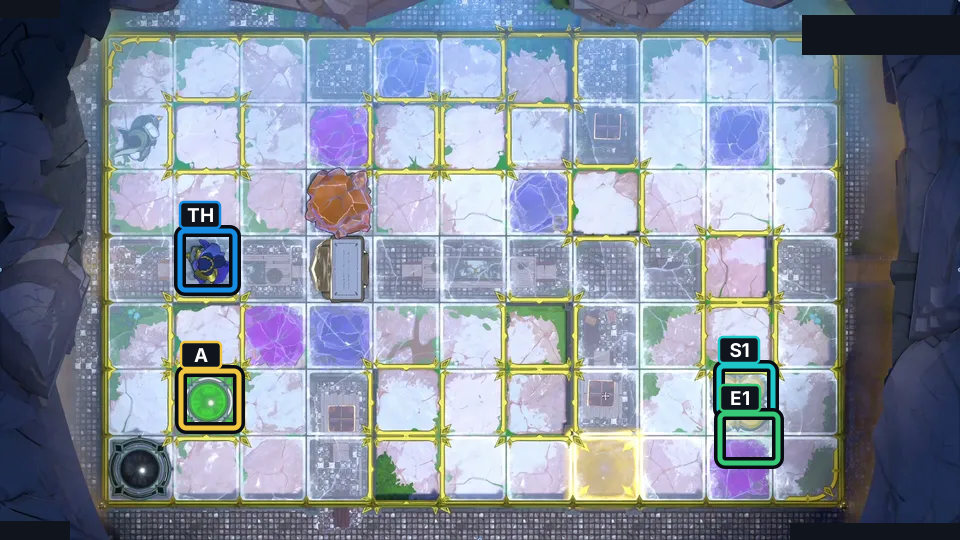
P43 14:27 cue. Put the extra crystal on S1, the framed tile immediately above E1; the Thief needs the other route tiles free.
Check: S1 sits directly above E1. Keep the Thief’s path and exit tile clear.
Open full-size image in a new tabPuzzle 4 · Place seven Goblins (prelude_priest_water_goblins_only)
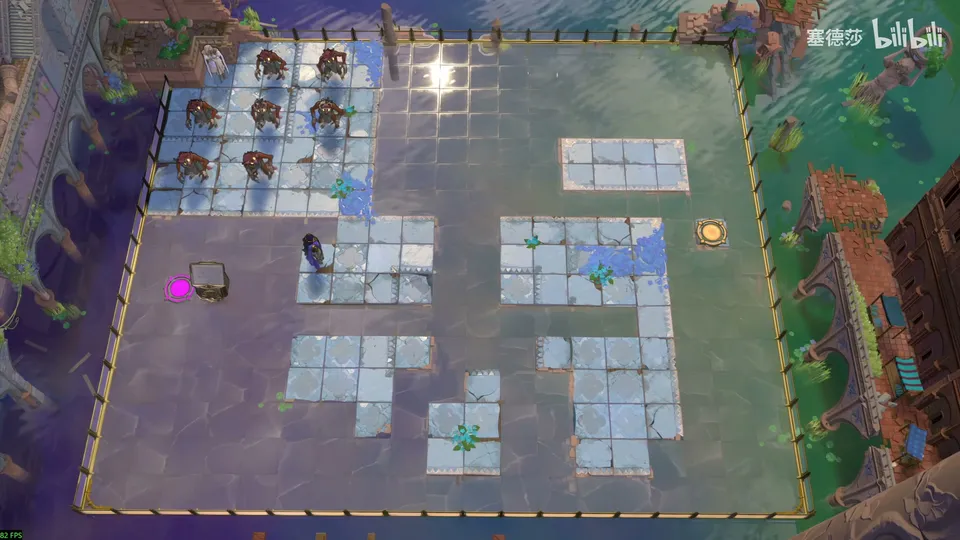
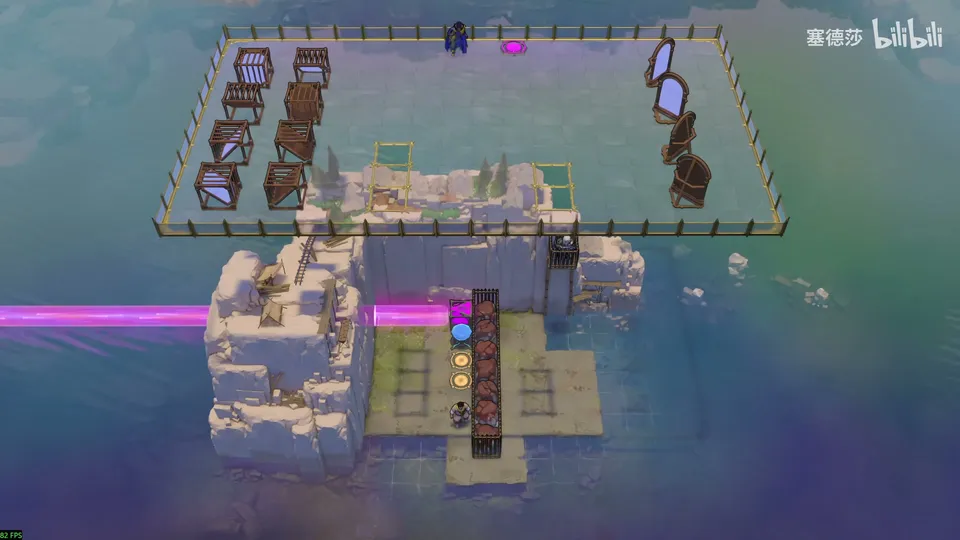
Section titled “Puzzle 4 · Place seven Goblins (prelude_priest_water_goblins_only)”Work backward from the exit for the floating Cleric. Put three Goblins on the exit-side stretch, three more along the lower path, and the last where the Cleric can turn left and descend.
Images show selected video checkpoints; the first frame is the starting position.
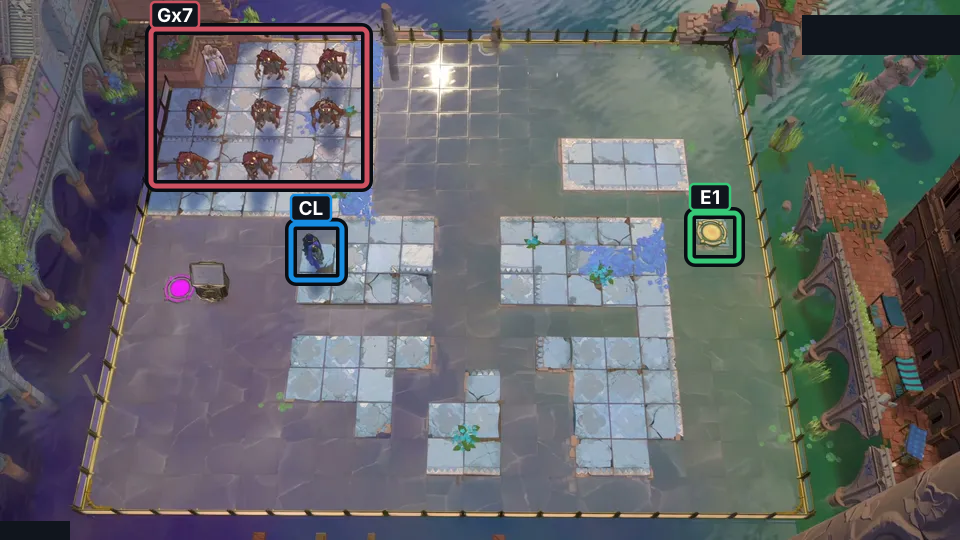
P43 17:28 cue. Place seven Goblins for the floating Cleric; work backward from E1, then fill the lower route.
Check: Use all seven Goblins to form the stepping path; leave the Cleric's exit approach open.
Open full-size image in a new tabPuzzle 5 · Wall placement (see_no_evil)
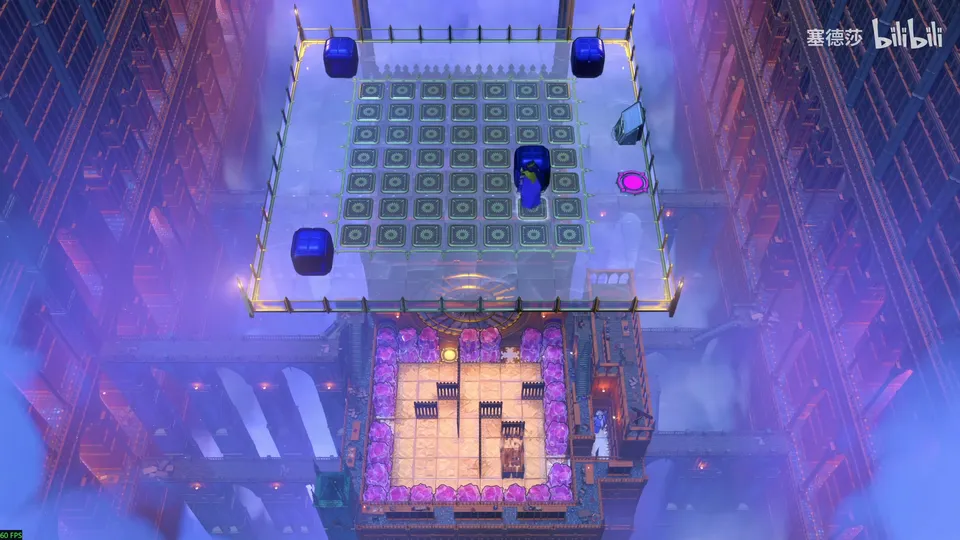
Section titled “Puzzle 5 · Wall placement (see_no_evil)”Each blue block on an upper button places a wall in the lower 7×7 room. Cover the Wizard’s unsafe swaps with the two-tile-high crystals. The right-hand route uses two existing gaps; then place the remaining walls to finish the route.
Images show selected video checkpoints; the first frame is the starting position.
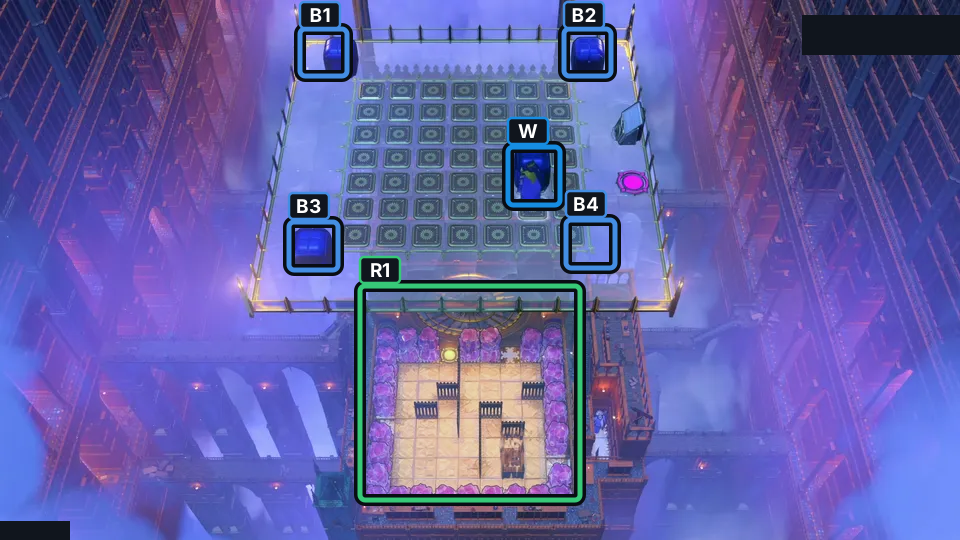
P43 19:06 cue. Each blue block selects a wall cell below. Cover the Wizard’s unsafe swaps; use the two open gaps on the right-hand route.
Check: The four upper buttons define the wall pattern below; keep the Wizard's route away from the tall crystals.
Open full-size image in a new tabPuzzle 6 — end2_mirror_3
Section titled “Puzzle 6 — end2_mirror_3”Article section: Puzzle 6; internal set position: 10.
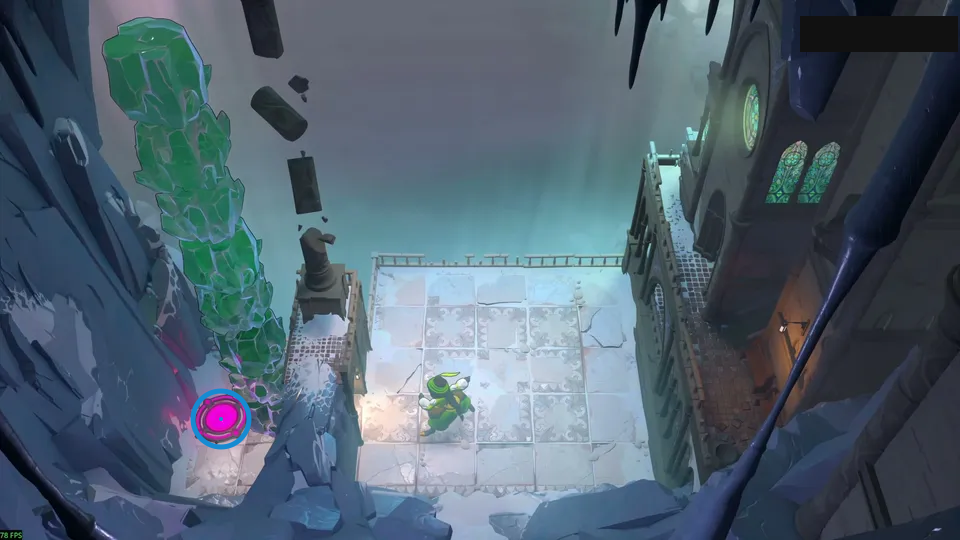
The ring marks a visible landmark, not an action step.
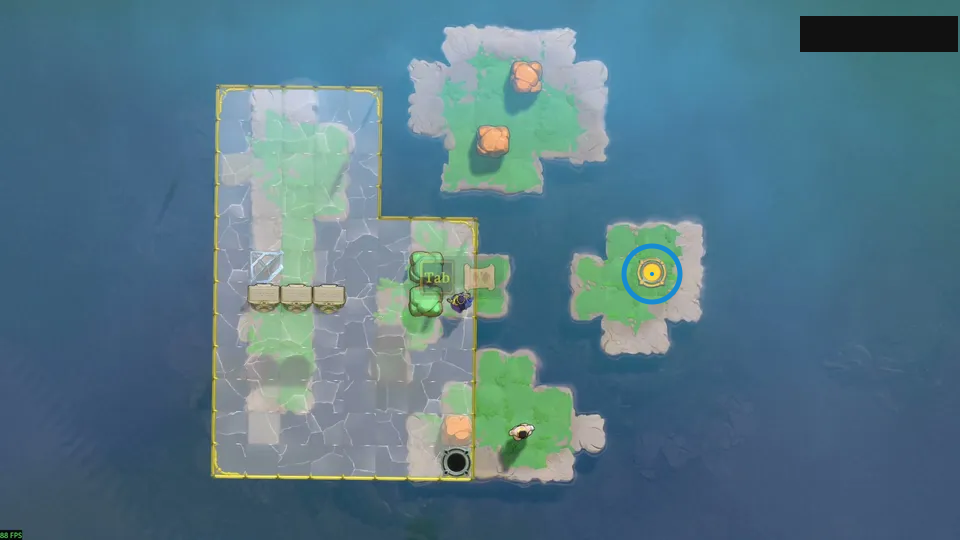
Drop two stones to extend the islands.
Check: Ring marks yellow circular pad on the small right island.
Open full-size image in a new tabPuzzle 7 · Three mirrors (mirror_prelude_v2_fix)
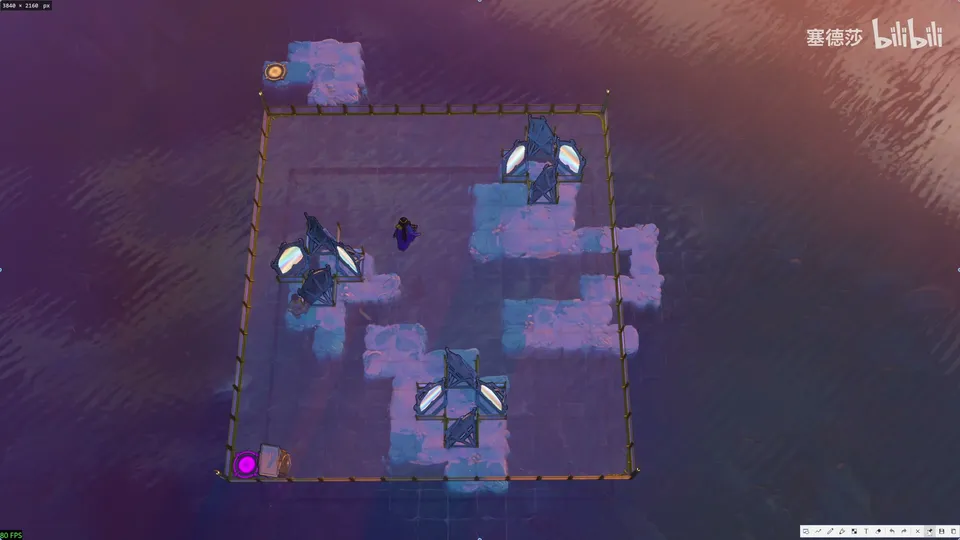
Section titled “Puzzle 7 · Three mirrors (mirror_prelude_v2_fix)”Drop three mirrors through the slots. The goal is the top-left island; a mirror at the bottom-left is needed to send the Trader along that diagonal. Set the other mirrors so they do not block the route.
Images show selected video checkpoints; the first frame is the starting position.
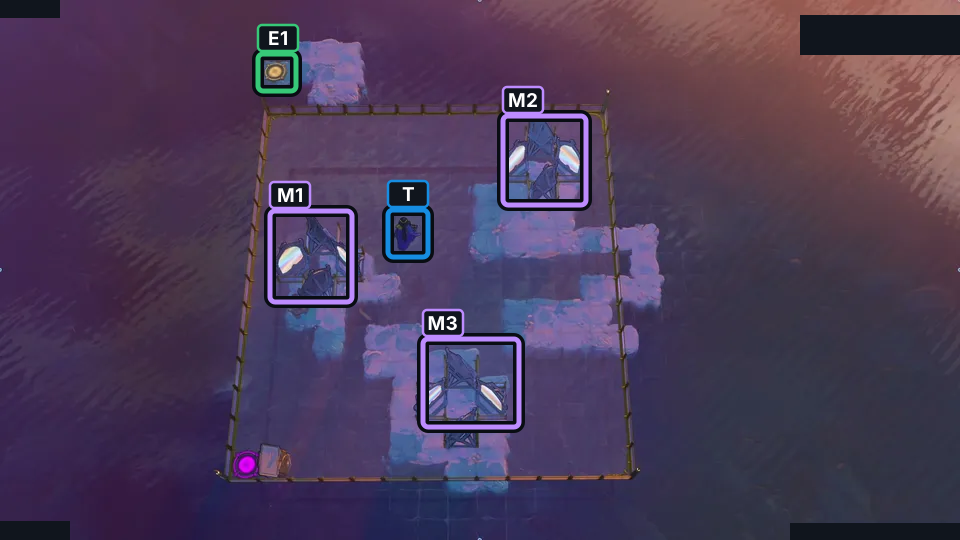
P43 27:16 cue. Drop three mirrors through the slots. M1 at the lower-left is needed to reflect the Trader to E1 on the top-left island.
Check: Set the mirror angles so the Trader can reach the top-left island. Keep the first mirror from blocking the return path.
Open full-size image in a new tabPuzzle 8 · Reach the raised exit (peak_toggle)
Section titled “Puzzle 8 · Reach the raised exit (peak_toggle)”Place the exit on the tall pillar. A vertical mirror is the only way up. Check both whether the reflection reaches the top and whether it travels far enough; pushing the stone off the lower platform extends the route.
Images show selected video checkpoints; the first frame is the starting position.
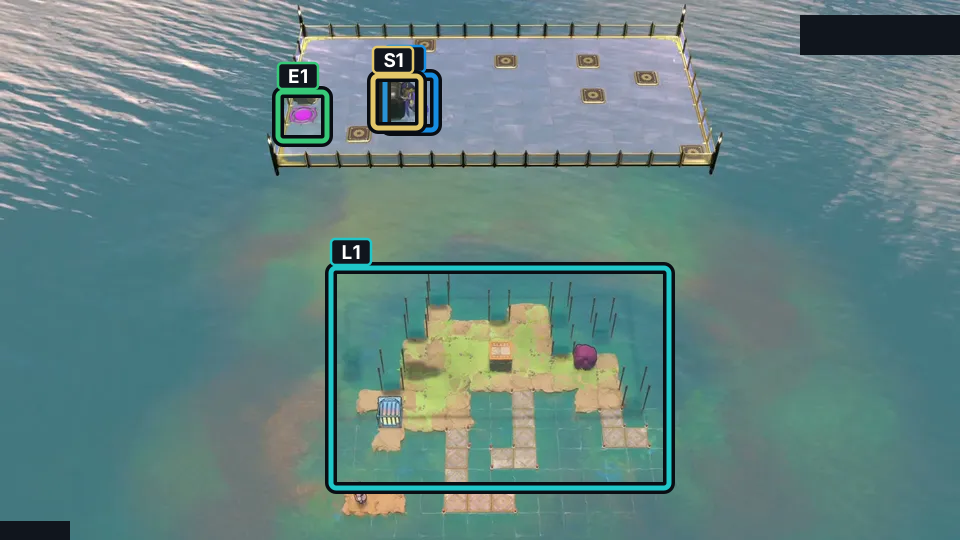
P43 29:57 cue. Place E1 on the high pillar. A vertical mirror is the only route up; check that the reflection reaches and is long enough.
Check: Pushing S1 off the lower platform extends the reflection. Then place the vertical mirror on the viable spot.
Open full-size image in a new tabPuzzle 9 · Guide one lily pad (place_lily_pushstyle_v6)
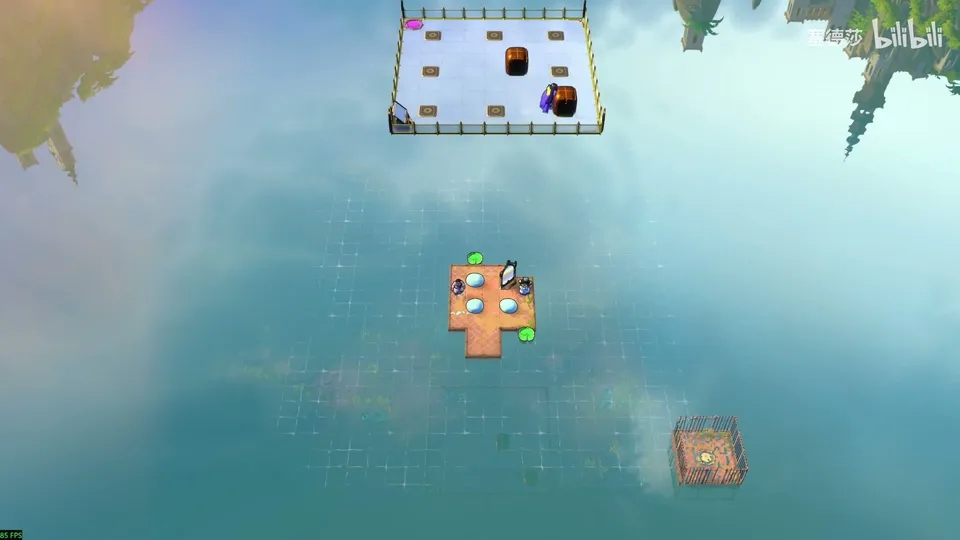
Section titled “Puzzle 9 · Guide one lily pad (place_lily_pushstyle_v6)”Guide one lily pad to the target tile. Its route must go up, right, then down; only one of the three placements keeps that route open.
Images show selected video checkpoints; the first frame is the starting position.
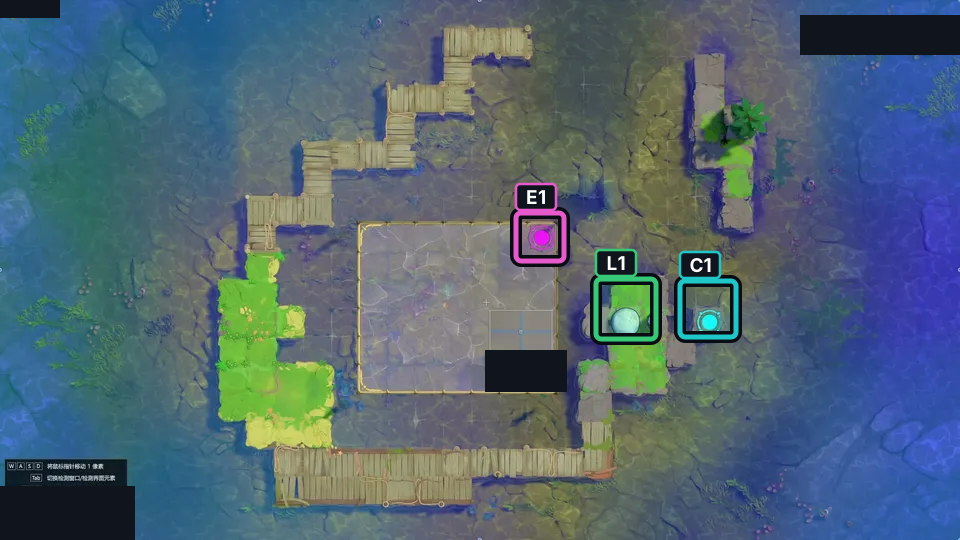
P43 33:28 cue. Guide L1 to the target by routing it up, right, then down. Only one of the three placements leaves this path open.
Check: The lily pad crosses the water lanes up, right and down; leave the pink goal tile clear.
Open full-size image in a new tabPuzzle 10 · Four lily pads (three_birds_push)
Section titled “Puzzle 10 · Four lily pads (three_birds_push)”Three lily pads form the stepping path. The fourth stops the crystal’s own pad from drifting left; use it to keep the crystal on its route.
Images show selected video checkpoints; the first frame is the starting position.
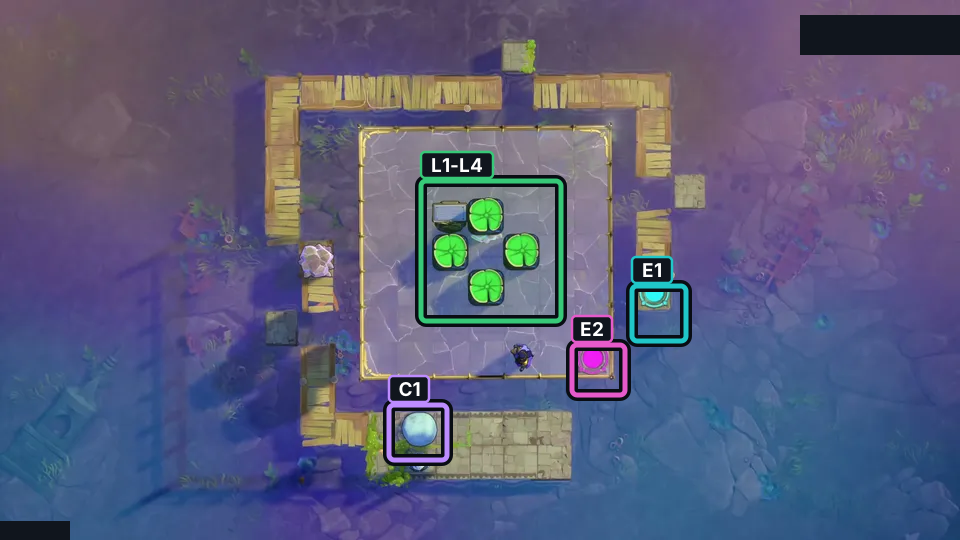
P43 36:16 cue. Use three lily pads as stepping stones. The fourth stops C1’s pad from drifting left.
Check: Keep C1 on its own pad and use the other three pads for the crossing route.
Open full-size image in a new tabPuzzle 11 · Complete the terrain (stones_prelude)
Section titled “Puzzle 11 · Complete the terrain (stones_prelude)”Add three ground pieces to free the starting stone. The source route is right, up, right, down, right, up, right, down; then push left toward the top-left island and lily pad.
Images show selected video checkpoints; the first frame is the starting position.
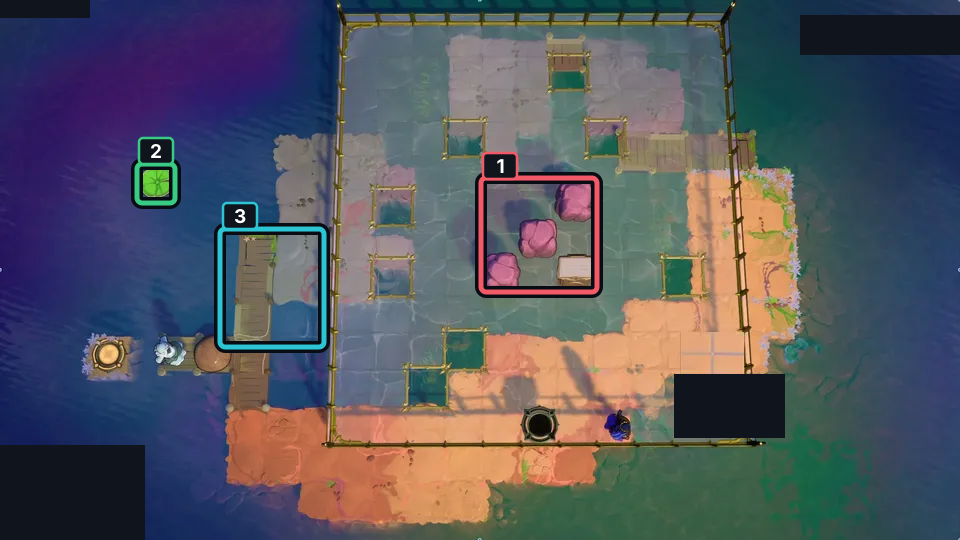
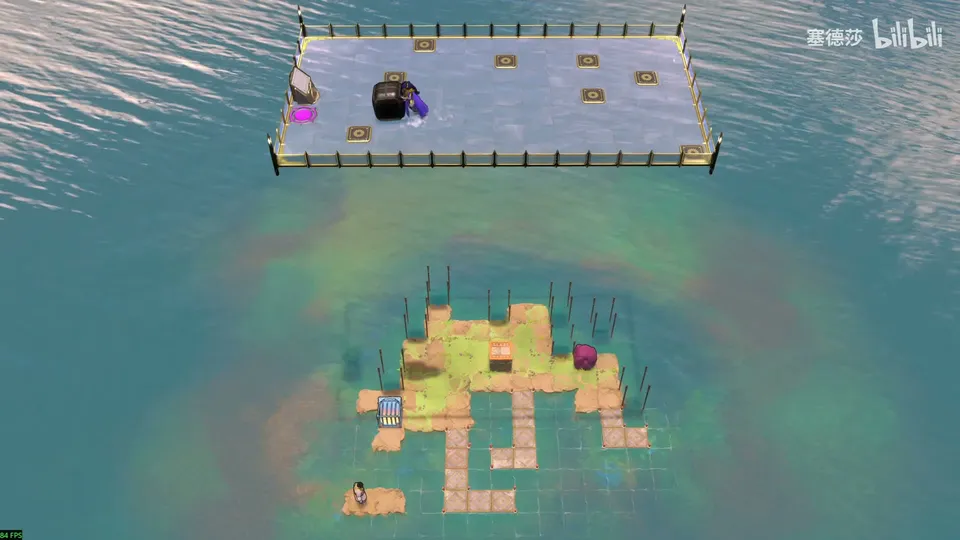
Add three ground pieces to free the stone. Follow the source route: right, up, right, down, right, up, right, down; then push left toward the top-left island and lily pad.
Check: The added ground lets the stone leave its starting pocket and reach the lily-pad island.
Open full-size image in a new tabPuzzle 12 · Set four currents (end2_river_place)
Section titled “Puzzle 12 · Set four currents (end2_river_place)”Set the colored current stones to blue up, yellow down, green left and pink right. Route five lily pads to the five middle tiles; solve the lowest pad last.
Images show selected video checkpoints; the first frame is the starting position.
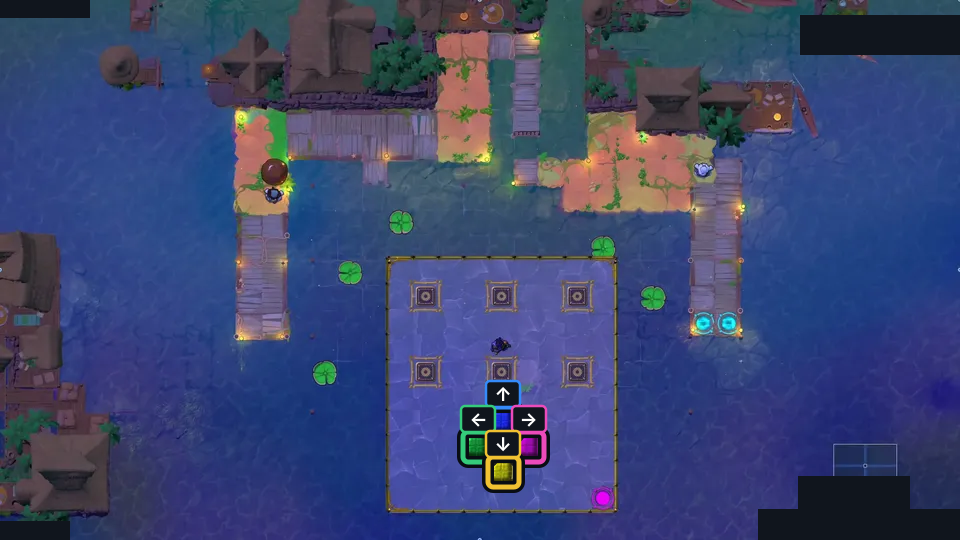
Set each current stone to its color direction: blue ↑, yellow ↓, green ← and pink →. Route the pads onto the five middle tiles; solve the lowest pad last.
Check: The five middle lily pads form the crossing, and the last downward hit avoids spending a stone too early.
Open full-size image in a new tabPuzzle 13 · Block one beam (place_slot_4x4_pushstyle)
Section titled “Puzzle 13 · Block one beam (place_slot_4x4_pushstyle)”Place the gem on the top row, third tile of the central 4×4 glass. Let the lower orange beam reach its target, block the upper orange beam, and let the cart move the green emitter one tile right. Collect the gems in order and leave on the purple beam.
Images show selected video checkpoints; the first frame is the starting position.
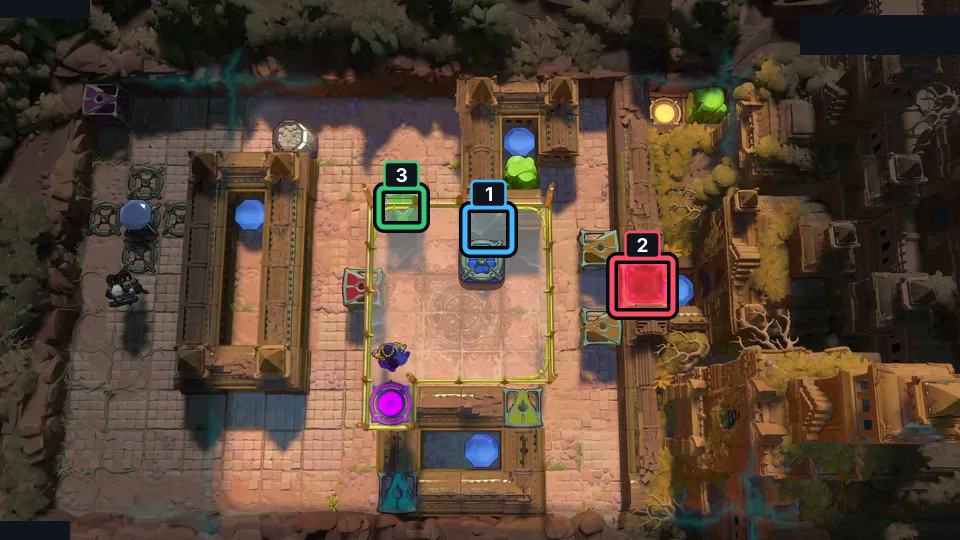
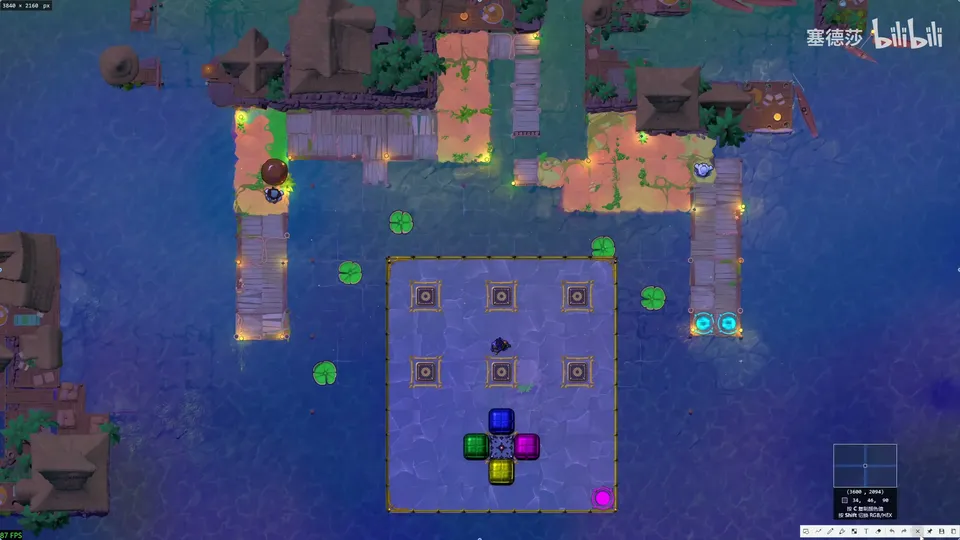
Put the gem on the top row, third tile of the central 4×4 glass. Let the lower orange beam reach its target; block the upper orange beam. Shift the green emitter up and let the cart move it one tile right.
Check: Collect the gems in order, then use the purple beam to leave.
Open full-size image in a new tabPuzzle 14 · Place six emitters (color_picker)
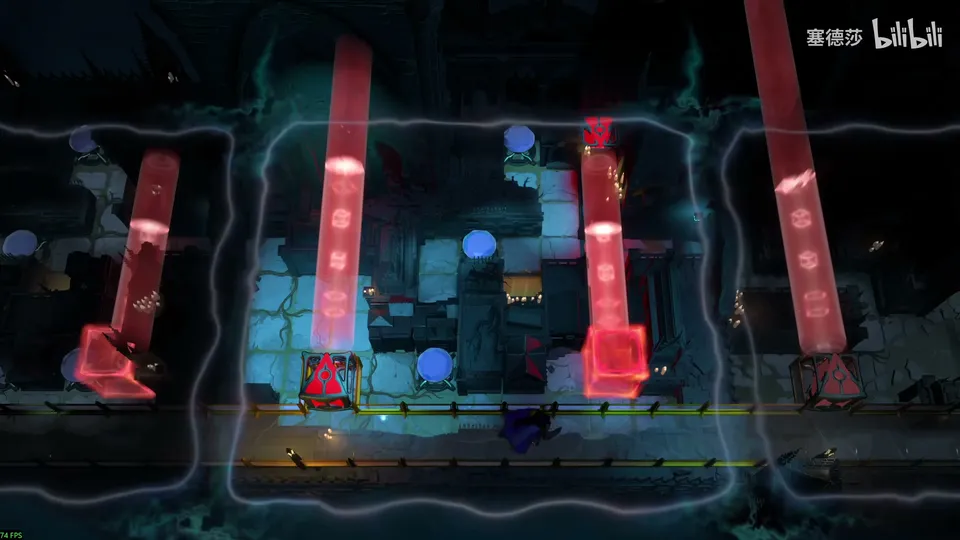
Section titled “Puzzle 14 · Place six emitters (color_picker)”Work from the top-right. Yellow breaks the first stone, with orange pointing down above it. Red opens the first door, green gets inside the wall to open the second, cyan shifts the blocking stone, and purple reaches the goal gem. Place all six emitters: red, green, cyan, yellow, orange and purple.
Images show selected video checkpoints; the first frame is the starting position.
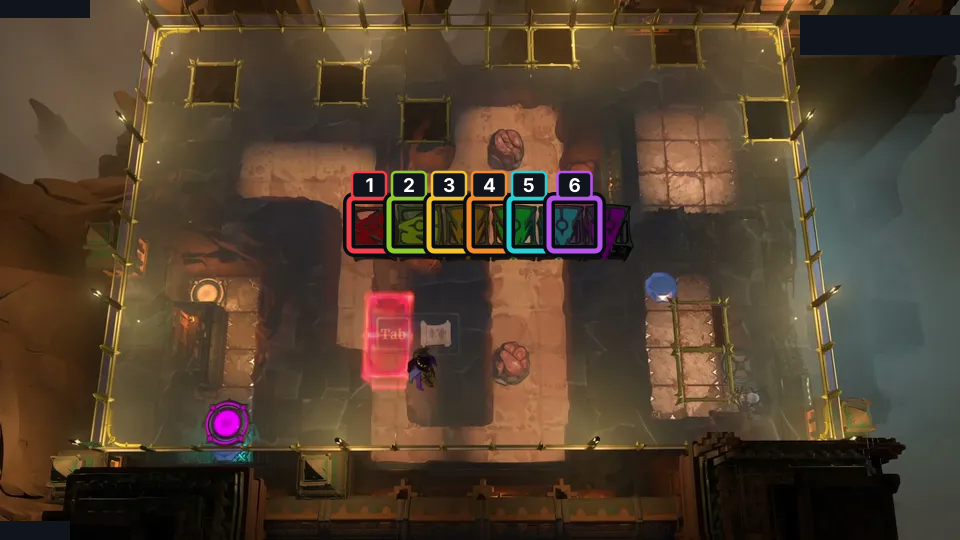
Work from the top-right. Yellow breaks the first stone; an orange beam points down above it. Use red for the first door, green to reach the second door, cyan to shift the blocking stone, and purple to reach the goal gem.
Check: Place all six emitters—red, green, cyan, yellow, orange and purple—then play the route through the doors to the gem.
Open full-size image in a new tabPuzzle 15 — place_promesst_rooms
Section titled “Puzzle 15 — place_promesst_rooms”Source-reported hint: Enter through the green beam to break the stone.
Selected room detail.
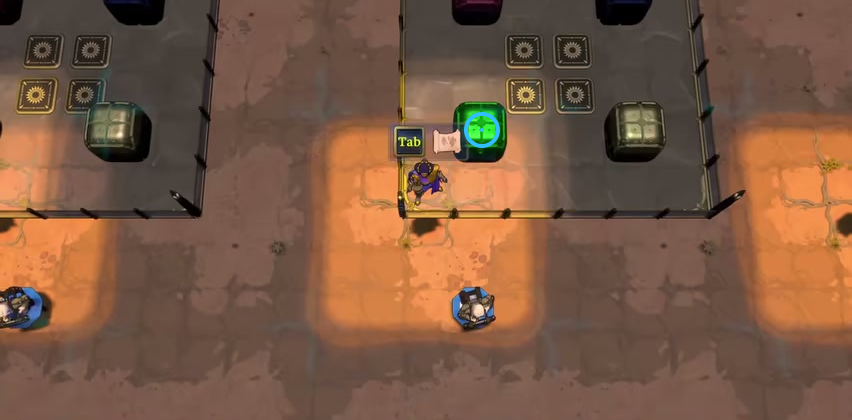
Find the green block beside the four marked tiles.
Check: The blue ring marks the green block beside the four marked tiles.
Open full-size image in a new tabPuzzle 16 · Recolour seven emitters (promesst_prelude_pushstyle)
Section titled “Puzzle 16 · Recolour seven emitters (promesst_prelude_pushstyle)”Use every emitter colour once. Keep the centre energy block red, use blue to cross the goal fence, then use cyan and yellow to lower and break the blocking stone. The source summary uses a green beam to enter the lower-left wall and a purple beam to leave.
Selected article still at the P43 57:27 cue. This layout reference is not an exact video PTS; the route summary follows the source article.
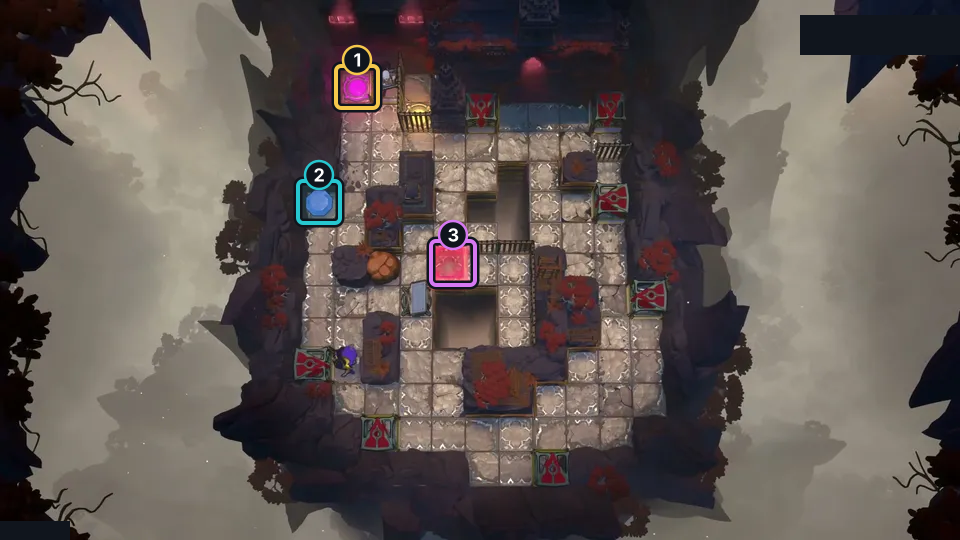
Assign the seven emitters seven different colours: red, green, yellow, orange, cyan, purple and blue. Keep the centre energy block red; use blue to pass the goal fence, then use cyan and yellow to lower and break the blocking stone.
Check: The source summary uses a right-firing green beam to enter the lower-left wall and a purple beam to leave before breaking the stone.
Open full-size image in a new tabPuzzle 17 · Place three floor tiles (elevator_mechanic)
Section titled “Puzzle 17 · Place three floor tiles (elevator_mechanic)”One tile fills the gap above the activator so the gem can fall while the hero runs past before the purple beam switches on. Use the other two tiles to stage a two-gem stack over the lower-left activator.
Selected article still at the P43 1:00:37 cue. This layout reference is not an exact video PTS; the route summary follows the source article.
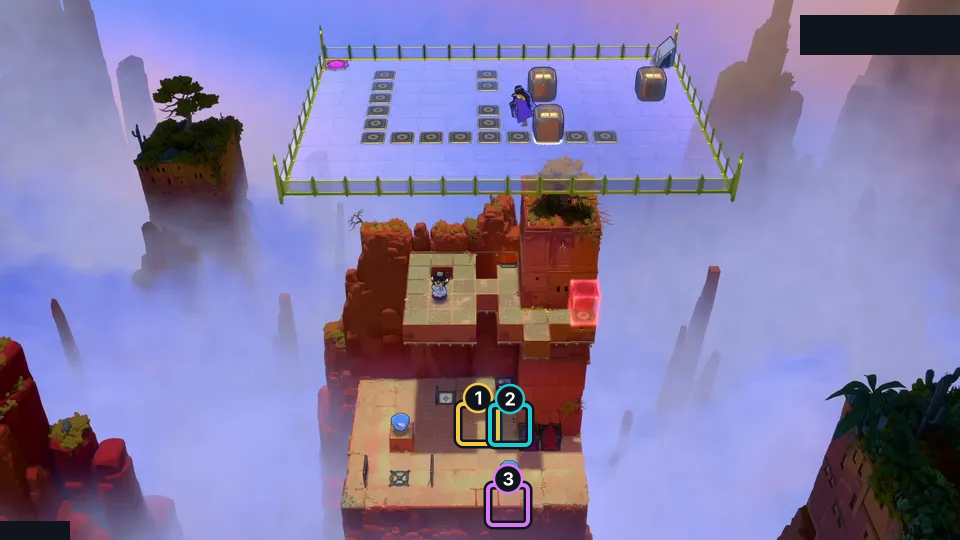
Place three floor tiles on the cliff edge. One fills the gap above the activator: drop the gem through it and run past before the purple beam switches on. Use the other two tiles to stage a two-gem stack over the lower-left activator.
Check: The source summary keeps the drop-through holes clear, carries gems with the two lifts, then pushes them down to the activators.
Open full-size image in a new tabPuzzle 18 — floor_plan_v3
Section titled “Puzzle 18 — floor_plan_v3”Article section: Puzzle 18; internal set position: 18.
The ring marks a visible landmark, not an action step.
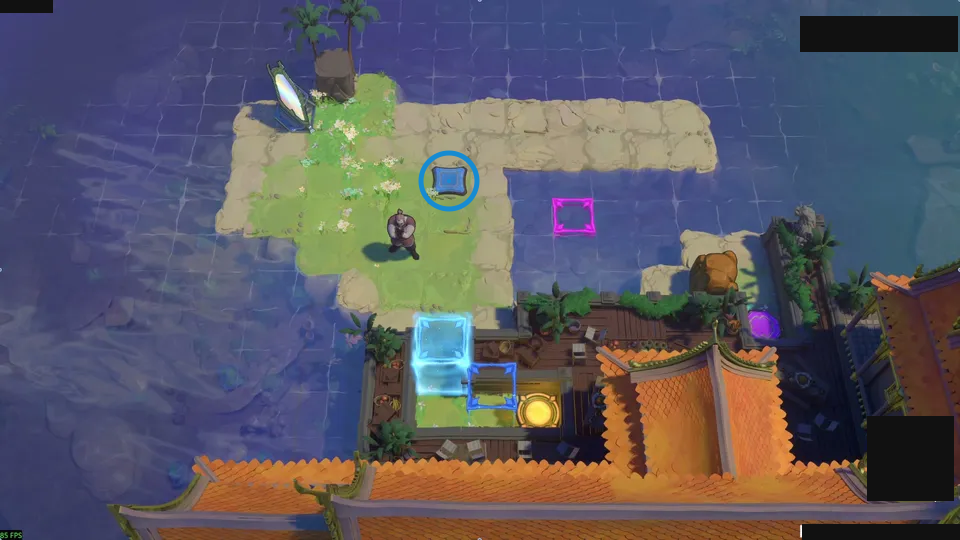
Use the rising purple block to rescue the mirror.
Check: Ring marks blue square pad on the upper island.
Open full-size image in a new tabPuzzle 19 · Extend the reflections (chart_a_course)
Section titled “Puzzle 19 · Extend the reflections (chart_a_course)”Send the lower lily pad out with a skipping stone and place a mirror on it so the reflection reaches an exit far below. Start the upper pad right, hit it upward at the corner, and place the second exit at the top-right.
Selected article still at the P44 2:58 cue. This layout reference is not an exact video PTS; the route summary follows the source article.
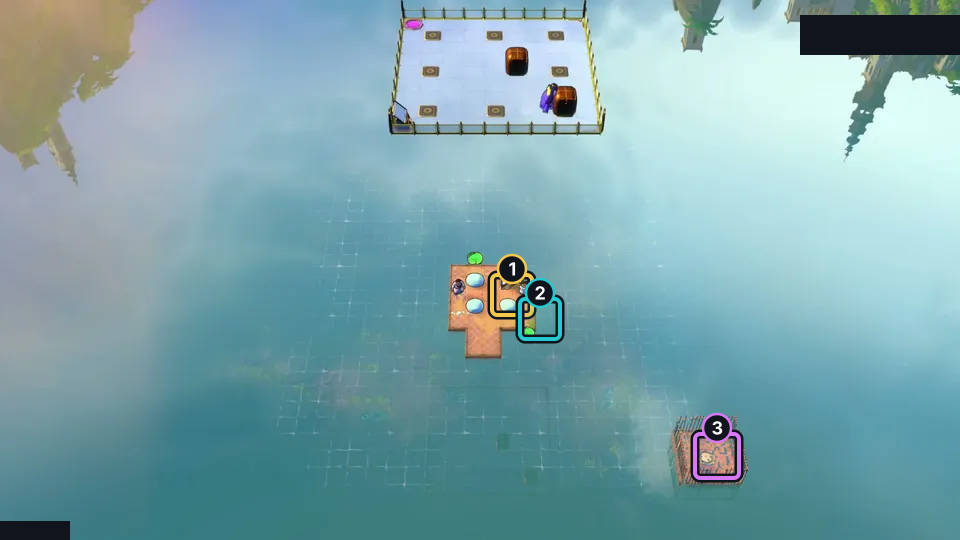
Send the lower lily pad out with a skipping stone, then place a mirror on it so its drifting reflection reaches an exit far below. Start the upper pad right, hit it upward at the corner and place the second exit at the top-right.
Check: The still marks the island mirror, nearby drifting pads and the lower cage; the route description follows the article's P44 cue.
Open full-size image in a new tabPuzzle 20 · Bridge three crates (sidestone_zach_2_end2)
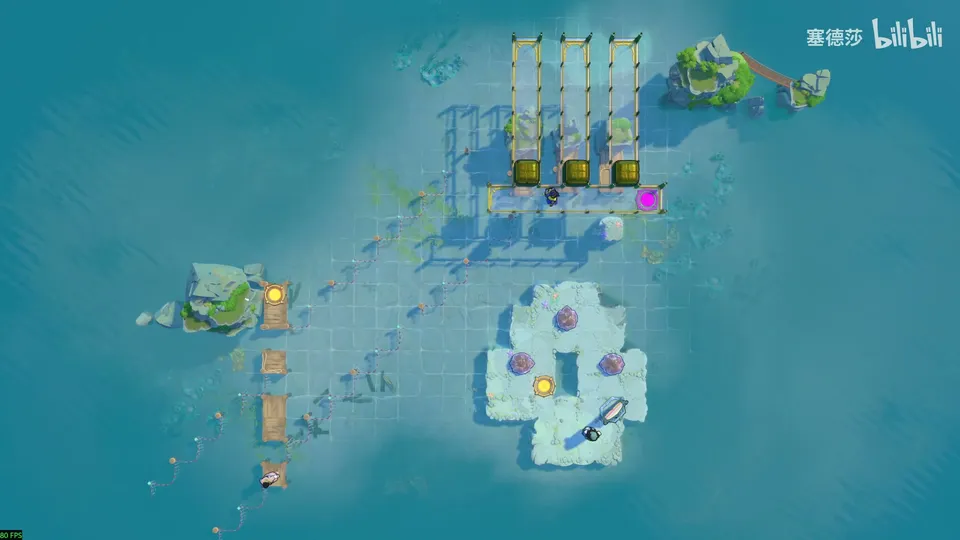
Section titled “Puzzle 20 · Bridge three crates (sidestone_zach_2_end2)”Move the three plank bridges so each crate can be reflected toward the Trader on the lower-left island. The highest crate cannot reach the right-hand landing along its diagonal, so assign it the left landing. Reflect the lowest crate last; the source notes that the right bridge placement is not unique.
Selected article still at the P44 5:34 cue. This layout reference is not an exact video PTS; the route summary follows the source article.
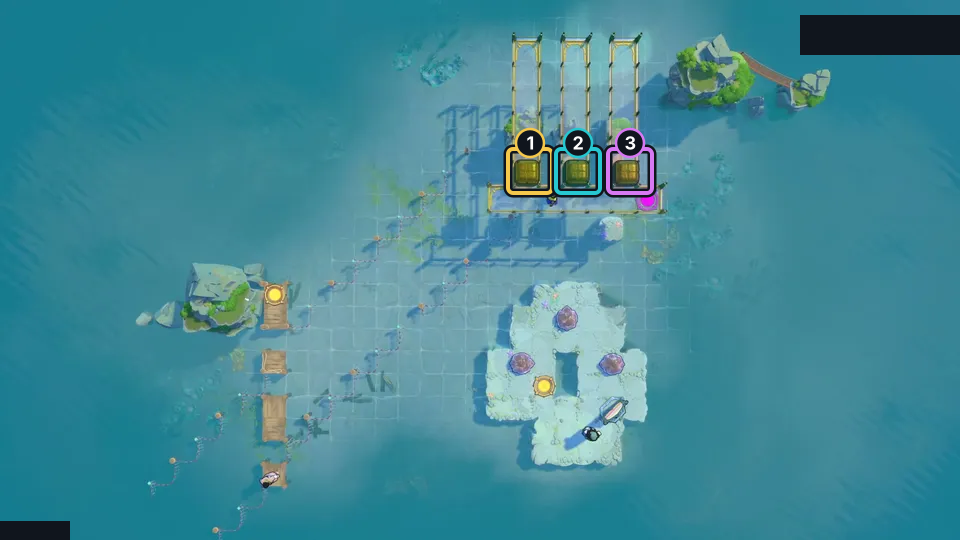
Move the three plank bridges so each crate can be reflected toward the Trader on the lower-left island. The highest crate cannot reach the right-hand landing along its diagonal, so assign it the left landing. Reflect the lowest crate last.
Check: The middle crate must avoid the pool. The article notes that the right bridge placement is not unique and requires a timed push.
Open full-size image in a new tabPuzzle 21 · Choose five beam colours (end2_prism_hp)
Section titled “Puzzle 21 · Choose five beam colours (end2_prism_hp)”Set the five small rooms in order: green, purple, orange, red, then purple. In the fifth room, make the top-right emitter purple and use the other emitter as green to get back out. The source outlines using both the Warrior and Thief; only the Thief enters room three.
Selected article still at the P44 9:09 cue. This layout reference is not an exact video PTS; the route summary follows the source article.
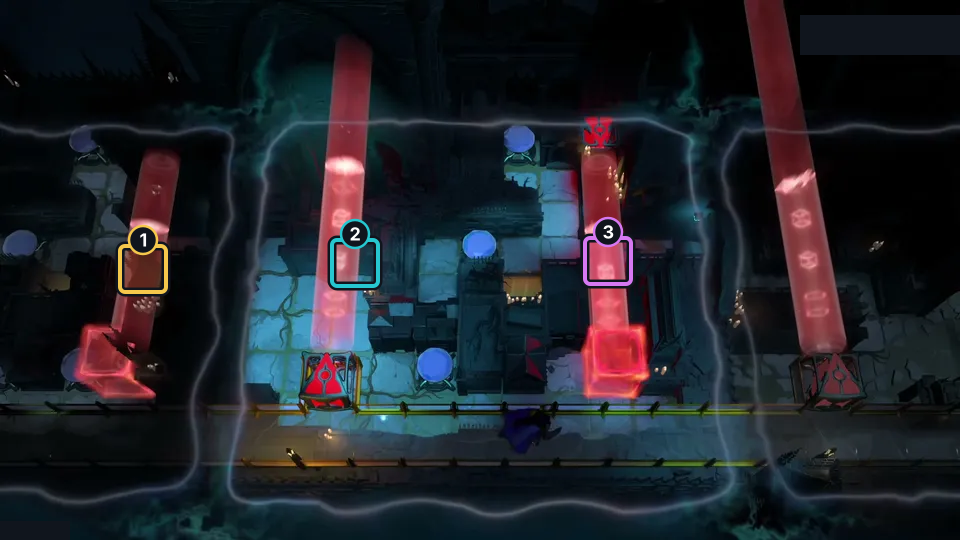
Set the five small rooms in order: green, purple, orange, red, then purple. In the fifth room, make the top-right emitter purple and use the other emitter as green to get back out.
Check: The article's outline uses both the Warrior and Thief; only the Thief enters room three. These markers call out visible beam lanes, not a replayed path.
Open full-size image in a new tabPuzzle 22 — stone_economy
Section titled “Puzzle 22 — stone_economy”Source-reported hint: Reserve opaque stones for beam endpoints.
Selected room view.
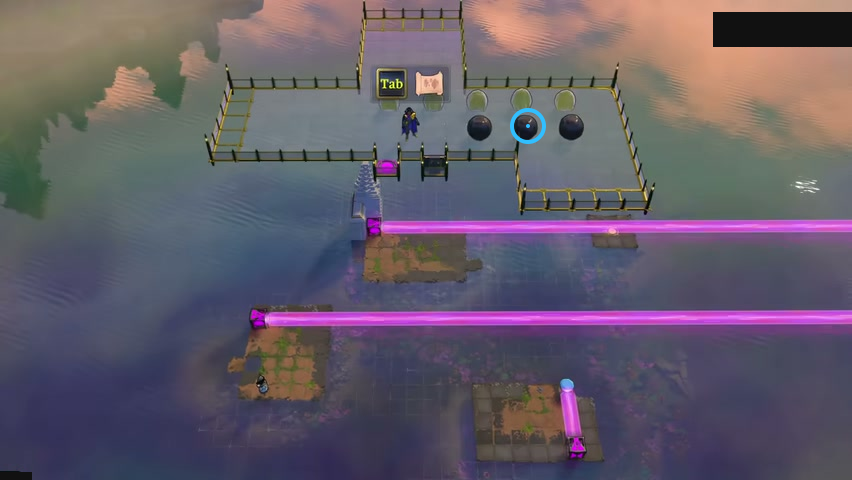
Find the middle dark ball on the upper platform.
Check: The blue ring marks the middle dark ball on the upper platform.
Open full-size image in a new tabPuzzle 23 · Choose three heroes (who_you_gonna_call)
Section titled “Puzzle 23 · Choose three heroes (who_you_gonna_call)”Drop three of the five heroes at the left, right and top positions. The 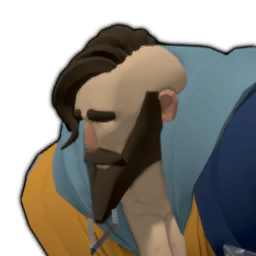 Druid must catch the middle skipping stone; put the
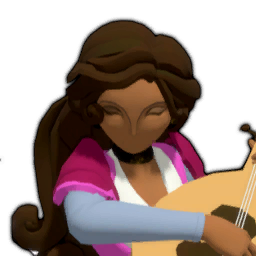 Bard on the left, where his pull ability can reach stones against the side wall.
Selected article still at the P44 18:38 cue. This layout reference is not an exact video PTS; the route summary follows the source article.
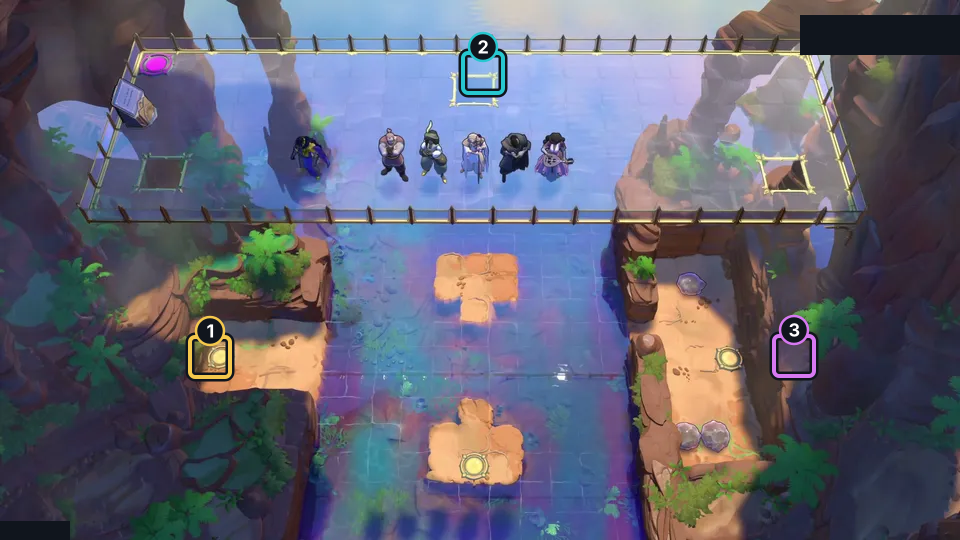
Choose three of the five heroes and drop them at the left, right and top positions. The Druid must catch the middle skipping stone; the Bard belongs on the left, where the side wall makes his pull ability essential.
Check: The source assigns the left and right exits to the side heroes; the top hero builds the three-tile route.
Open full-size image in a new tabPuzzle 24 · Connect the terrain (end2_monster_connect)
Section titled “Puzzle 24 · Connect the terrain (end2_monster_connect)”Place four terrain pieces in the order that connects the Cleric’s route to the right. Start with the join that costs one skipping stone, make the next join without a stone, then use the last stone to reach the Goblin that props the final piece.
Selected article still at the P44 21:05 cue. This layout reference is not an exact video PTS; the route summary follows the source article.
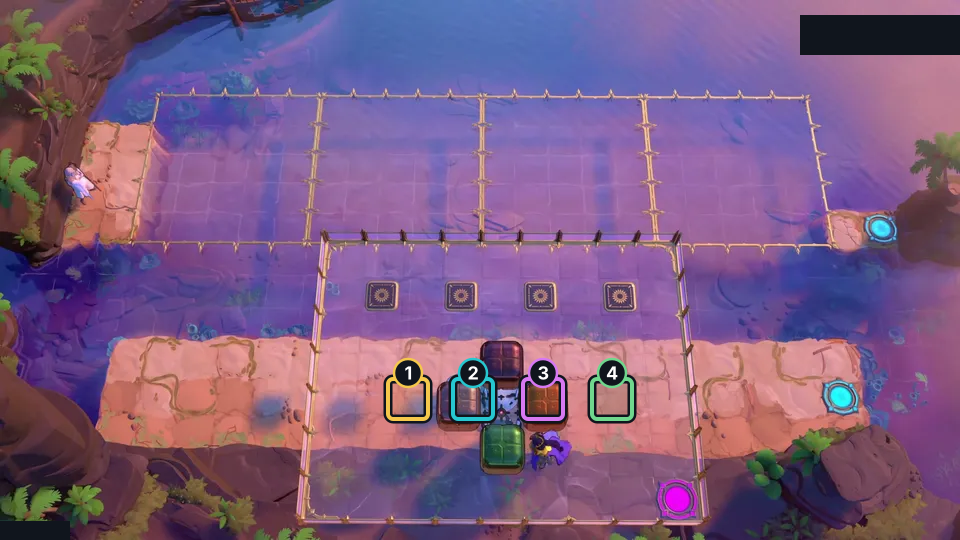
Place four terrain pieces in the order that connects the Cleric's route to the right. Start with the join that costs one skipping stone, make the next join without a stone, then use the last stone to reach the Goblin that props the final piece.
Check: The source says the Cleric can body-block stones; at the far right, cross by floating with the Goblin.
Open full-size image in a new tabPuzzle 25 · Stack five pieces (stack_prelude_pushstyle)
Section titled “Puzzle 25 · Stack five pieces (stack_prelude_pushstyle)”Stack the crystal, mirror, gem, plain stone and second mirror in that bottom-to-top order, with the mirrors facing opposite ways. Push the stack into the two-deep drop to bring the pieces to the lower room; there, the mirrors route the red beam to the door beside the exit.
Selected article still at the P44 23:43 cue. This layout reference is not an exact video PTS; the route summary follows the source article.
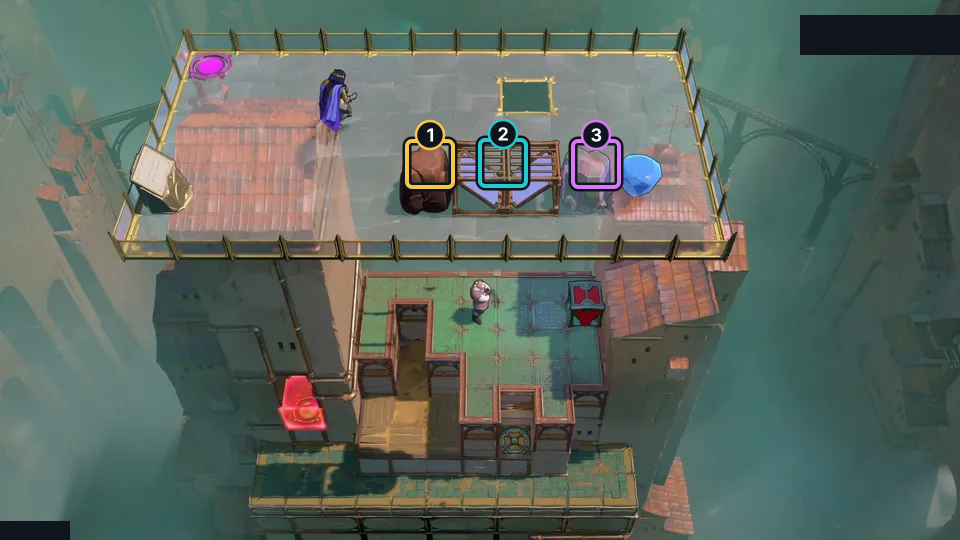
Stack five pieces in this bottom-to-top order: crystal, mirror, gem, plain stone, then a second mirror facing the other way. Push the stack into the two-deep drop to bring the parts to the lower room.
Check: The lower red emitter sits against the edge and can only be pushed down; the two mirrors route its beam to the door beside the exit.
Open full-size image in a new tabPuzzle 26 · Route a beam through the floor (laser_pointer)
Section titled “Puzzle 26 · Route a beam through the floor (laser_pointer)”Choose five of the twelve mirrors so the purple beam reaches the Explorer from below. Use a mirror in the water, send the beam down through the floor, then reflect up twice to finish directly beneath the Explorer. Do not stack two mirrors in the water.
Selected article still at the P44 27:17 cue. This layout reference is not an exact video PTS; the route summary follows the source article.
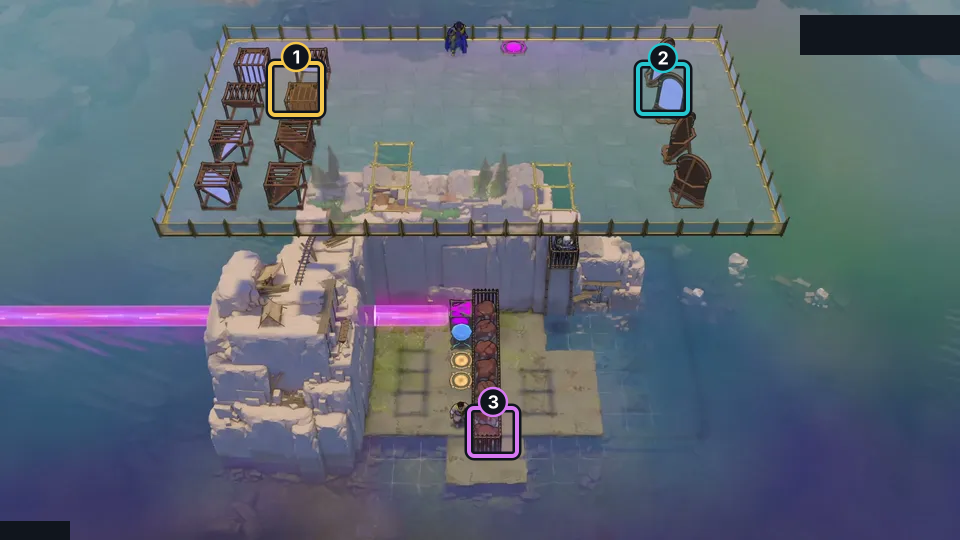
Choose five of the twelve mirrors so the purple beam can reach the Explorer from below. Route it through a mirror in the water, down through the floor, then back up twice to finish directly under the Explorer.
Check: The source rejects stacking two mirrors in the water because the Trader cannot push a stack.
Open full-size image in a new tabPuzzle 27 · Arrange four world blocks (all_together_now)
Section titled “Puzzle 27 · Arrange four world blocks (all_together_now)”Keep the four world blocks separate and make every hero able to reach a centre exit. The purple beam fires left; place the two mirrors on the right so they bend it around in a U from the activated blue block. Align the spare skipping stone with the Explorer’s hole and the lily pad with the Thief’s gap.
Selected article still at the P44 35:26 cue. This layout reference is not an exact video PTS; the route summary follows the source article.
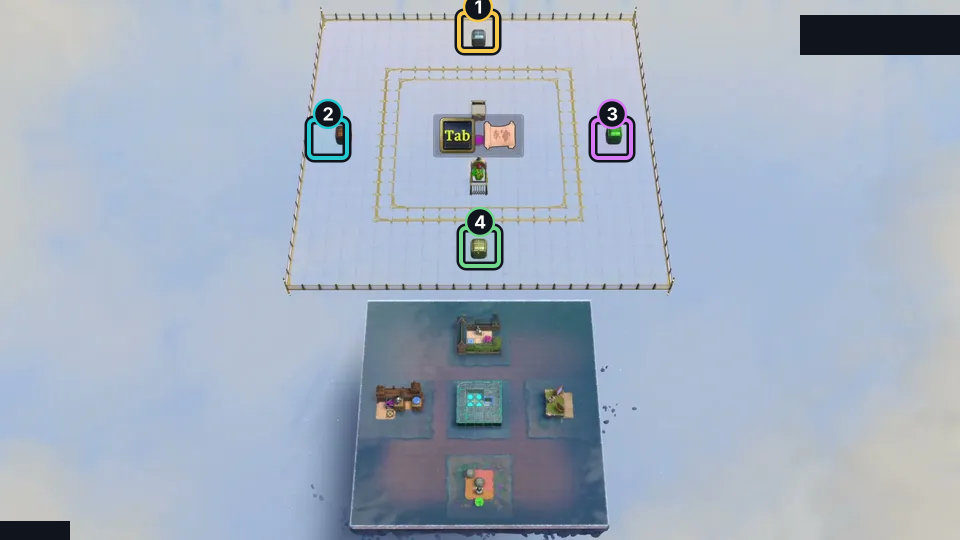
Arrange the four world blocks so they do not overlap and every hero can reach a centre exit. The purple beam fires left; place the two mirrors on the right so they bend it around in a U from the activated blue block.
Check: Align the spare skipping stone with the Explorer's hole and the lily pad with the Thief's gap. The article's route brings the other heroes through on the purple beam.
Open full-size image in a new tabBonus puzzle 1 — jenga_dispenser
Section titled “Bonus puzzle 1 — jenga_dispenser”Article section: Bonus puzzle 1; internal set position: unavailable.
The ring marks a visible landmark, not an action step.
Pull stones into the right-hand space in a hook.
Check: Ring marks pink circular pad on the lower-left ledge.
Open full-size image in a new tabBonus puzzle 2 — wizards_true_nature
Section titled “Bonus puzzle 2 — wizards_true_nature”Article section: Bonus puzzle 2; internal set position: unavailable.
The ring marks a visible landmark, not an action step.
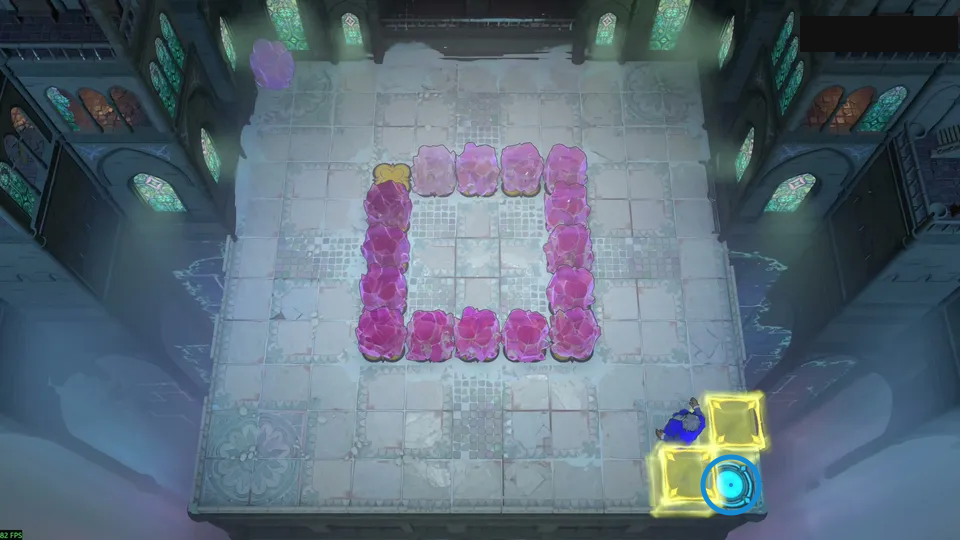
Build a safe structure for the Wizard’s crystal swap.
Check: Ring marks cyan circular pad beside the lower yellow blocks.
Open full-size image in a new tabSources and credits
Video: 塞德莎, Endgame High. Game art: Thekla, Inc.- Full puzzle candidate inventory (PC r67121) — Extracted data
- Official Order of the Sinking Star Steam update notes — Documentation · official-updates-reviewed-2026-10-21
- Endgame High (Second Ending) walkthrough — Documentation · endgame-high-walkthrough-2026-10-17
- 塞德莎 Endgame High walkthrough, part 43 — Observed in-game · selected-layout-review-2026-10-22
- Endgame High shipped-candidate classification and route limits — Documentation · candidate-classification-review-2026-10-22;remaining-source-candidates-2026-10-24
- Endgame High puzzle 1 selected still and native texture match — Observed in-game · screenshots-reviewed-2026-10-22
- Endgame High puzzle 2 selected still and native texture match — Observed in-game · screenshots-reviewed-2026-10-22
- Endgame High puzzle 3 selected still and native texture match — Observed in-game · screenshots-reviewed-2026-10-22
- Endgame High puzzle 4 selected still and native texture match — Observed in-game · screenshots-reviewed-2026-10-22
- Endgame High puzzle 5 selected still and native texture match — Observed in-game · screenshots-reviewed-2026-10-22
- Endgame High puzzle 7 selected still and native texture match — Observed in-game · screenshots-reviewed-2026-10-22
- Endgame High puzzle 8 selected still and native texture match — Observed in-game · screenshots-reviewed-2026-10-22
- Endgame High puzzle 9 selected still and native texture match — Observed in-game · screenshots-reviewed-2026-10-22
- Endgame High puzzle 10 selected still and native texture match — Observed in-game · screenshots-reviewed-2026-10-22
- Endgame High puzzle 11 selected still and native texture match — Observed in-game · screenshots-reviewed-2026-10-22
- Endgame High puzzle 12 selected still and native texture match — Observed in-game · screenshots-reviewed-2026-10-22
- Endgame High puzzle 13 selected still and native texture match — Observed in-game · screenshots-reviewed-2026-10-22
- Endgame High puzzle 14 selected still and native texture match — Observed in-game · screenshots-reviewed-2026-10-22
- 塞德莎 Endgame High walkthrough, part 44 — Observed in-game · selected-layout-review-2026-10-22
- Endgame High puzzle 16 selected still and native texture match — Observed in-game · screenshots-reviewed-2026-10-22
- Endgame High puzzle 17 selected still and native texture match — Observed in-game · screenshots-reviewed-2026-10-22
- Endgame High puzzle 19 selected still and native texture match — Observed in-game · screenshots-reviewed-2026-10-22
- Endgame High puzzle 20 selected still and native texture match — Observed in-game · screenshots-reviewed-2026-10-22
- Endgame High puzzle 21 selected still and native texture match — Observed in-game · screenshots-reviewed-2026-10-22
- Endgame High puzzle 23 selected still and native texture match — Observed in-game · screenshots-reviewed-2026-10-22
- Endgame High puzzle 24 selected still and native texture match — Observed in-game · screenshots-reviewed-2026-10-22
- Endgame High puzzle 25 selected still and native texture match — Observed in-game · screenshots-reviewed-2026-10-22
- Endgame High puzzle 26 selected still and native texture match — Observed in-game · screenshots-reviewed-2026-10-22
- Endgame High puzzle 27 selected still and native texture match — Observed in-game · screenshots-reviewed-2026-10-22
- Remaining approved source/native candidate crosswalk — Extracted data · remaining-source-candidates-2026-10-25-29-video-display-upgrades
- Endgame High bilingual selected-layout evidence — Extracted data · remaining-source-layouts-endgame-high-2026-10-24-remaining29-display-upgrades-2026-10-25
- Sinking Star Walkthrough article: endgame high solutions — Documentation · walkthrough-endgame-high-solutions
- Twenty-nine selected video frames for previously confirmed room identities — Observed in-game · remaining29-selected-video-frame-observations-2026-10-25
- Display-only coverage delta for29 existing confirmed identities — Extracted data · remaining29-display-coverage-delta-2026-10-25
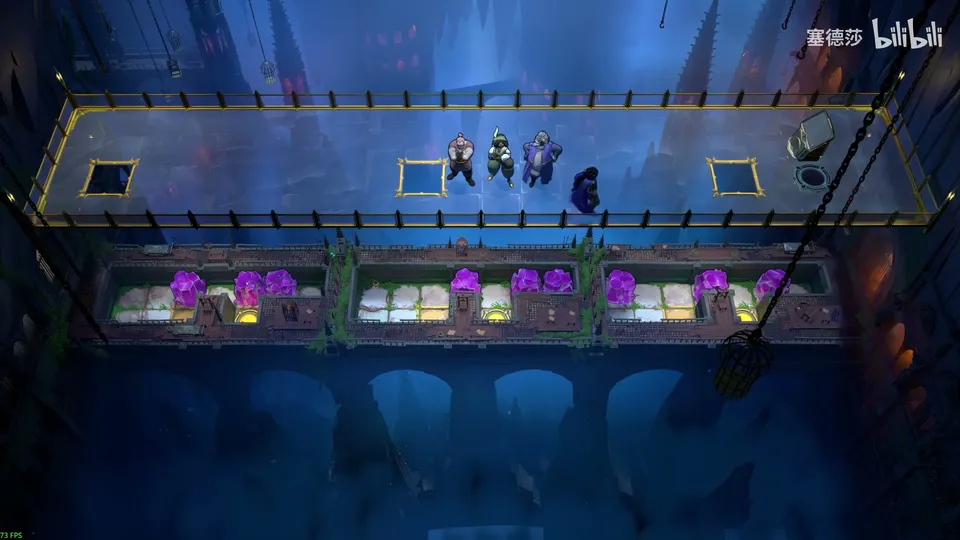
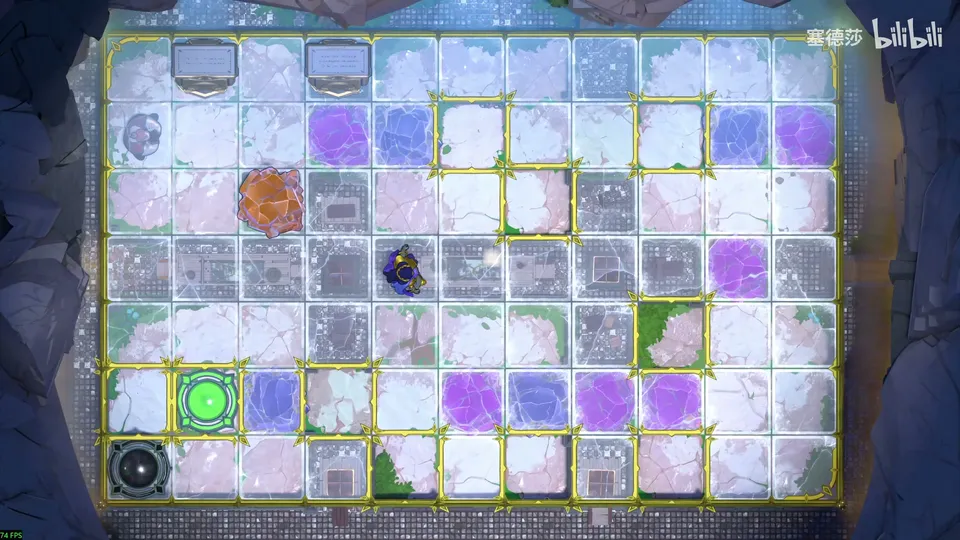
Unofficial fan wiki, not affiliated with Thekla, Inc. / Arc Games / Gamirror Games. Game content belongs to its owners.
Comments & feedback
Share a tip or suggest a correction. Comments are public. Guest names are unverified; verified accounts show their account username. All language pages share this discussion. Please keep personal information private.