
 Order of the Sinking Star
Heroes and Artifacts: more rooms

Plan where the heroes, gems, and artifacts will land before you move them. Puzzle numbering follows the source article; puzzles 6 and 8 show selected frames from current playlist part 16, which the article labels part 15. Article puzzle numbers remain separate from internal set positions. The rings identify visible landmarks in selected states, and the hints summarize the article’s advice. These views show selected moments rather than a full route.
Heroes and Artifacts: more rooms article rooms
Section titled “Heroes and Artifacts: more rooms article rooms”Puzzle 1
Section titled “Puzzle 1”This article still has no approved candidate assignment.
Puzzle 2
Section titled “Puzzle 2”This article still has no approved candidate assignment.
Puzzle 3
Section titled “Puzzle 3”This article still has no approved candidate assignment.
Puzzle 4
Section titled “Puzzle 4”This article still has no approved candidate assignment.
Puzzle 5
Section titled “Puzzle 5”This article still has no approved candidate assignment.
Puzzle 6
Section titled “Puzzle 6”This is a selected video state, not a verified starting layout or route.
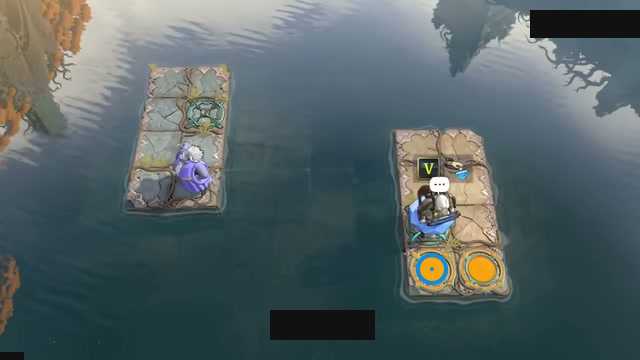
Swap while carrying the gem to move both.
Check: Ring marks left yellow pad on the right island.
Open full-size image in a new tabPuzzle 7
Section titled “Puzzle 7”The ring marks a visible landmark, not an action step.
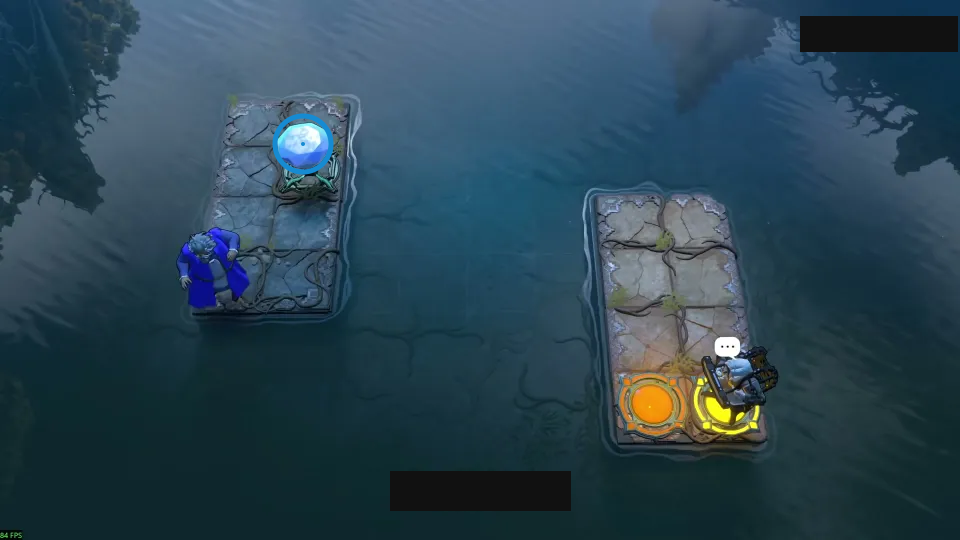
Stand on the gem before swapping.
Check: Ring marks blue gem on the upper-left island.
Open full-size image in a new tabPuzzle 8
Section titled “Puzzle 8”This is a selected video state, not a verified starting layout or route.
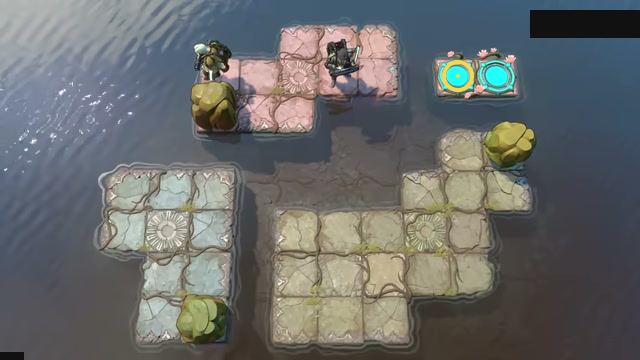
Turn each wand before teleporting it.
Check: Ring marks left cyan pad on the separate upper-right island.
Open full-size image in a new tabPuzzle 9
Section titled “Puzzle 9”The ring marks a visible landmark, not an action step.
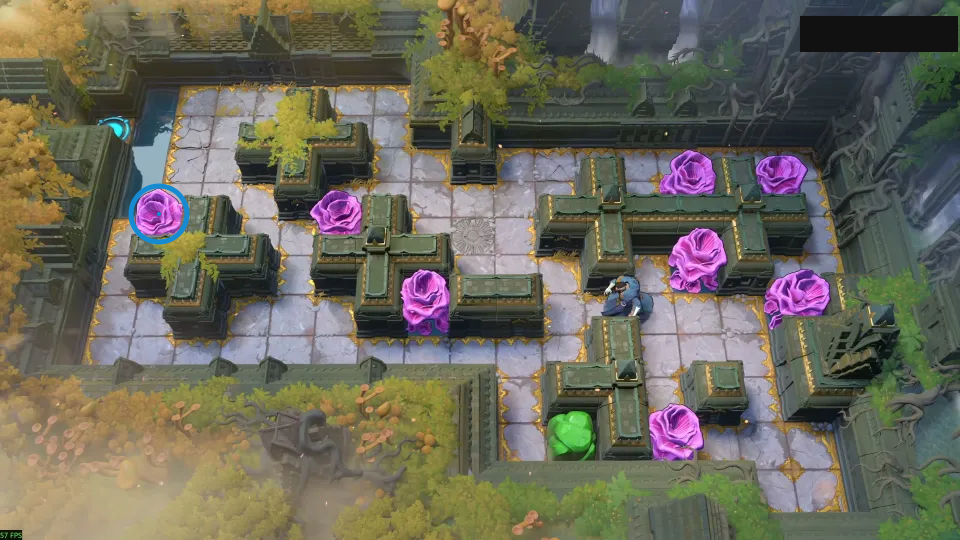
Choose which plants become solid blocks.
Check: Ring marks magenta flower on the left path.
Open full-size image in a new tabPuzzle 10
Section titled “Puzzle 10”The ring marks a visible landmark, not an action step.
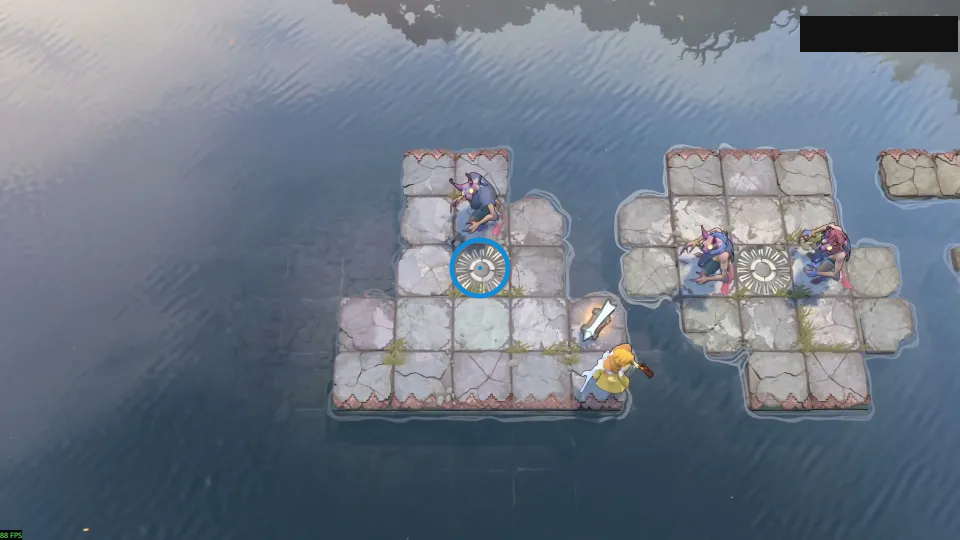
Place each goblin so the Priestess can pass.
Check: Ring marks round floor pattern on the left island.
Open full-size image in a new tabPuzzle 11
Section titled “Puzzle 11”The ring marks a visible landmark, not an action step.
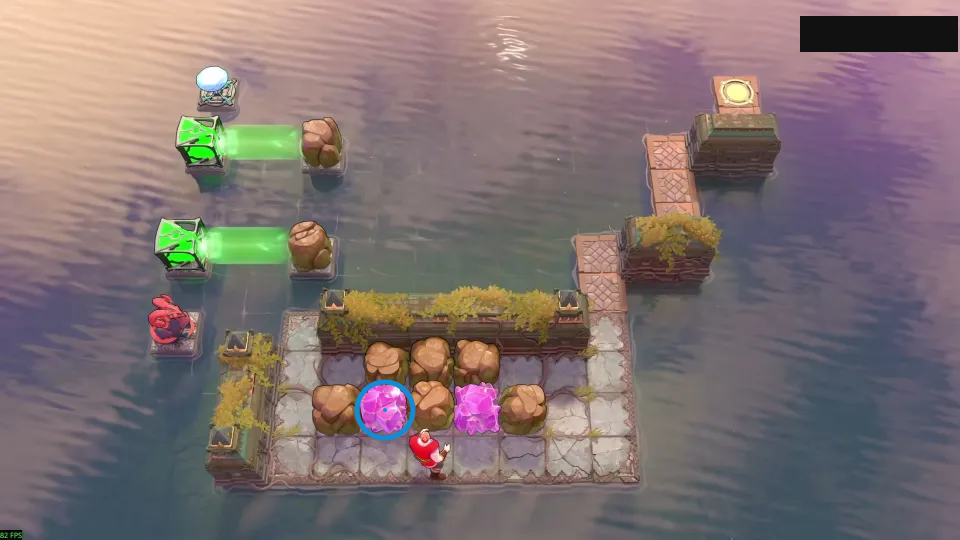
Choose the pushing order for the two boulders.
Check: Ring marks pink crystal in the middle row.
Open full-size image in a new tabPuzzle 12
Section titled “Puzzle 12”The ring marks a visible landmark, not an action step.
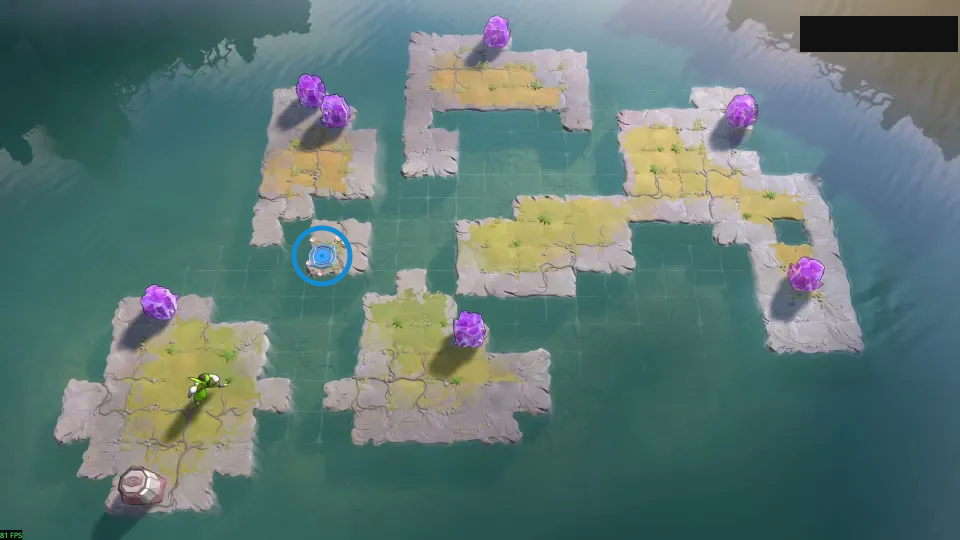
Let the cart robot push boulders into water.
Check: Ring marks blue circular pad on the left island.
Open full-size image in a new tabVideo source
Video credit: 塞德莎. Puzzles 6 and 8 show selected frames from this video.
- Full puzzle candidate inventory (PC r67121) — Extracted data
- Heroes and Artifacts solution article — Documentation · walkthrough-heroes-and-artifacts-solutions
- Heroes and Artifacts solution article approved source/native crosswalk — Extracted data · approved-cross-source-candidates-2026-10-24
- Heroes and Artifacts solution article bilingual selected-layout sections — Extracted data · heroes-and-artifacts-expansion-selected-layouts-2026-10-24-two-video-states
- Heroes and Artifacts current playlist part 16 selected source frames / 英雄与神器当前播放列表第16部分选定画面 — Observed in-game · selected-frames-reviewed-2026-10-24
- Heroes and Artifacts two-frame source observation supplement — Observed in-game · heroes-and-artifacts-expansion-video-frame-observations-2026-10-24
- Heroes and Artifacts display coverage delta for two selected video frames — Extracted data · heroes-and-artifacts-expansion-display-coverage-delta-2026-10-24
Unofficial fan wiki, not affiliated with Thekla, Inc. / Arc Games / Gamirror Games. Game content belongs to its owners.
Comments & feedback
Share a tip or suggest a correction. Comments are public. Guest names are unverified; verified accounts show their account username. All language pages share this discussion. Please keep personal information private.