
 Order of the Sinking Star
Heroes and Mirrors: Part 3 starting layouts

These selected P3 views show chapter-start layouts. Use each section title and colored ring to locate the visible feature in its image.
Mirror Hallway V2 (mirror_hallway_v2)
Section titled “Mirror Hallway V2 (mirror_hallway_v2)”Images show selected video checkpoints; the first frame is the starting position.
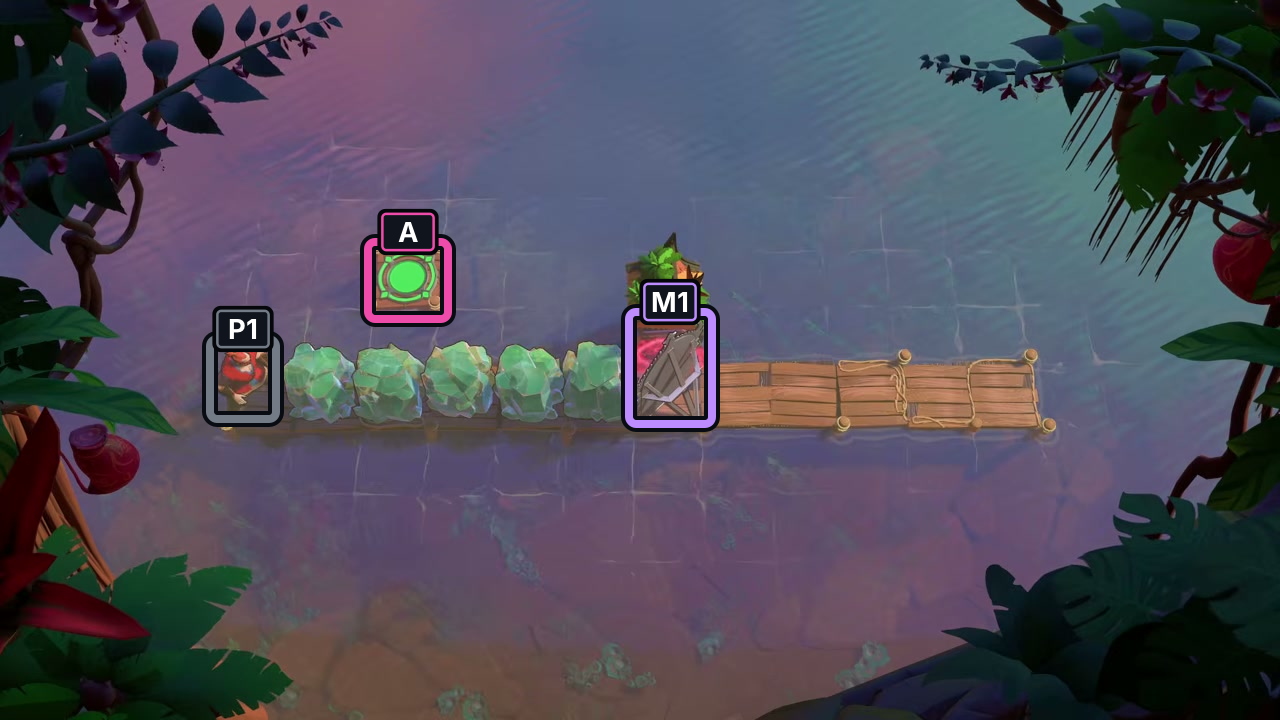
P1 stands at the left end of the walkway; mirror M1 and switch A are further along it.
Check: Starting layout only; no route or finish is shown.
Open full-size image in a new tabThe Swappers (the_swappers)
Section titled “The Swappers (the_swappers)”Images show selected video checkpoints; the first frame is the starting position.
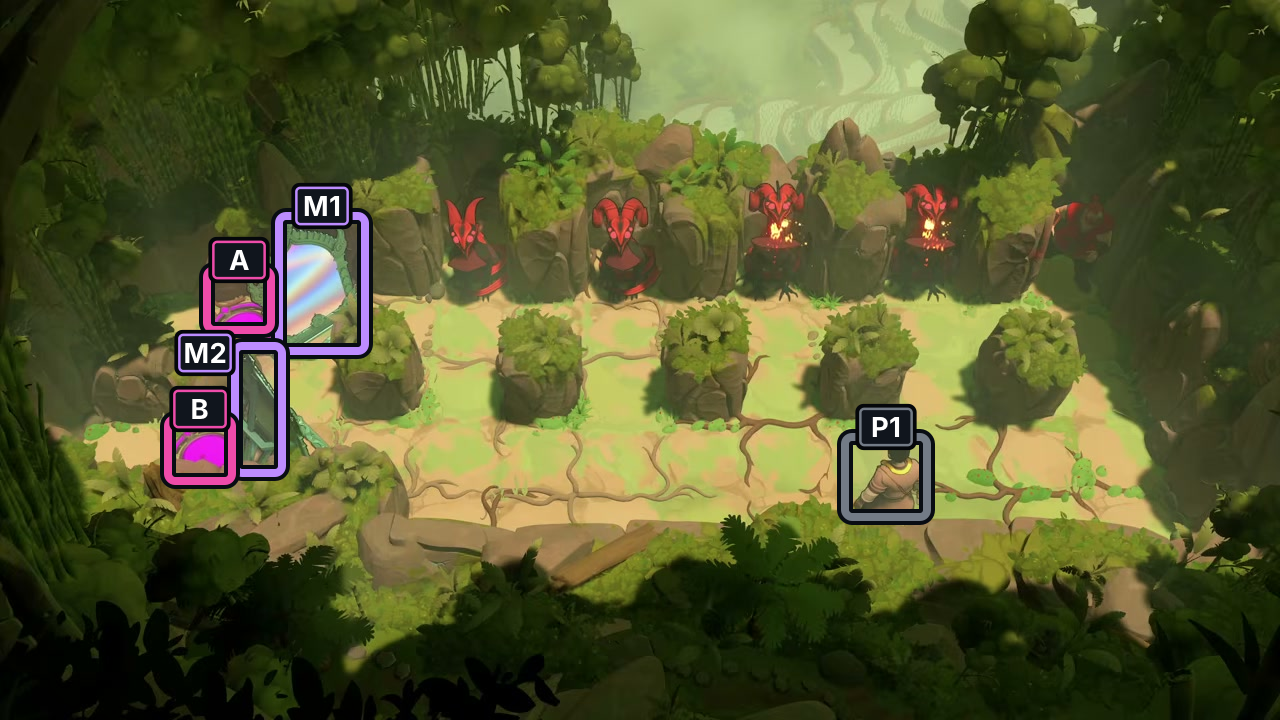
P1 starts at lower right; mirrors M1/M2 and pads A/B are grouped at the left.
Check: Starting layout only; no route or finish is shown.
Open full-size image in a new tabTricky Swappers V3 (tricky_swappers_v3)
Section titled “Tricky Swappers V3 (tricky_swappers_v3)”Images show selected video checkpoints; the first frame is the starting position.
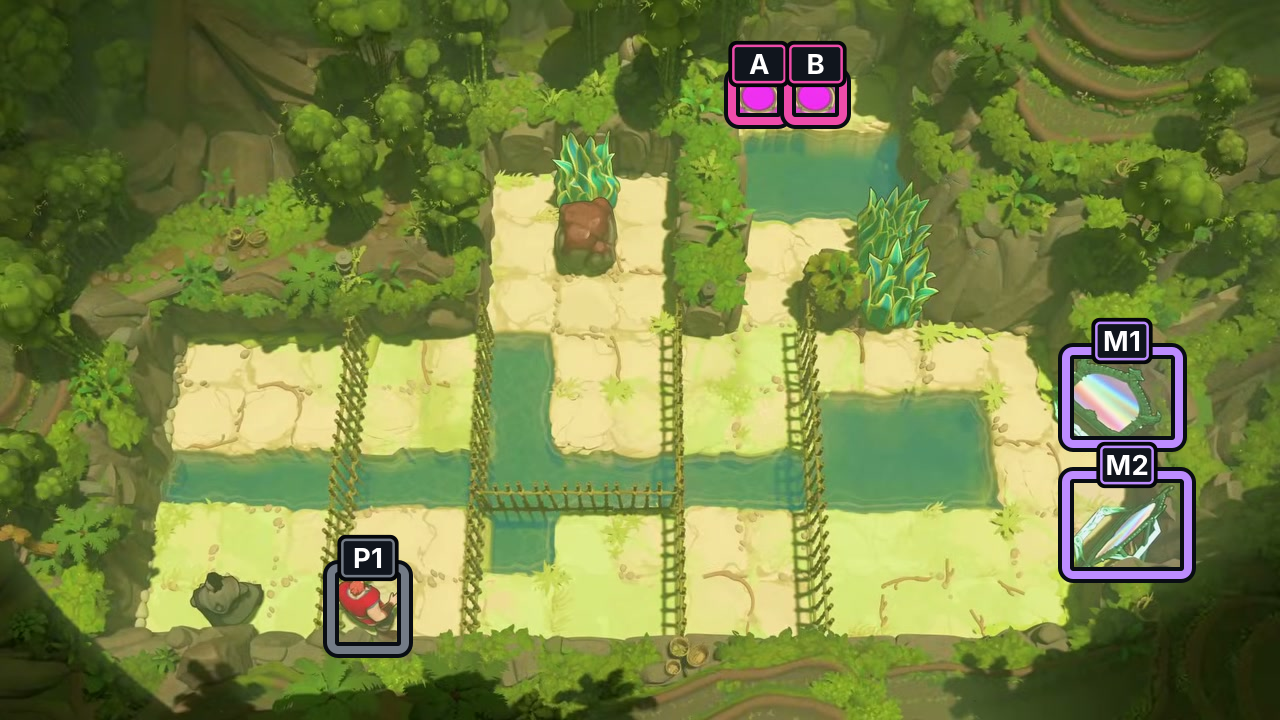
P1 is at the lower edge; mirrors M1/M2 are on the right, with pads A/B above the board.
Check: Starting layout only; no route or finish is shown.
Open full-size image in a new tabGoblin Parity (goblin_parity)
Section titled “Goblin Parity (goblin_parity)”Images show selected video checkpoints; the first frame is the starting position.
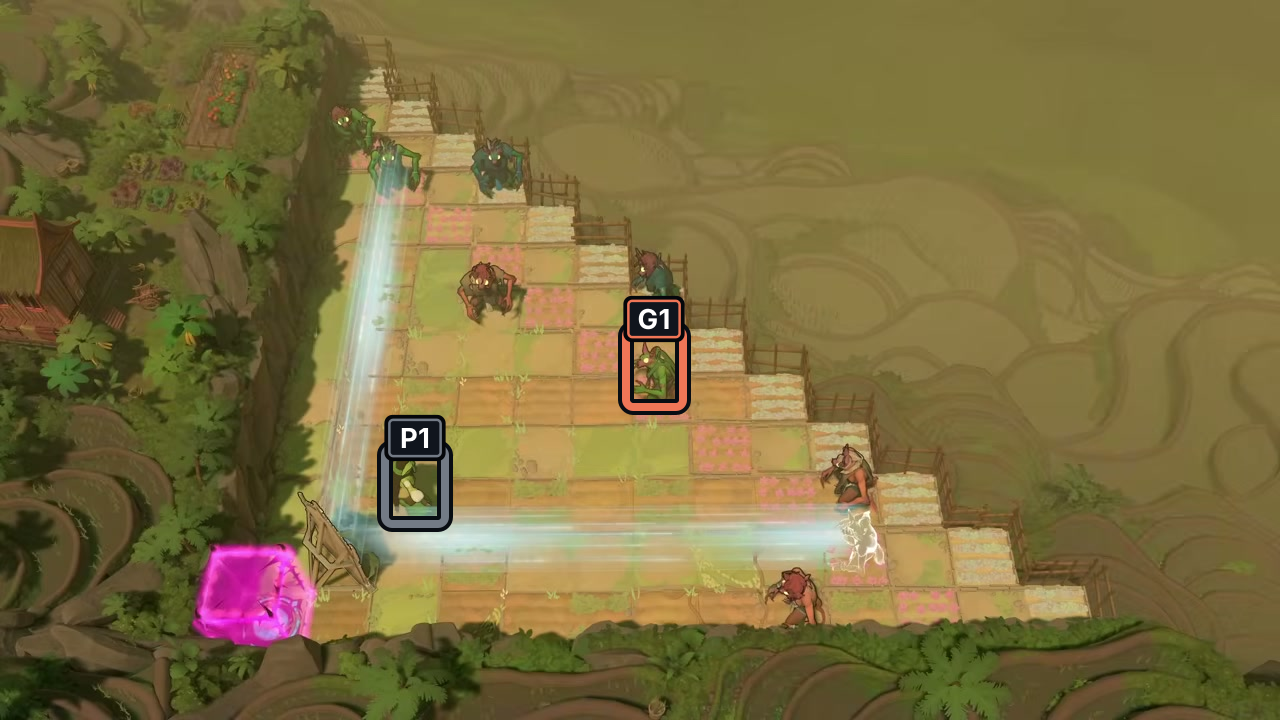
P1 stands near the lower-left edge; G1 marks one clearly visible goblin in the lane.
Check: Starting layout only; no route or finish is shown.
Open full-size image in a new tabTwo Dragon Rooms (two_dragon_rooms)
Section titled “Two Dragon Rooms (two_dragon_rooms)”Images show selected video checkpoints; the first frame is the starting position.
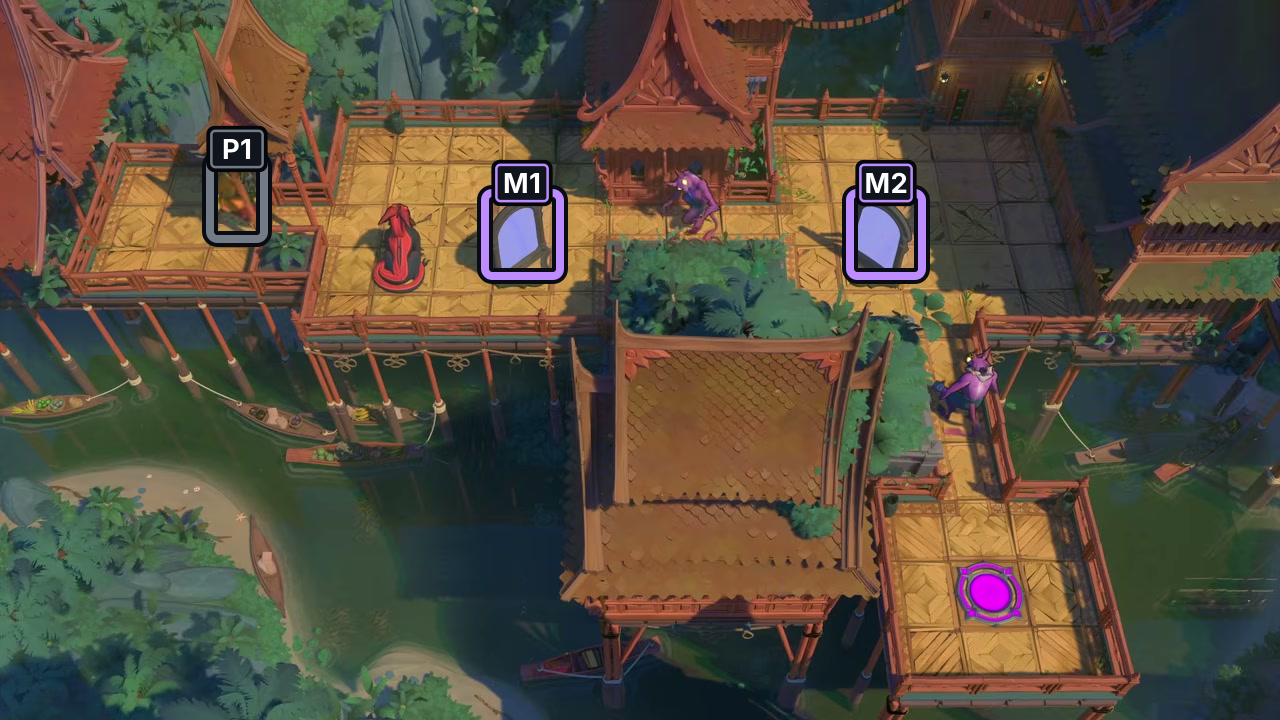
P1 is on the upper left; mirrors M1 and M2 are visible across the upper walkways.
Check: Starting layout only; no route or finish is shown.
Open full-size image in a new tabFuse (fuse)
Section titled “Fuse (fuse)”Images show selected video checkpoints; the first frame is the starting position.
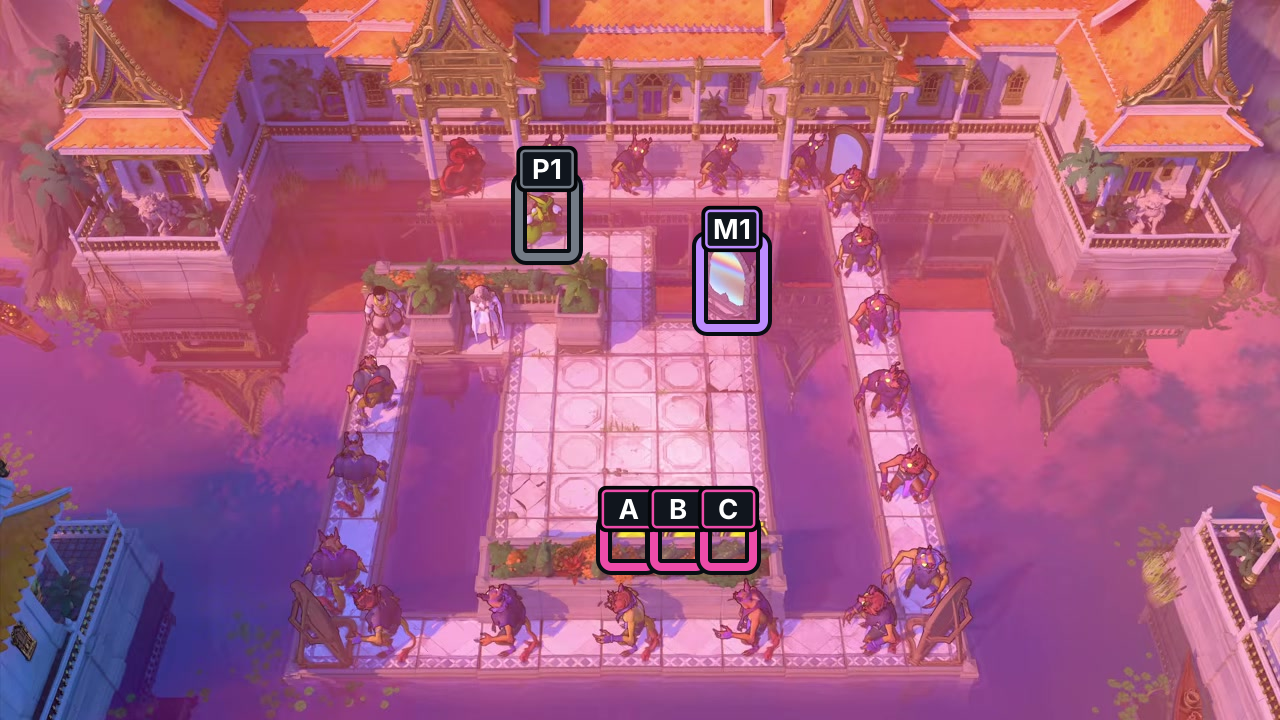
P1 and mirror M1 are marked near the center; switches A–C line the lower central edge.
Check: Starting layout only; no route or finish is shown.
Open full-size image in a new tabTrick Kills (trick_kills)
Section titled “Trick Kills (trick_kills)”Images show selected video checkpoints; the first frame is the starting position.
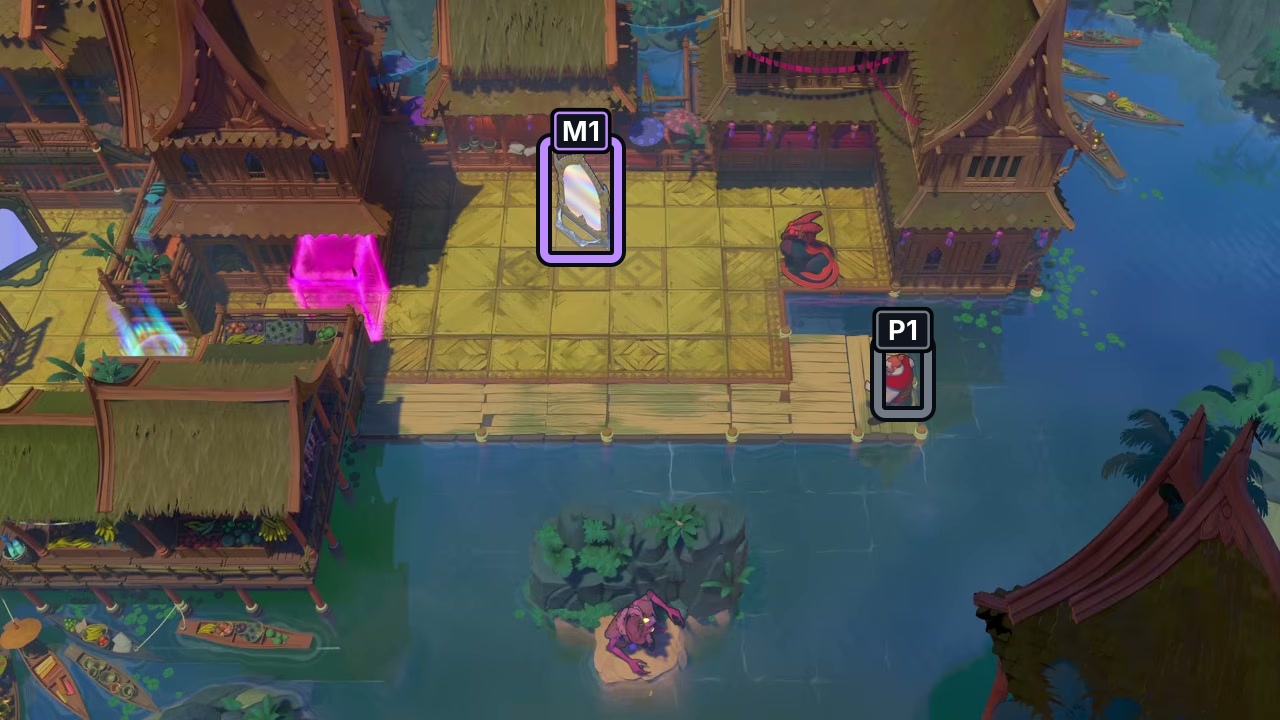
P1 stands on the right walkway; mirror M1 is near the center of the board.
Check: Starting layout only; no route or finish is shown.
Open full-size image in a new tab Wizard Mirror Intro (
wizard_mirror_intro)
Section titled “Wizard Mirror Intro (wizard_mirror_intro)”Images show selected video checkpoints; the first frame is the starting position.
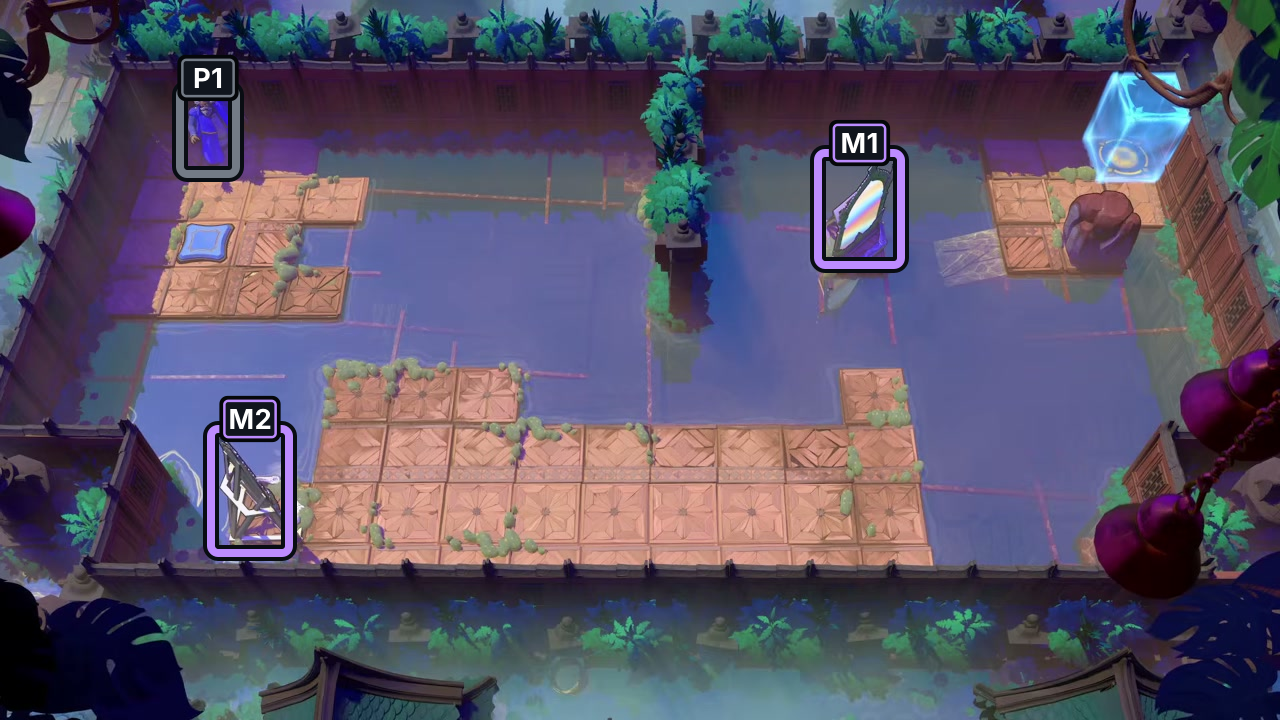
P1 appears on the upper-left platform; mirrors M1 and M2 are near center and lower left.
Check: Starting layout only; no route or finish is shown.
Open full-size image in a new tabRegular Mirror V4 (regular_mirror_v4)
Section titled “Regular Mirror V4 (regular_mirror_v4)”Images show selected video checkpoints; the first frame is the starting position.
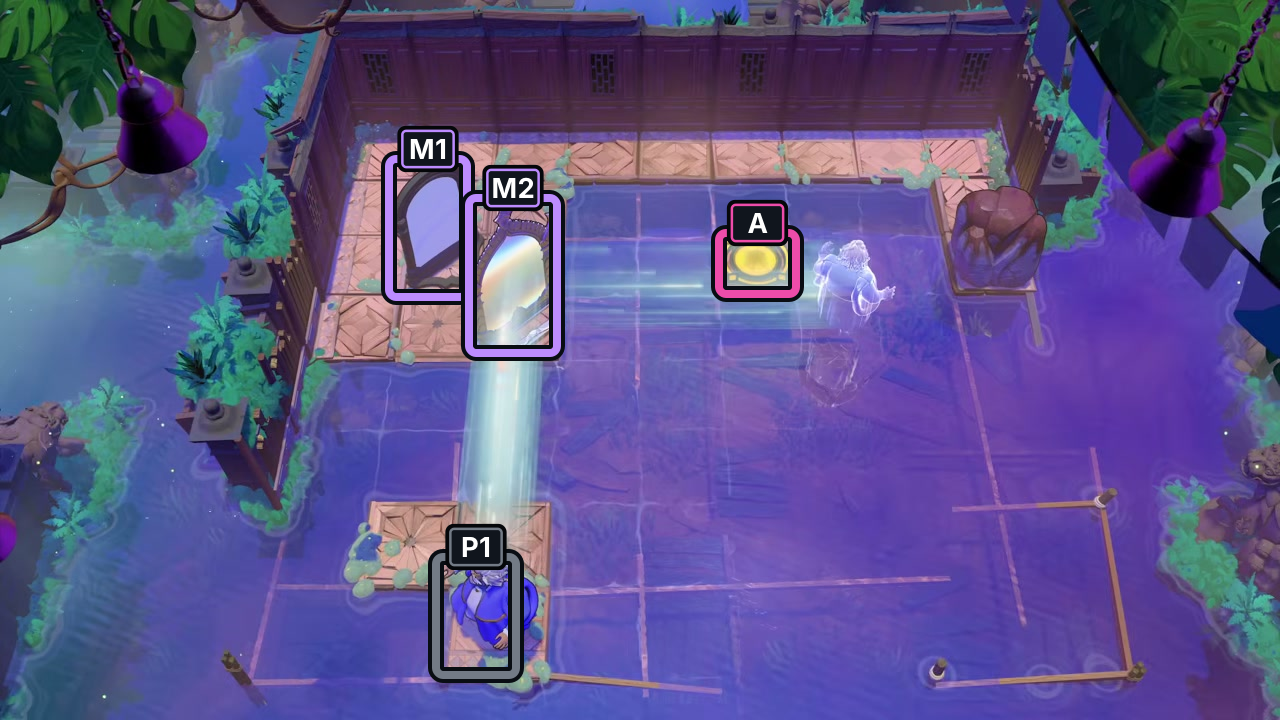
P1 is at the bottom; mirrors M1/M2 and switch A are across the upper board.
Check: Starting layout only; no route or finish is shown.
Open full-size image in a new tabMoving A Mirror (moving_a_mirror)
Section titled “Moving A Mirror (moving_a_mirror)”Images show selected video checkpoints; the first frame is the starting position.
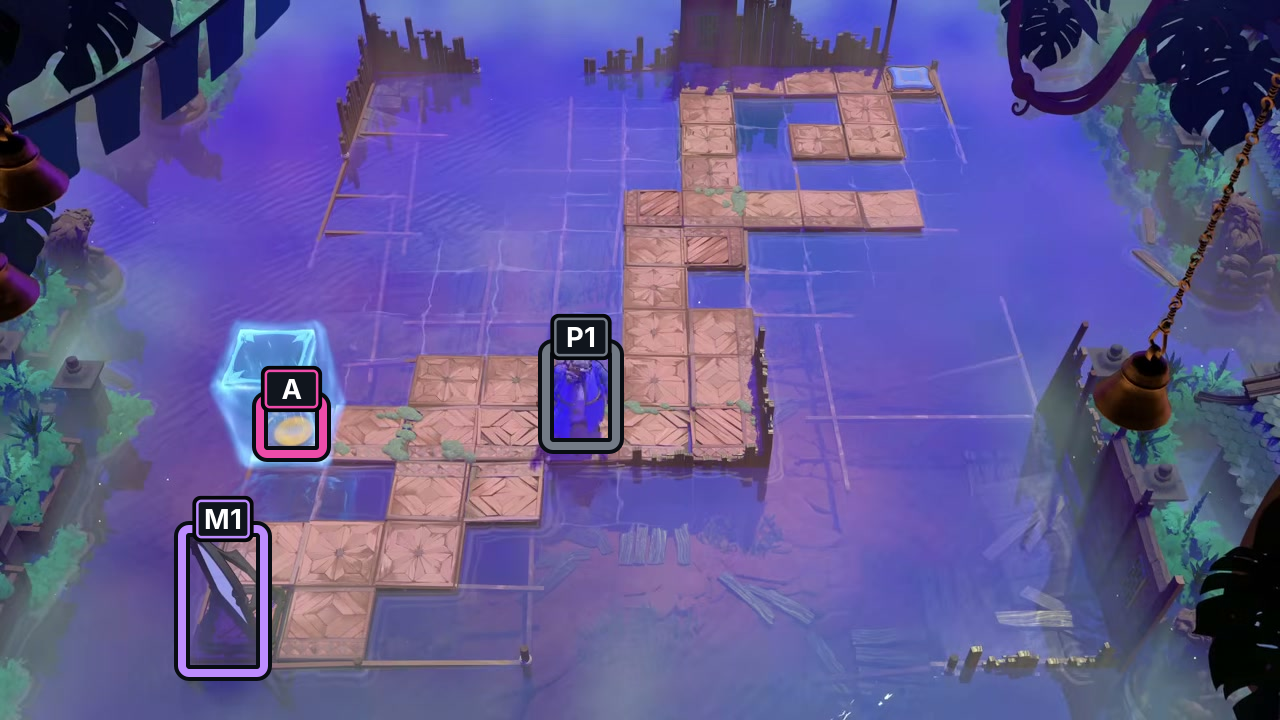
P1 is near the center walkway; mirror M1 is at lower left and pad A is inside the blue effect.
Check: Starting layout only; no route or finish is shown.
Open full-size image in a new tabMoving Three Mirrors (moving_three_mirrors)
Section titled “Moving Three Mirrors (moving_three_mirrors)”Images show selected video checkpoints; the first frame is the starting position.
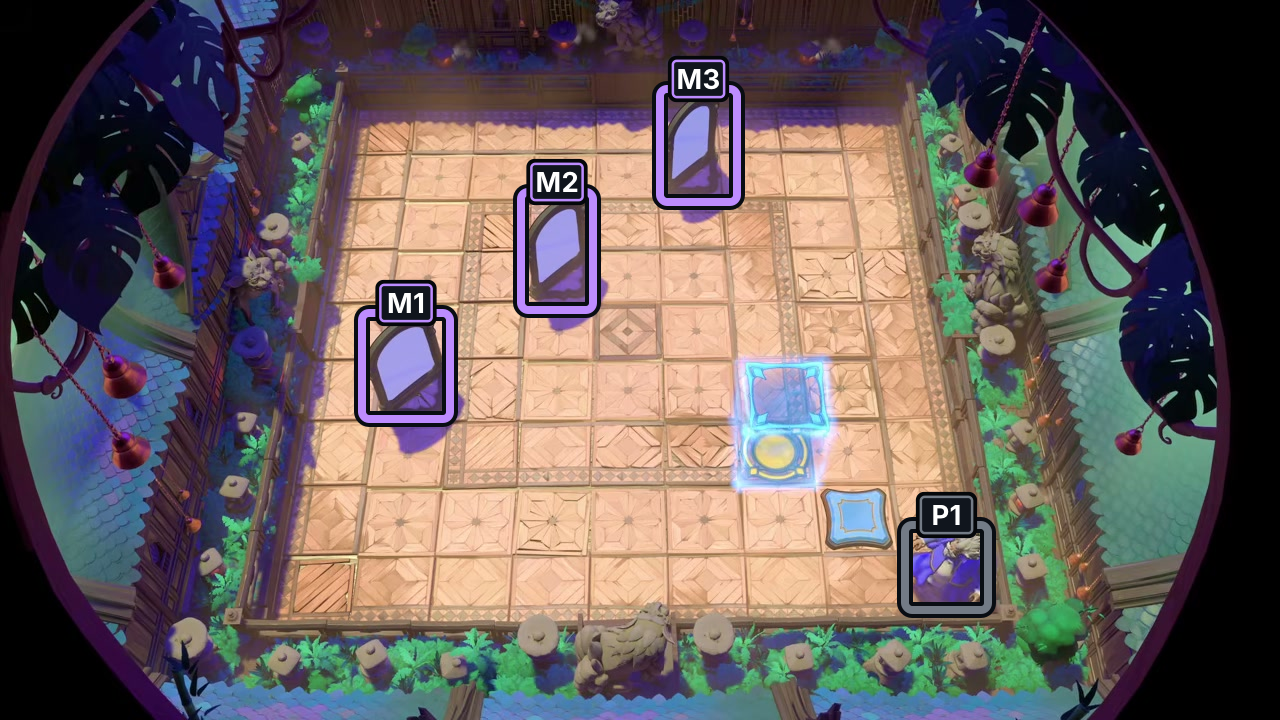
P1 is at lower right; mirrors M1–M3 are distributed across the left and upper board.
Check: Starting layout only; no route or finish is shown.
Open full-size image in a new tabSources and credits
Each card records a selected P3 chapter-start frame and its visual comparison with a local room texture; the textures are comparison provenance and are not published here. No full P3 video SHA-256 is available; only the selected JPEG frame hashes and PTS are recorded.
Video: Heroes and Mirrors (Part 3) | 19 Puzzle Solutions | Order of the Sinking Star.
- Heroes and Mirrors (Part 3) | 19 Puzzle Solutions | Order of the Sinking Star — Observed in-game · selected-start-layout-review-2026-10-22
- Heroes and Mirrors mirror_hallway_v2 P3 starting-layout screenshot — Observed in-game · p3-start-screenshots-reviewed-2026-10-22
- Heroes and Mirrors the_swappers P3 starting-layout screenshot — Observed in-game · p3-start-screenshots-reviewed-2026-10-22
- Heroes and Mirrors tricky_swappers_v3 P3 starting-layout screenshot — Observed in-game · p3-start-screenshots-reviewed-2026-10-22
- Heroes and Mirrors goblin_parity P3 starting-layout screenshot — Observed in-game · p3-start-screenshots-reviewed-2026-10-22
- Heroes and Mirrors two_dragon_rooms P3 starting-layout screenshot — Observed in-game · p3-start-screenshots-reviewed-2026-10-22
- Heroes and Mirrors fuse P3 starting-layout screenshot — Observed in-game · p3-start-screenshots-reviewed-2026-10-22
- Heroes and Mirrors trick_kills P3 starting-layout screenshot — Observed in-game · p3-start-screenshots-reviewed-2026-10-22
- Heroes and Mirrors wizard_mirror_intro P3 starting-layout screenshot — Observed in-game · p3-start-screenshots-reviewed-2026-10-22
- Heroes and Mirrors regular_mirror_v4 P3 starting-layout screenshot — Observed in-game · p3-start-screenshots-reviewed-2026-10-22
- Heroes and Mirrors moving_a_mirror P3 starting-layout screenshot — Observed in-game · p3-start-screenshots-reviewed-2026-10-22
- Heroes and Mirrors moving_three_mirrors P3 starting-layout screenshot — Observed in-game · p3-start-screenshots-reviewed-2026-10-22
Unofficial fan wiki, not affiliated with Thekla, Inc. / Arc Games / Gamirror Games. Game content belongs to its owners.
Comments & feedback
Share a tip or suggest a correction. Comments are public. Guest names are unverified; verified accounts show their account username. All language pages share this discussion. Please keep personal information private.