
 Order of the Sinking Star
High Mirrors: additional rooms

The hints below paraphrase the corresponding article’s guidance. Article puzzle numbers remain separate from level-set positions; rings mark visible landmarks.
Puzzle 1 — trader_descend
Section titled “Puzzle 1 — trader_descend”The ring marks a visible landmark, not an action step.
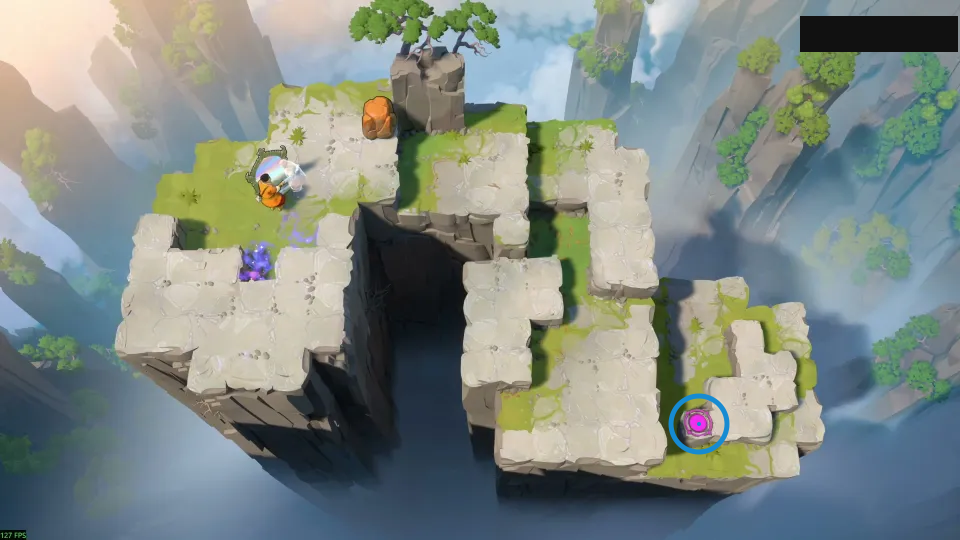
Push a stone down before sliding the mirror out.
Check: Ring marks pink circular pad at the lower-right corner.
Open full-size image in a new tabPuzzle 2 — cliff_hopping
Section titled “Puzzle 2 — cliff_hopping”The ring marks a visible landmark, not an action step.
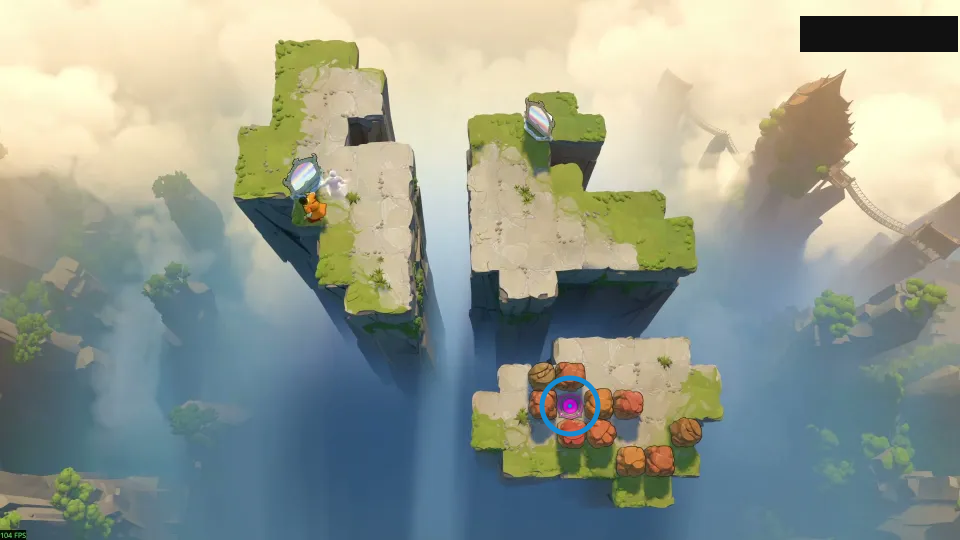
Reflect directly onto a stone, not the floor.
Check: Ring marks pink circular pad among the lower stones.
Open full-size image in a new tabPuzzle 3 — make_a_right_simpler
Section titled “Puzzle 3 — make_a_right_simpler”The ring marks a visible landmark, not an action step.
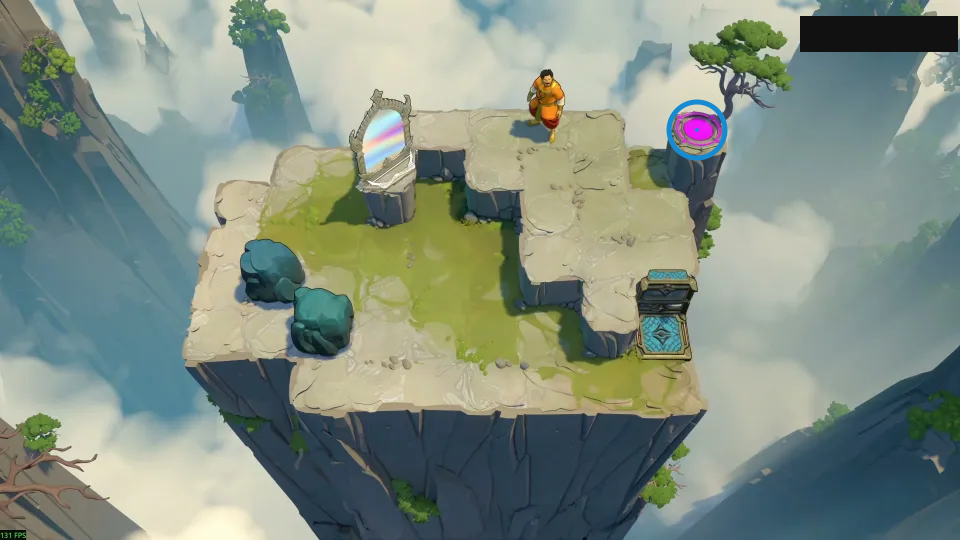
Wedge the mirror, then reuse the stones as landings.
Check: Ring marks pink circular pad on the upper-right pillar.
Open full-size image in a new tabPuzzle 4 — make_a_right
Section titled “Puzzle 4 — make_a_right”The ring marks a visible landmark, not an action step.
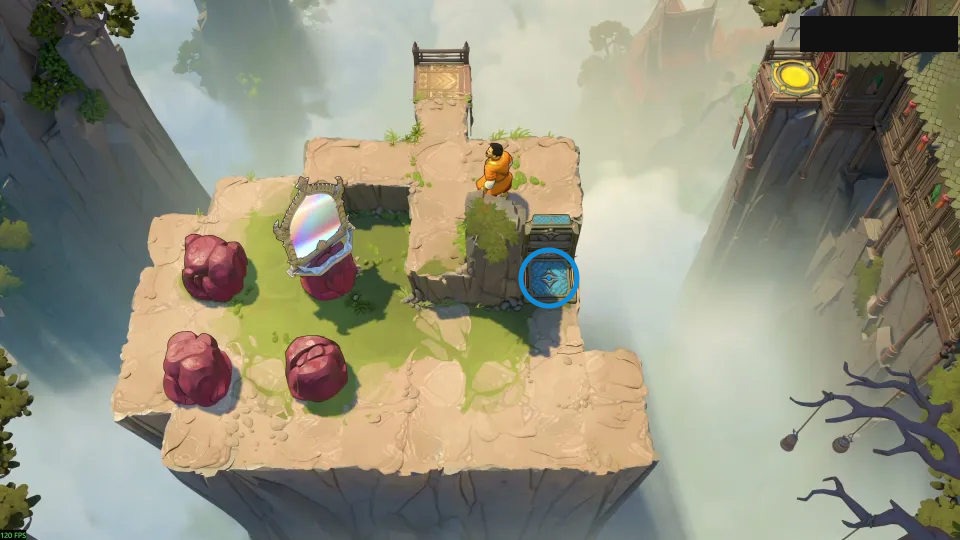
Use the diagonal to plan three returning stones.
Check: Ring marks blue patterned block beneath the right ledge.
Open full-size image in a new tabPuzzle 5 — learn_to_catch_v2
Section titled “Puzzle 5 — learn_to_catch_v2”The ring marks a visible landmark, not an action step.
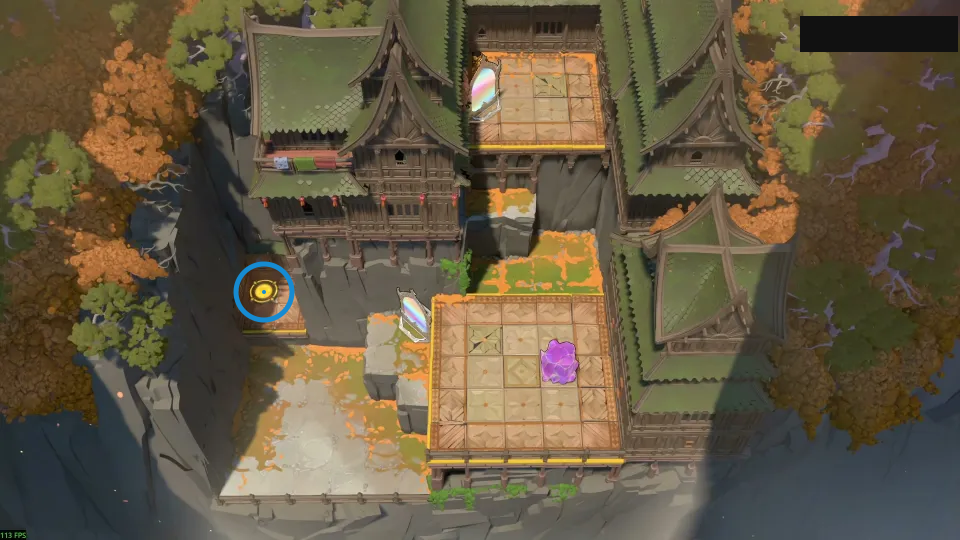
Reflect while you are falling.
Check: Ring marks yellow circular pad on the left ledge.
Open full-size image in a new tabPuzzle 6 — trust_falls
Section titled “Puzzle 6 — trust_falls”The ring marks a visible landmark, not an action step.
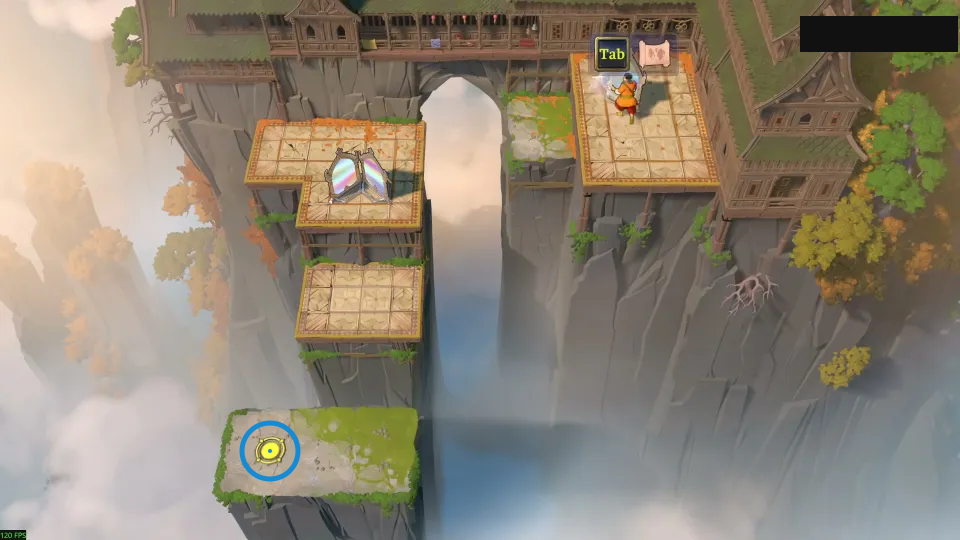
Try reflecting from empty air beside the cliff.
Check: Ring marks yellow circular pad on the lowest island.
Open full-size image in a new tabPuzzle 7 — falling_blocker_v3
Section titled “Puzzle 7 — falling_blocker_v3”The ring marks a visible landmark, not an action step.
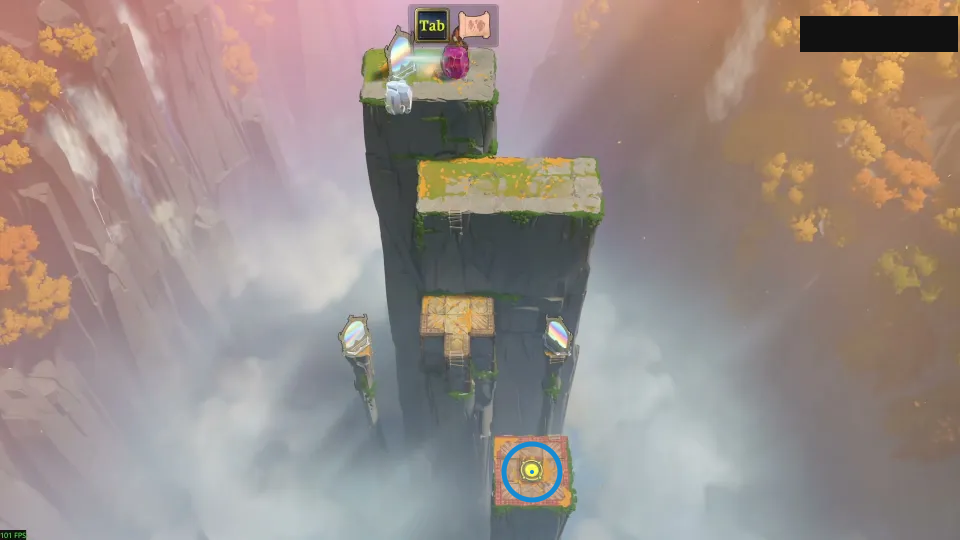
Arrange for a stone, not a clone, to land nearby.
Check: Ring marks yellow circular pad on the lowest platform.
Open full-size image in a new tabPuzzle 8 — pillars
Section titled “Puzzle 8 — pillars”The ring marks a visible landmark, not an action step.
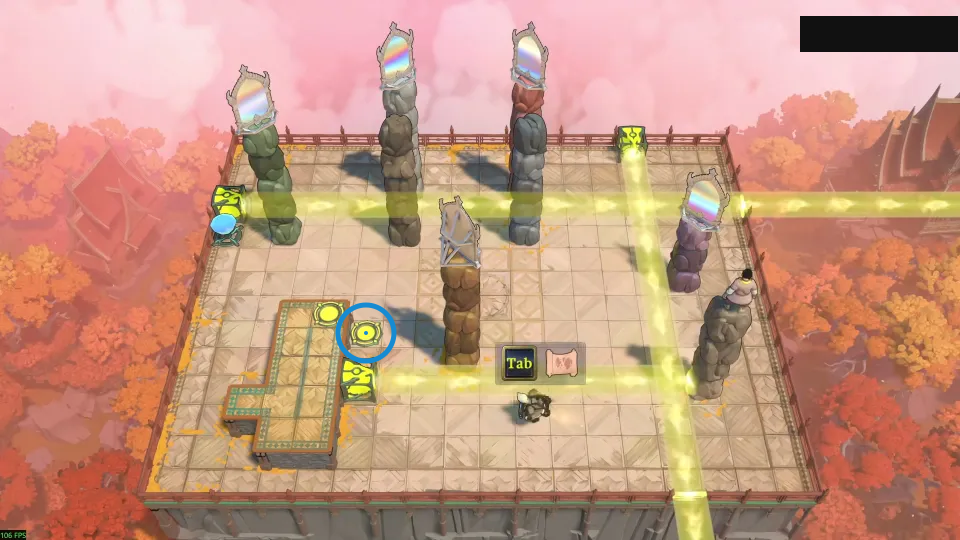
Fall and reflect in mid-air to reach the higher ground.
Check: Ring marks green circular pad beside the raised strip.
Open full-size image in a new tabPuzzle 9 — long_platform_v2
Section titled “Puzzle 9 — long_platform_v2”The ring marks a visible landmark, not an action step.
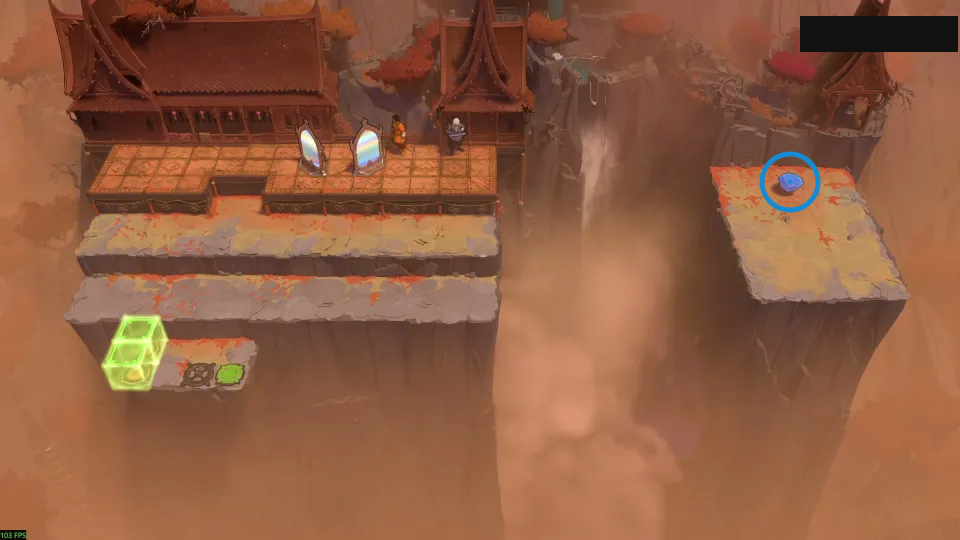
Reflect the Explorer down, then sideways while falling.
Check: Ring marks blue gem on the right island.
Open full-size image in a new tabPuzzle 10 — blind_spot_v2
Section titled “Puzzle 10 — blind_spot_v2”The ring marks a visible landmark, not an action step.
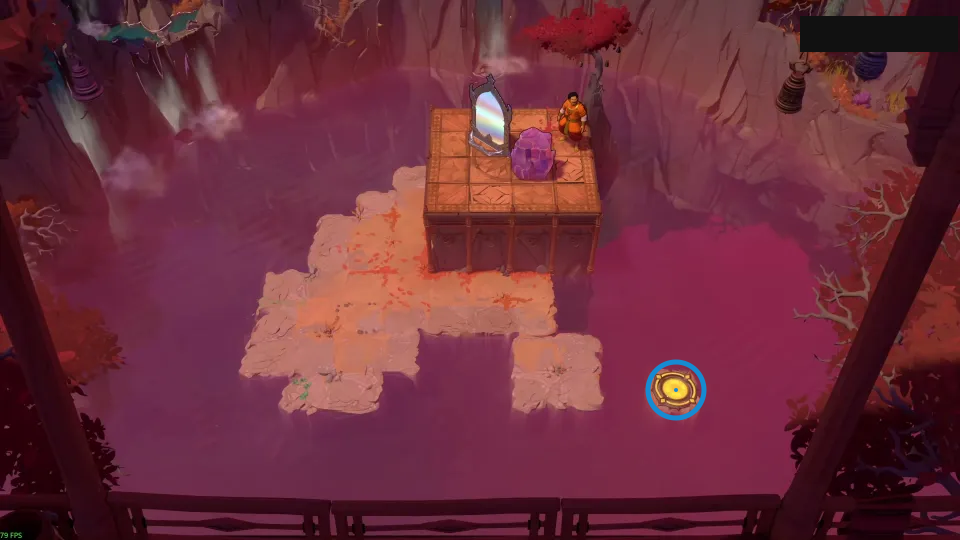
Drop the mirror, then reflect the stone in mid-air.
Check: Ring marks yellow circular pad beside the lower-right island.
Open full-size image in a new tabPuzzle 11 — triple_gate
Section titled “Puzzle 11 — triple_gate”The ring marks a visible landmark, not an action step.
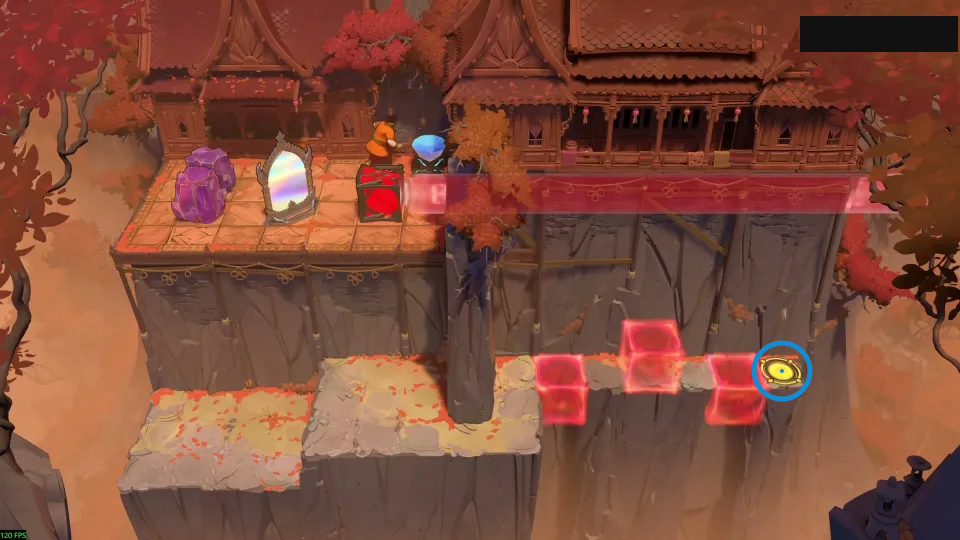
Lower the red beam one level at a time.
Check: Ring marks yellow circular pad at the right end of the ledge.
Open full-size image in a new tabOverworld puzzle 2 — vert_mirror_intro
Section titled “Overworld puzzle 2 — vert_mirror_intro”The ring marks a visible landmark, not an action step.
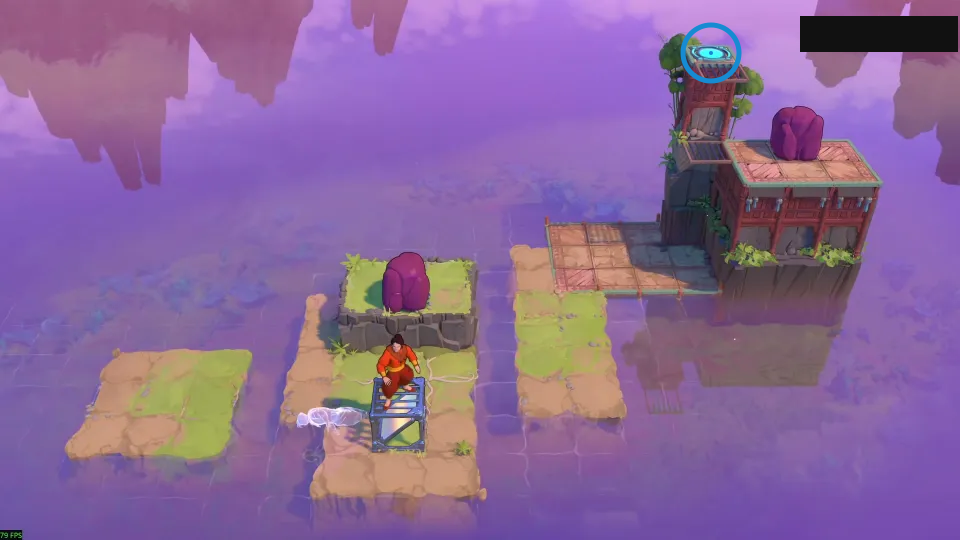
Use vertical mirrors to move up and down.
Check: Ring marks cyan circular pad on top of the tall building.
Open full-size image in a new tabOverworld puzzle 3 — new_way_mirror_later
Section titled “Overworld puzzle 3 — new_way_mirror_later”The ring marks a visible landmark, not an action step.
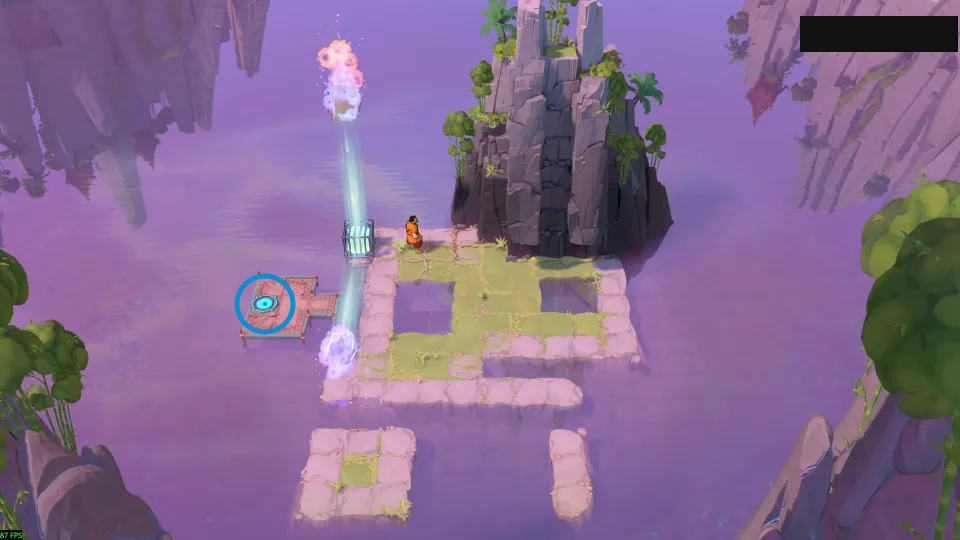
Use a falling reflection to shift an overworld stone.
Check: Ring marks cyan circular pad on the left landing.
Open full-size image in a new tabPuzzle 21 — catching_up_v2
Section titled “Puzzle 21 — catching_up_v2”The ring marks a visible landmark, not an action step.
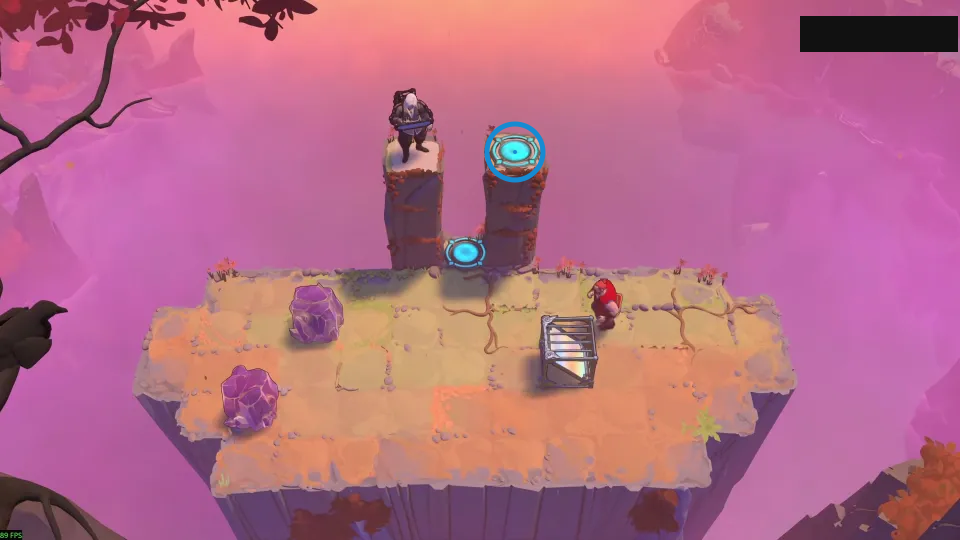
Time two falling reflections to stack crystals.
Check: Ring marks cyan circular pad on the upper-right pillar.
Open full-size image in a new tabPuzzle 26 — hat_tricks_0_v3
Section titled “Puzzle 26 — hat_tricks_0_v3”The ring marks a visible landmark, not an action step.
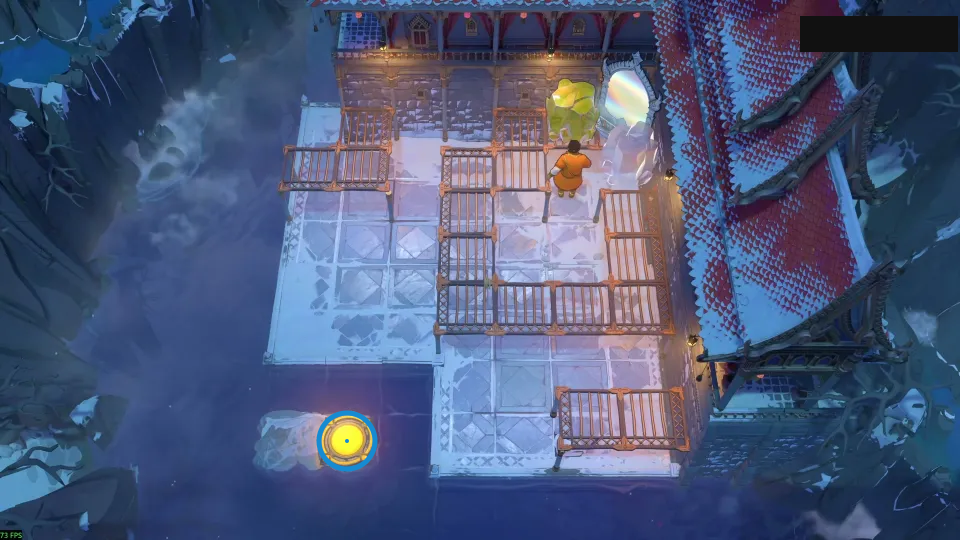
Use the notch to slip the stone into place.
Check: Ring marks yellow circular pad on the lower-left ledge.
Open full-size image in a new tabPuzzle 27 — omnimirror_v2
Section titled “Puzzle 27 — omnimirror_v2”The ring marks a visible landmark, not an action step.
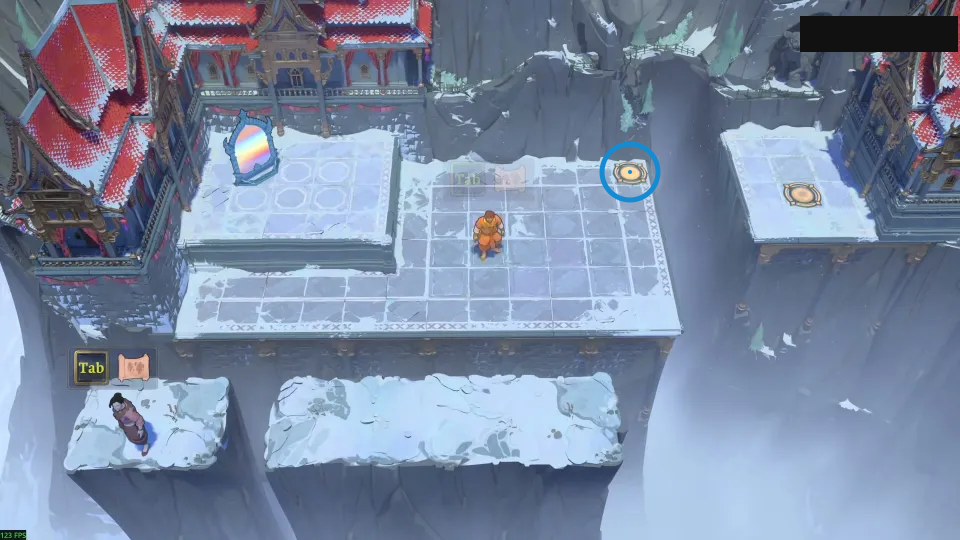
Carry the lower Trader, then move the mirror overhead.
Check: Ring marks yellow circular pad on the central platform.
Open full-size image in a new tabPuzzle 28 — goblin_parity_3d
Section titled “Puzzle 28 — goblin_parity_3d”The ring marks a visible landmark, not an action step.
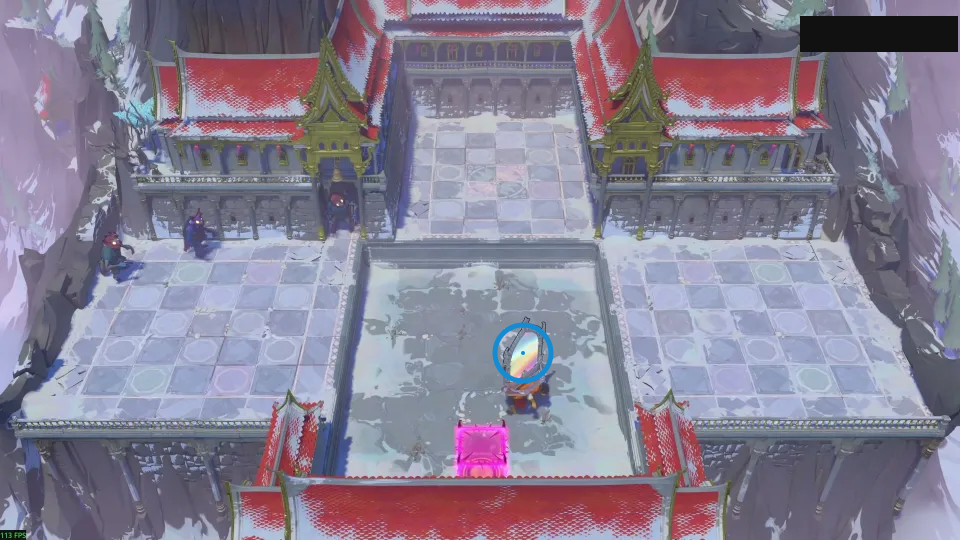
Use checkerboard parity to line up the goblins.
Check: Ring marks upright mirror on the central platform.
Open full-size image in a new tabPuzzle 29 — mirror_carry_duo
Section titled “Puzzle 29 — mirror_carry_duo”The ring marks a visible landmark, not an action step.
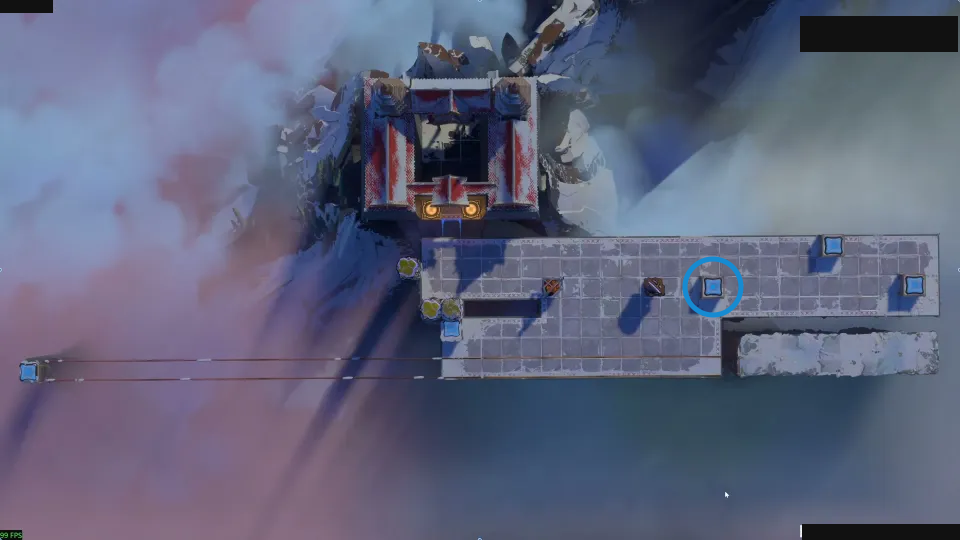
Use checkerboard parity to find the stone’s reach.
Check: Ring marks blue square pad near the middle of the long walkway.
Open full-size image in a new tabPuzzle 30 — bothersome_mirror
Section titled “Puzzle 30 — bothersome_mirror”The ring marks a visible landmark, not an action step.
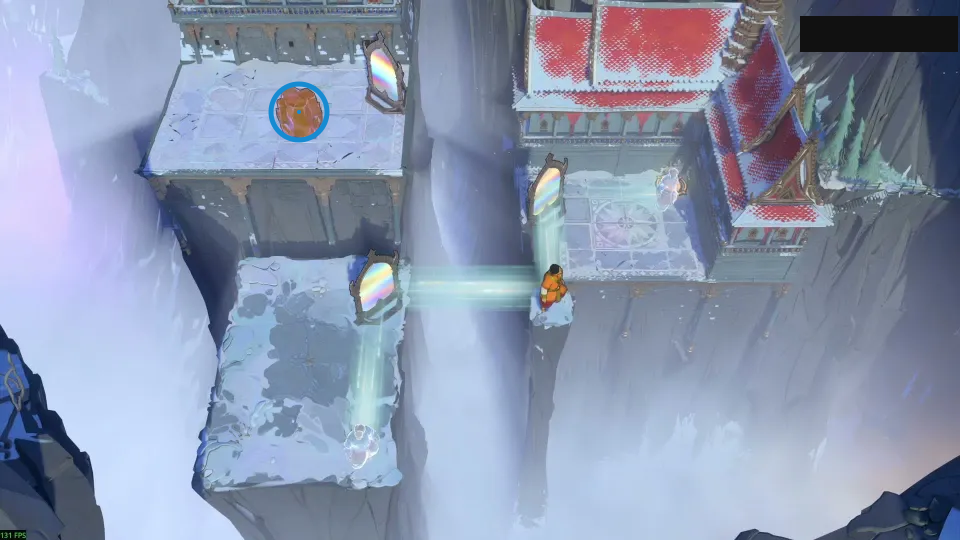
Break the lower mirror during the reflection.
Check: Ring marks orange crystal on the upper-left platform.
Open full-size image in a new tabPuzzle 40 — flamestrike_v3
Section titled “Puzzle 40 — flamestrike_v3”The ring marks a visible landmark, not an action step.
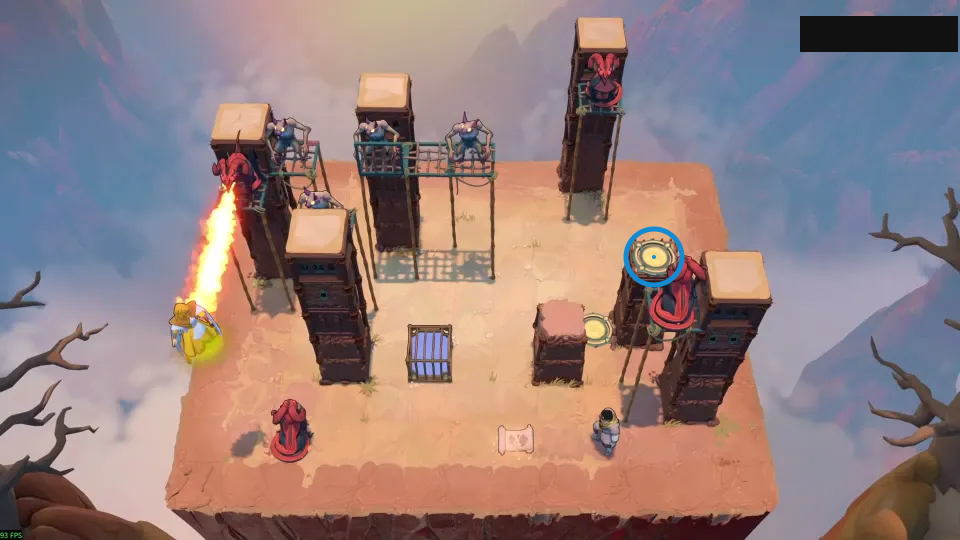
Clear the overhead dragon before crossing.
Check: Ring marks yellow circular pad on the right-hand column.
Open full-size image in a new tabPuzzle 41 — volcano_v3
Section titled “Puzzle 41 — volcano_v3”The ring marks a visible landmark, not an action step.
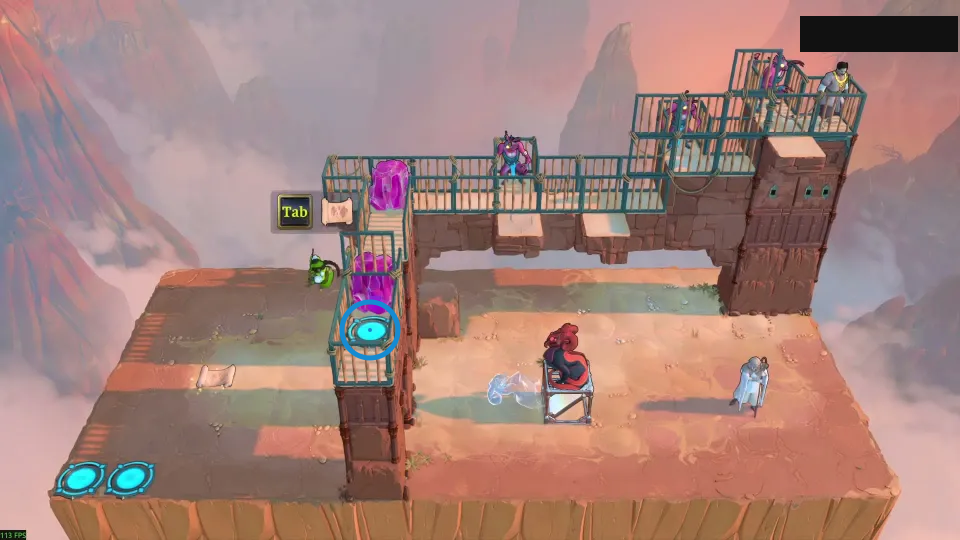
Protect the Trader as you move past dragon fire.
Check: Ring marks cyan circular pad on the narrow raised walkway.
Open full-size image in a new tabPuzzle 42 — pachinko
Section titled “Puzzle 42 — pachinko”The ring marks a visible landmark, not an action step.
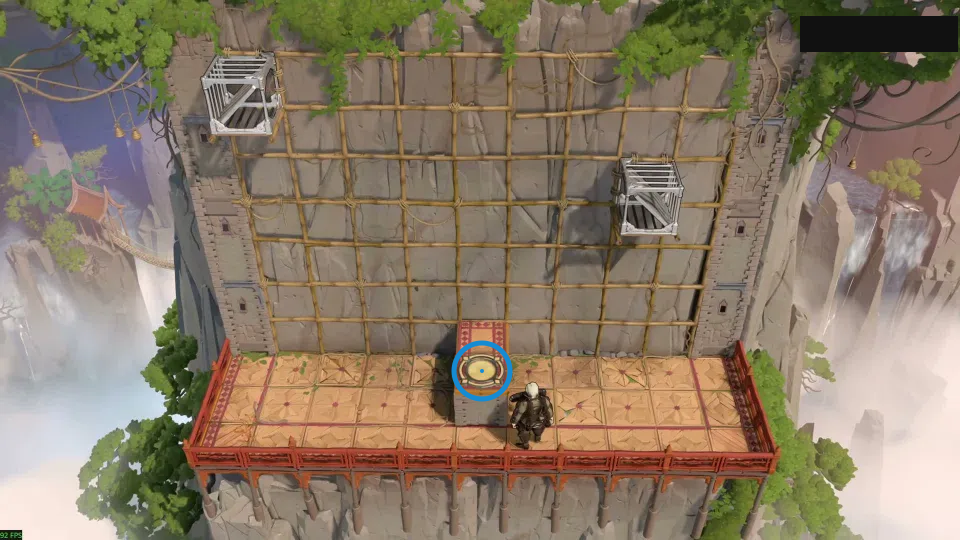
Reflect again as you fall past each mirror.
Check: Ring marks yellow circular pad on the short central pillar.
Open full-size image in a new tabPuzzle 43 — pachinko_rescue_w
Section titled “Puzzle 43 — pachinko_rescue_w”The ring marks a visible landmark, not an action step.
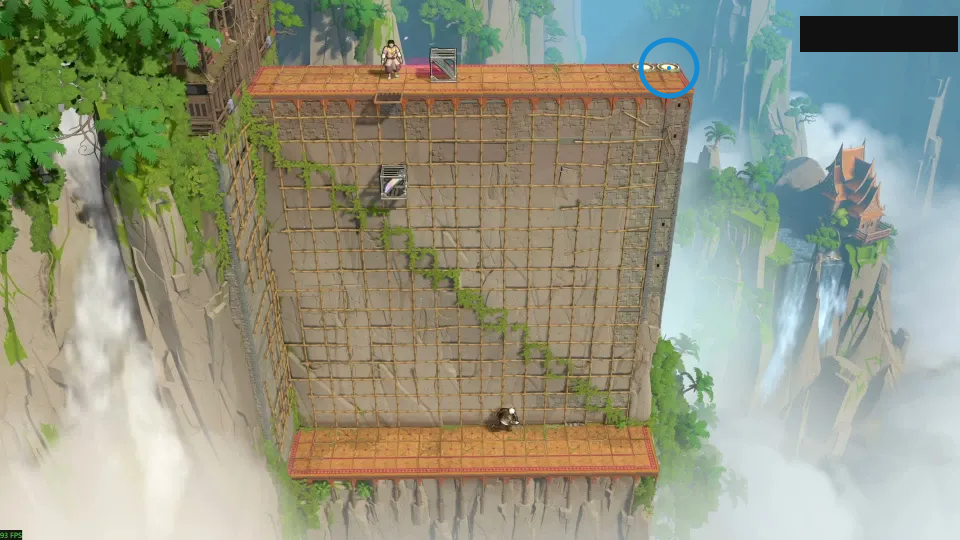
Push the mirror down to time the Explorer’s reflections.
Check: Ring marks right yellow circular pad on the upper walkway.
Open full-size image in a new tabPuzzle 44 — chasm_3
Section titled “Puzzle 44 — chasm_3”The ring marks a visible landmark, not an action step.
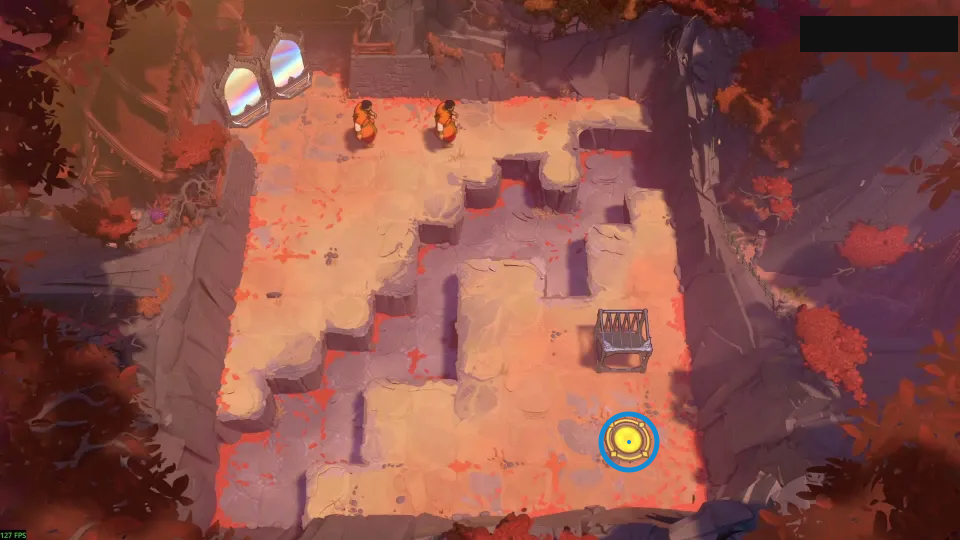
Use one clone as a step, then merge.
Check: Ring marks yellow circular pad on the lower-right floor.
Open full-size image in a new tabPuzzle 45 — vertical_unclone_3
Section titled “Puzzle 45 — vertical_unclone_3”The ring marks a visible landmark, not an action step.
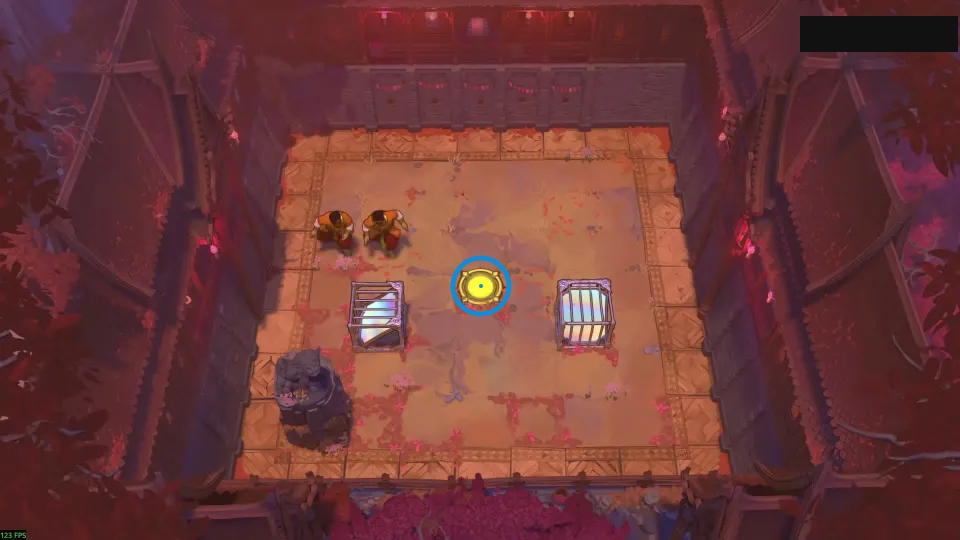
Align both mirrors so the reflections meet.
Check: Ring marks yellow circular pad between the two cages.
Open full-size image in a new tabSources and limits
Article stills and tips are attributed to their source sections. Untimed video reference: 塞德莎. Game art: Thekla, Inc.
- Sinking Star Walkthrough article: high mirrors solutions — Documentation · walkthrough-high-mirrors-solutions
- Remaining approved source/native candidate crosswalk — Extracted data · remaining-source-candidates-2026-10-25-29-video-display-upgrades
- High Mirrors Additional bilingual selected-layout evidence — Extracted data · remaining-source-layouts-high-mirrors-additional-2026-10-24
- 塞德莎 Order of the Sinking Star video series (untimed reference) — Observed in-game · remaining-untimed-video-high-mirrors-additional-2026-10-24
Unofficial fan wiki, not affiliated with Thekla, Inc. / Arc Games / Gamirror Games. Game content belongs to its owners.
Comments & feedback
Share a tip or suggest a correction. Comments are public. Guest names are unverified; verified accounts show their account username. All language pages share this discussion. Please keep personal information private.