
 Order of the Sinking Star
Low Heroes

The article numbers 21 rooms; its five separate Overworld stills remain unassigned. Article puzzle numbers remain separate from internal set positions. Compare each view and use the hint below it; blue rings identify visible landmarks. Cropped views show selected room details; the repeating-room details are not complete periods.
Low Heroes article rooms
Section titled “Low Heroes article rooms”Puzzle 1
Section titled “Puzzle 1”Source-reported hint: Line up all three goblins in the loop.
Selected detail of the repeating room view.
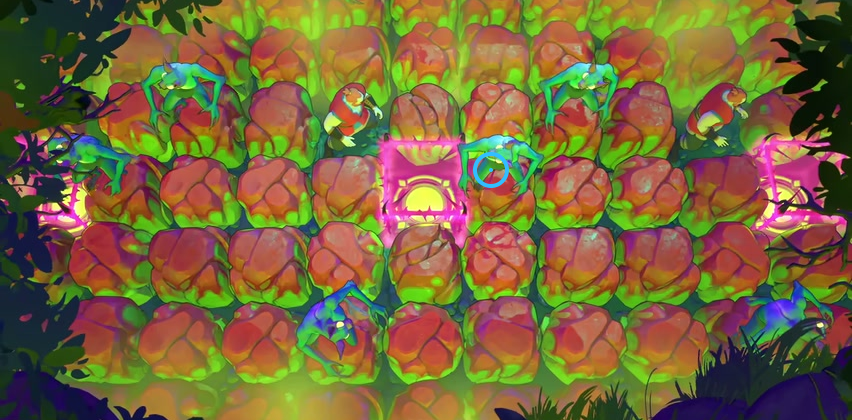
Line up all three goblins in the loop.
Check: Ring marks The Goblin beside the central pink gate.
Open full-size image in a new tabPuzzle 2
Section titled “Puzzle 2”Source-reported hint: Move the  Wizard by swapping with objects.
Selected detail of the repeating room view.
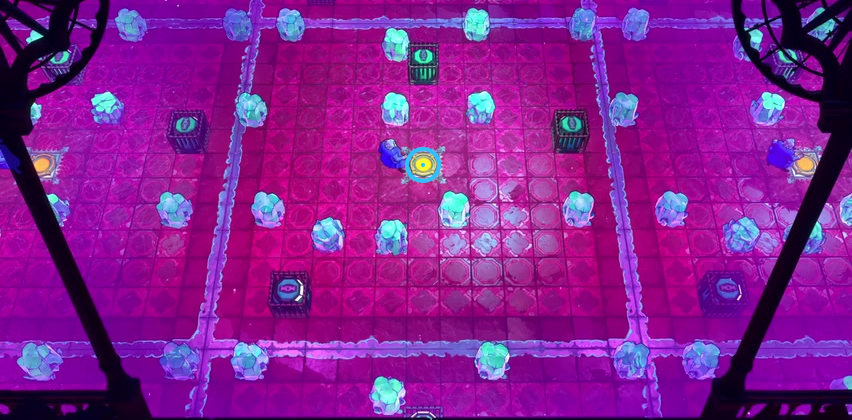
Move the Wizard by swapping with objects.
Check: Ring marks The yellow exit beside the Wizard.
Open full-size image in a new tabPuzzle 3
Section titled “Puzzle 3”Source-reported hint: Shuffle each crystal into place around the loop.
Selected detail of the repeating room view.
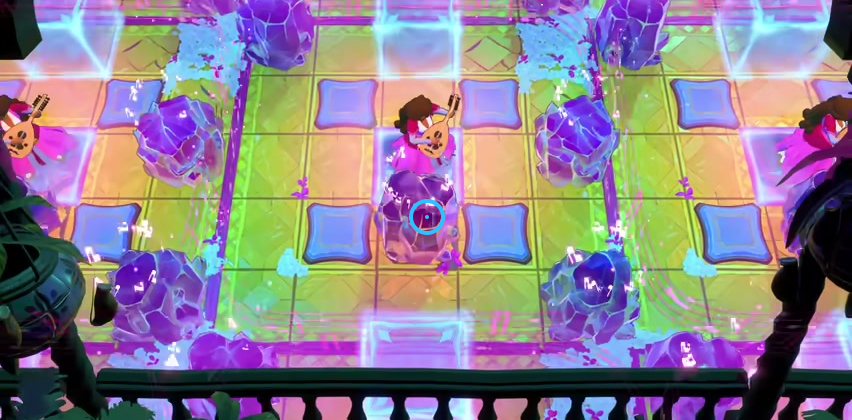
Shuffle each crystal into place around the loop.
Check: Ring marks The purple crystal immediately below the Bard.
Open full-size image in a new tabPuzzle 4
Section titled “Puzzle 4”Source-reported hint: Stack a button on the lift tile.
Selected detail of the repeating room view.
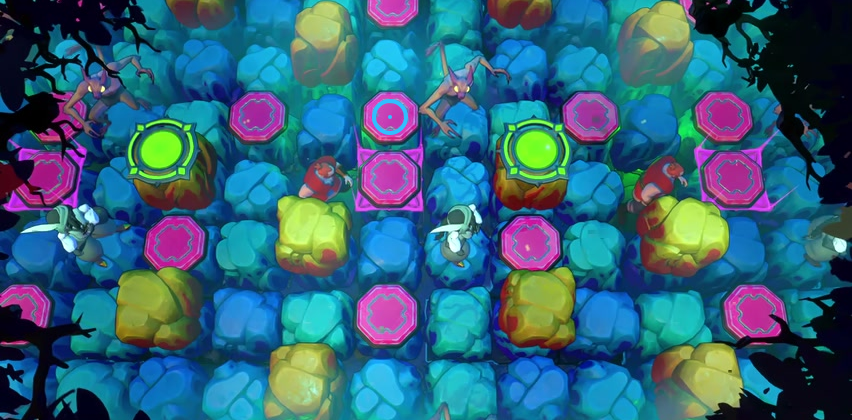
Stack a button on the lift tile.
Check: Ring marks The pink button above the central pink gate.
Open full-size image in a new tabPuzzle 5
Section titled “Puzzle 5”Source-reported hint: Bring the pit beside the dragon before using the wand.
Selected detail of the repeating room view.
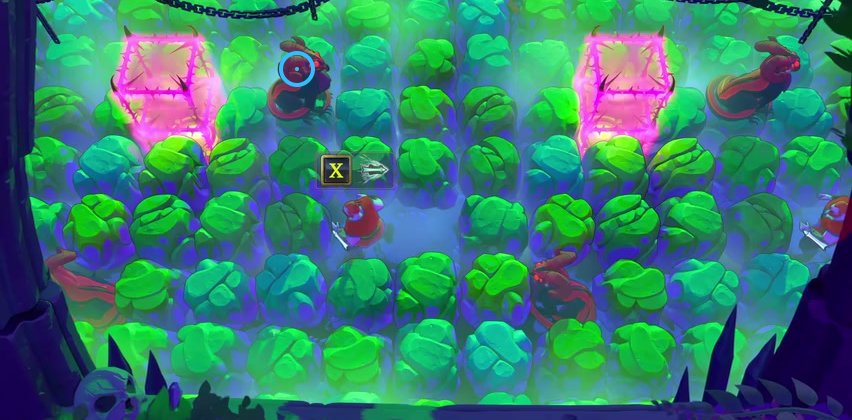
Bring the pit beside the dragon before using the wand.
Check: Ring marks The upper Dragon beside the pink gate.
Open full-size image in a new tabPuzzle 6
Section titled “Puzzle 6”The ring marks a visible landmark, not an action step.
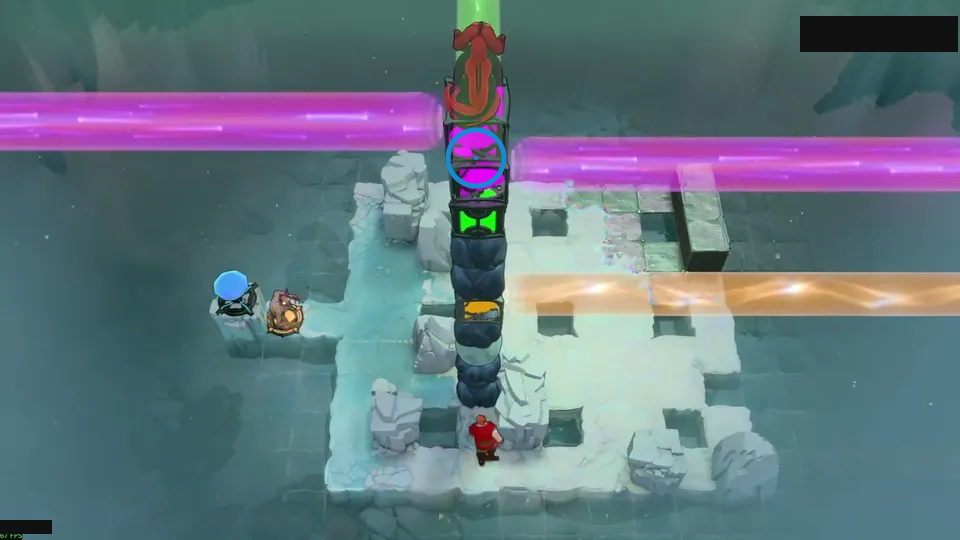
Plan the stack rotation before moving it.
Check: Ring marks purple block in the vertical stack.
Open full-size image in a new tabPuzzle 7
Section titled “Puzzle 7”Source-reported hint: Chain four dragons at increasing heights.
Selected detail of the repeating room view.
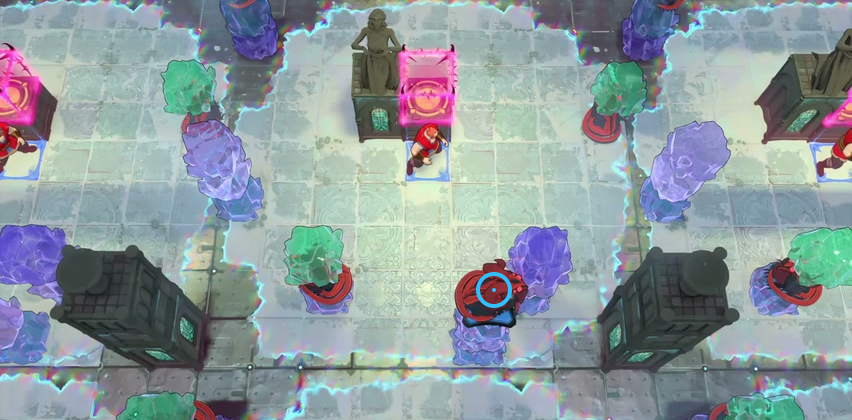
Chain four dragons at increasing heights.
Check: Ring marks The Dragon on the lower stack.
Open full-size image in a new tabPuzzle 8
Section titled “Puzzle 8”The ring marks a visible landmark, not an action step.
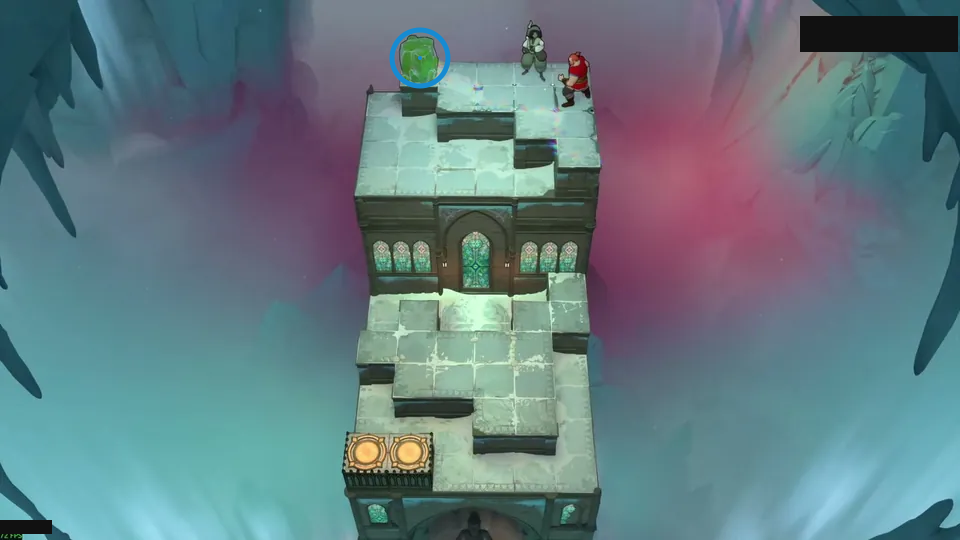
Pull the stone while it is falling.
Check: Ring marks green stone on the top platform.
Open full-size image in a new tabPuzzle 9
Section titled “Puzzle 9”Source-reported hint: Turn companions into crystal stepping stones.
Selected room view.
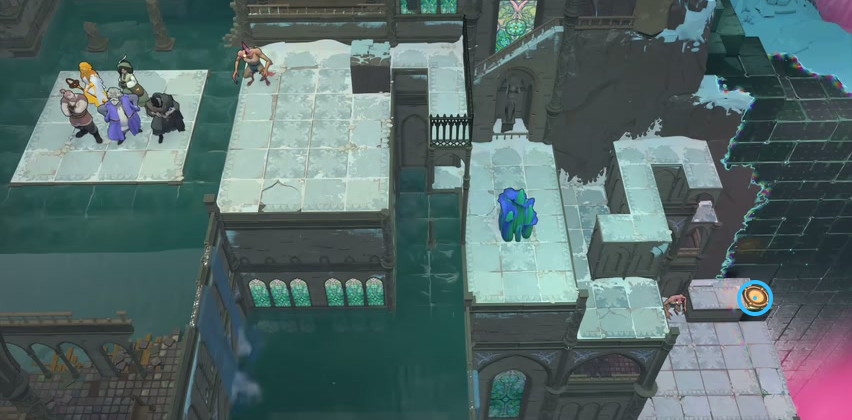
Turn companions into crystal stepping stones.
Check: Ring marks The exit at the far right.
Open full-size image in a new tabPuzzle 10
Section titled “Puzzle 10”The ring marks a visible landmark, not an action step.
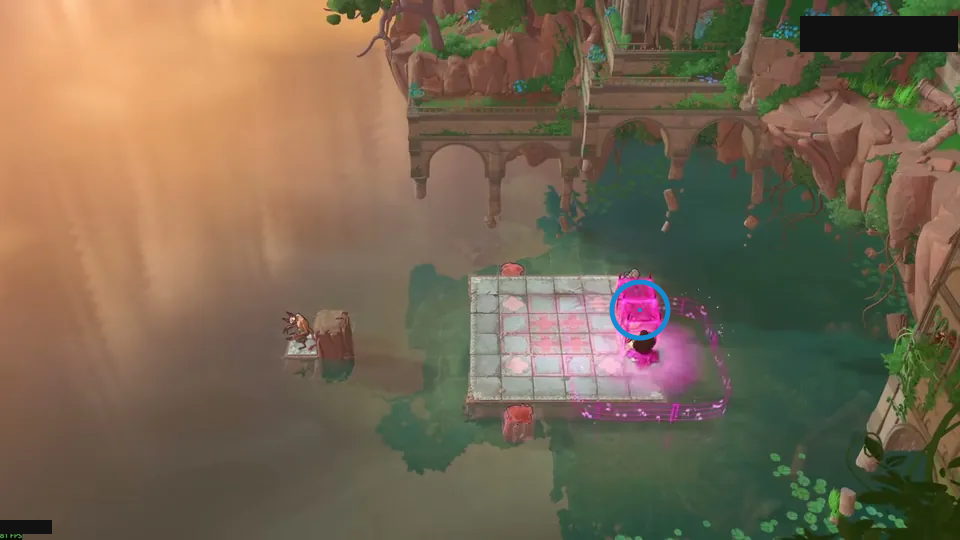
Swap the Wizard and Bard along the route.
Check: Ring marks magenta block beside the raft.
Open full-size image in a new tabPuzzle 11
Section titled “Puzzle 11”The ring marks a visible landmark, not an action step.
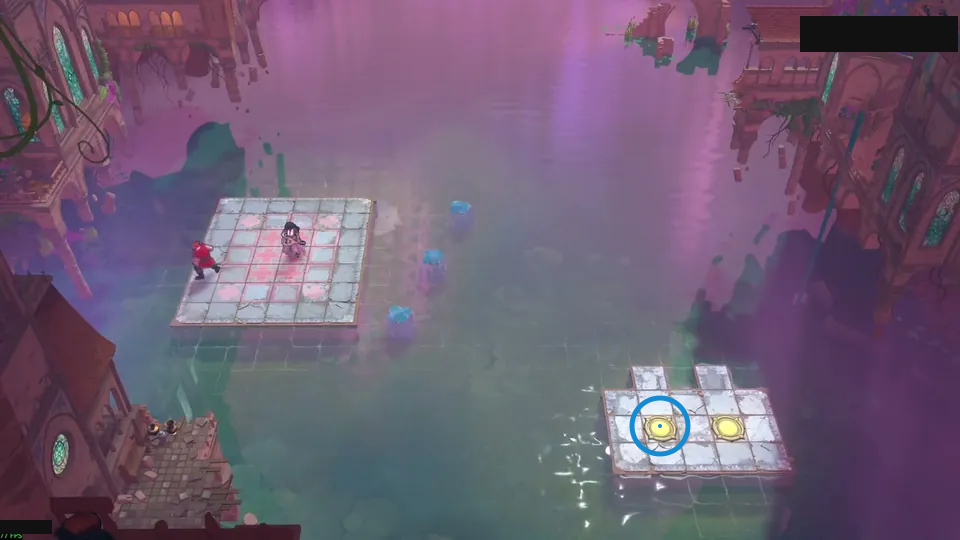
Carry the Bard across on a crystal raft.
Check: Ring marks left yellow pad on the right island.
Open full-size image in a new tabPuzzle 12
Section titled “Puzzle 12”The ring marks a visible landmark, not an action step.
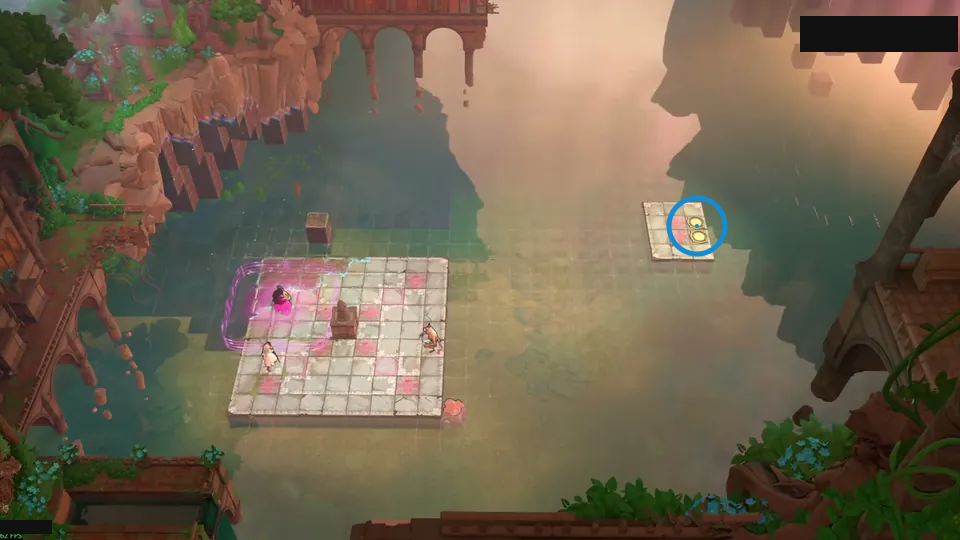
Protect the Bard with the floating formation.
Check: Ring marks upper yellow pad on the small right island.
Open full-size image in a new tabPuzzle 13
Section titled “Puzzle 13”The ring marks a visible landmark, not an action step.
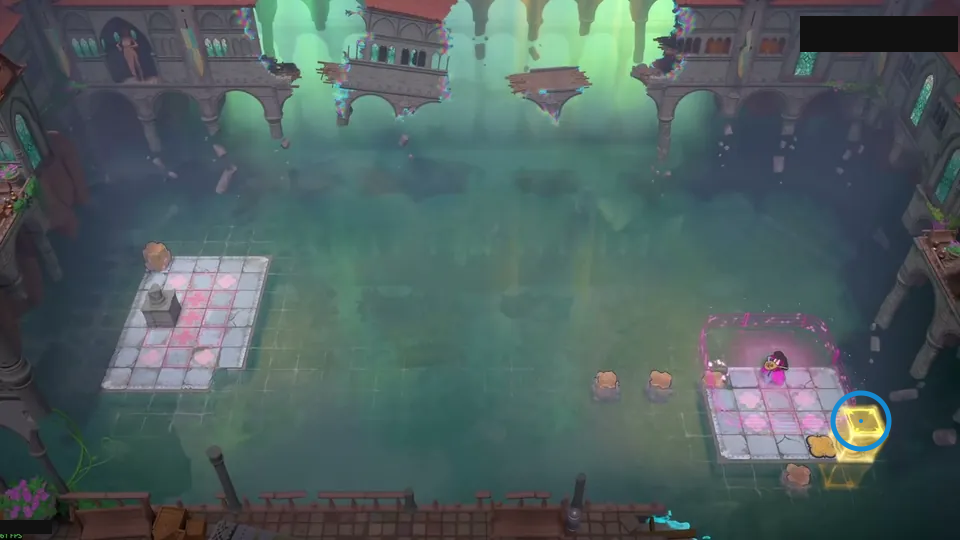
Build a four-crystal car, then retrieve one.
Check: Ring marks yellow cube at the right edge of the raft.
Open full-size image in a new tabPuzzle 14
Section titled “Puzzle 14”The ring marks a visible landmark, not an action step.
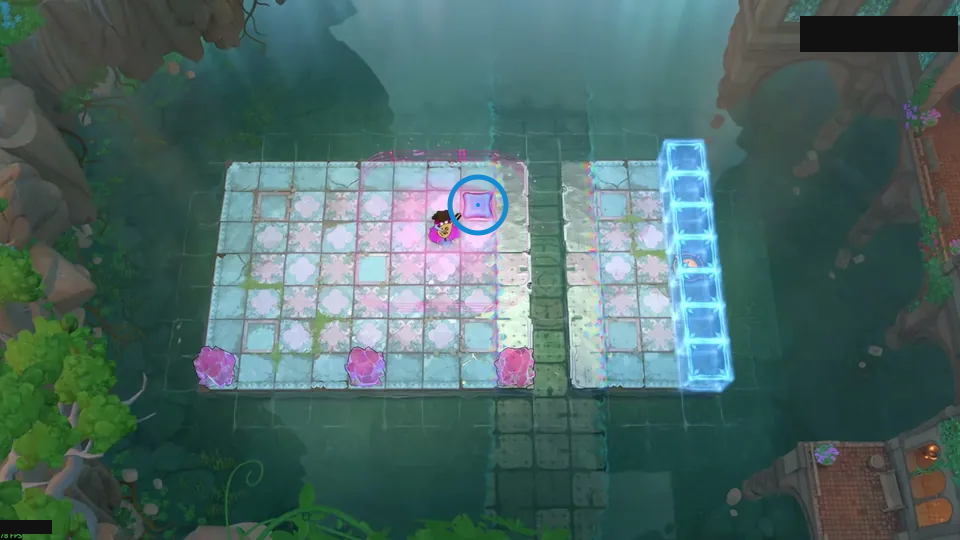
Use unequal movement to leave the Bard’s range.
Check: Ring marks blue square pad on the main platform.
Open full-size image in a new tabPuzzle 15
Section titled “Puzzle 15”The ring marks a visible landmark, not an action step.
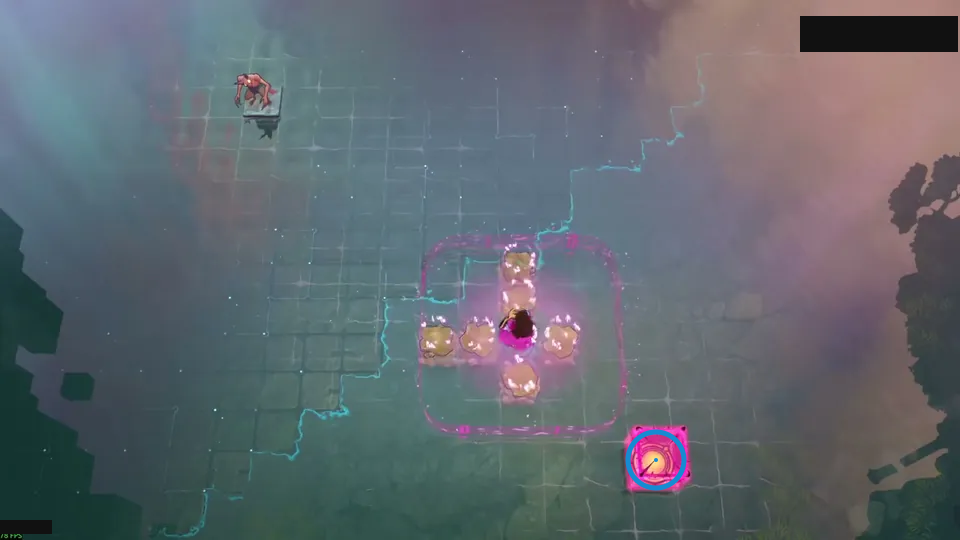
Plan a car that turns in every direction.
Check: Ring marks yellow circular pad inside the lower-right pink block.
Open full-size image in a new tabPuzzle 16
Section titled “Puzzle 16”The ring marks a visible landmark, not an action step.
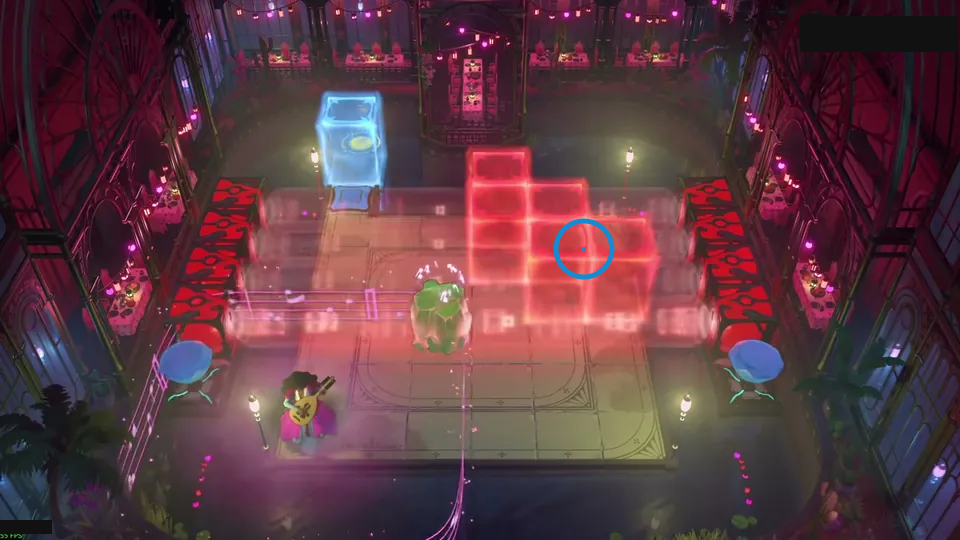
Spend one red block for each crystal nudge.
Check: Ring marks lower red block in the stepped stack.
Open full-size image in a new tabPuzzle 17
Section titled “Puzzle 17”The ring marks a visible landmark, not an action step.
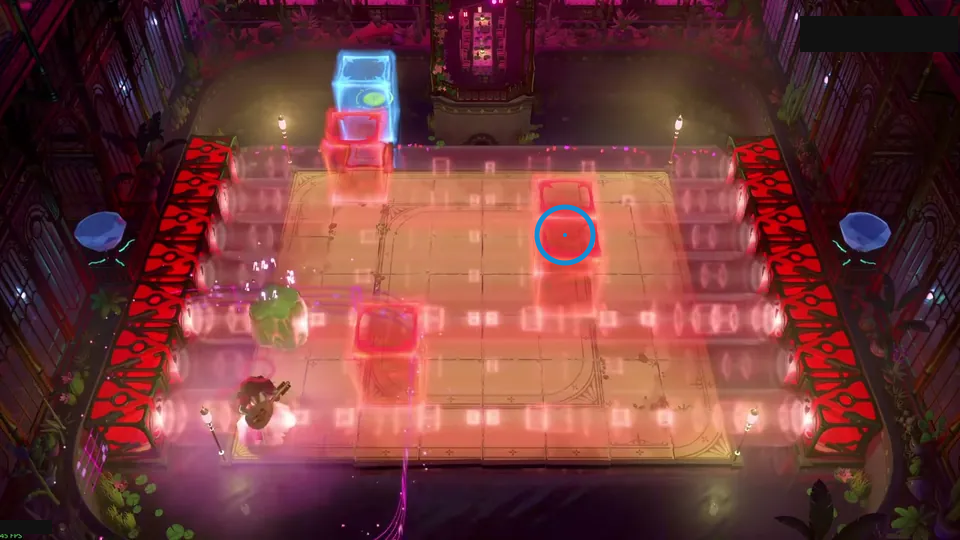
Let the crystal slip away, then re-enter.
Check: Ring marks middle red block in the vertical stack.
Open full-size image in a new tabPuzzle 18
Section titled “Puzzle 18”The ring marks a visible landmark, not an action step.
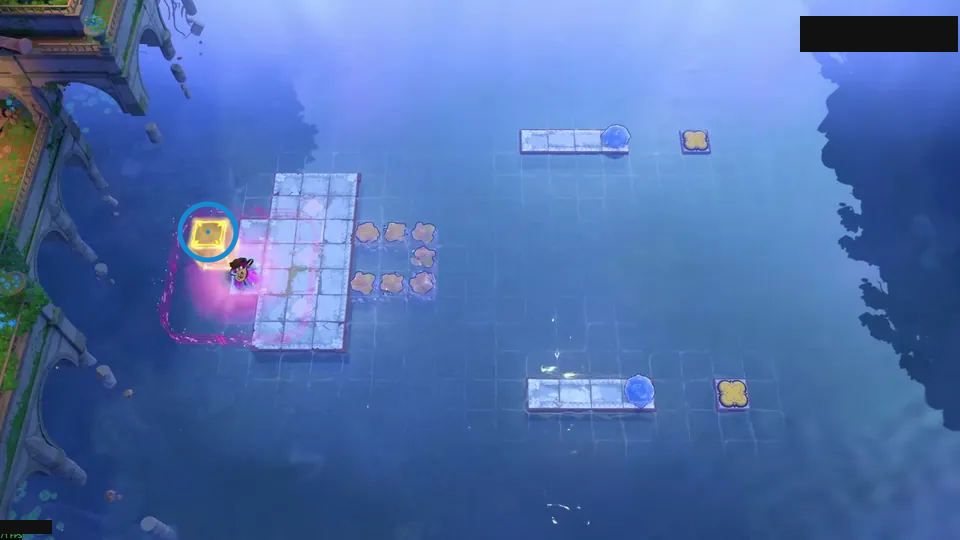
Shift the U-shaped car without reshaping it.
Check: Ring marks yellow cube on the left edge of the island.
Open full-size image in a new tabPuzzle 19
Section titled “Puzzle 19”The ring marks a visible landmark, not an action step.
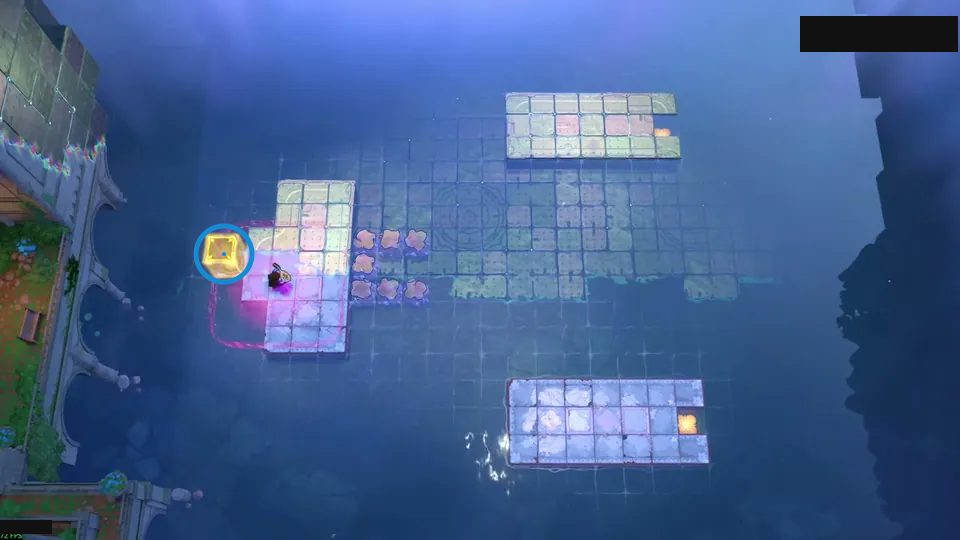
Borrow the car crystal, then rebuild.
Check: Ring marks yellow cube beside the left island.
Open full-size image in a new tabPuzzle 20
Section titled “Puzzle 20”The ring marks a visible landmark, not an action step.
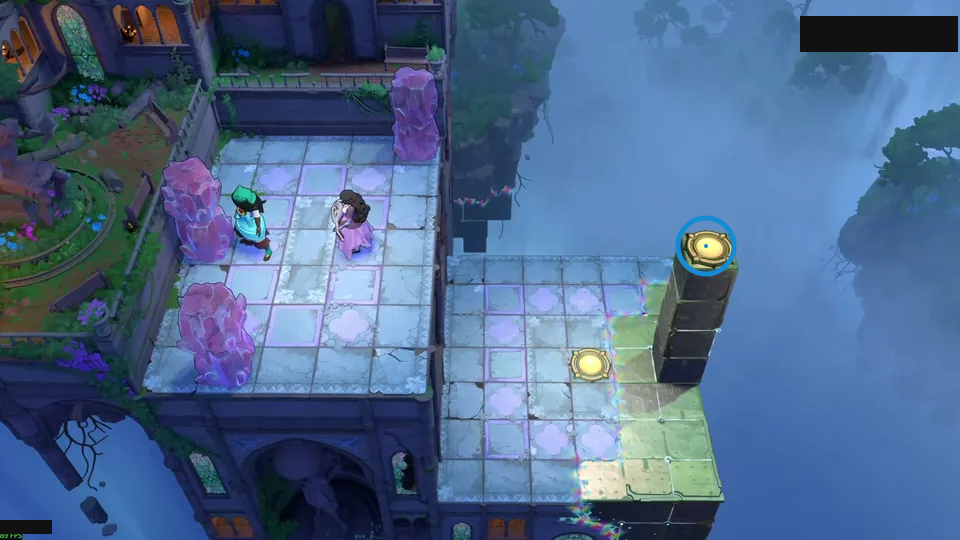
Place the Sailor atop a four-high stack.
Check: Ring marks yellow pad on top of the raised column.
Open full-size image in a new tabPuzzle 21
Section titled “Puzzle 21”The ring marks a visible landmark, not an action step.
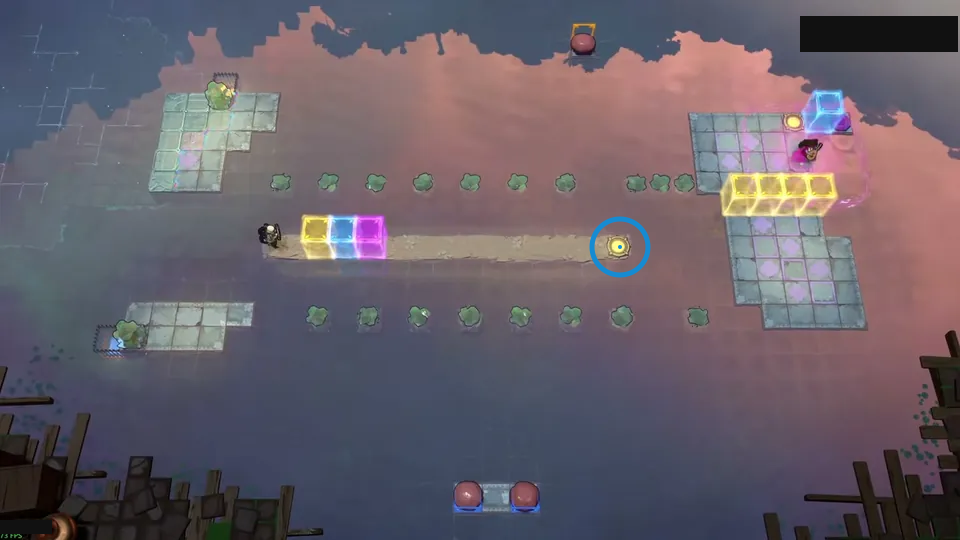
Block each incoming stone before it settles.
Check: Ring marks yellow pad at the end of the long stone bridge.
Open full-size image in a new tabSelected room views
Section titled “Selected room views”Cyan figure on the upper ledge
Section titled “Cyan figure on the upper ledge”Compare the upper ledge with the stones below it.
The blue ring marks a visible landmark in this selected view.
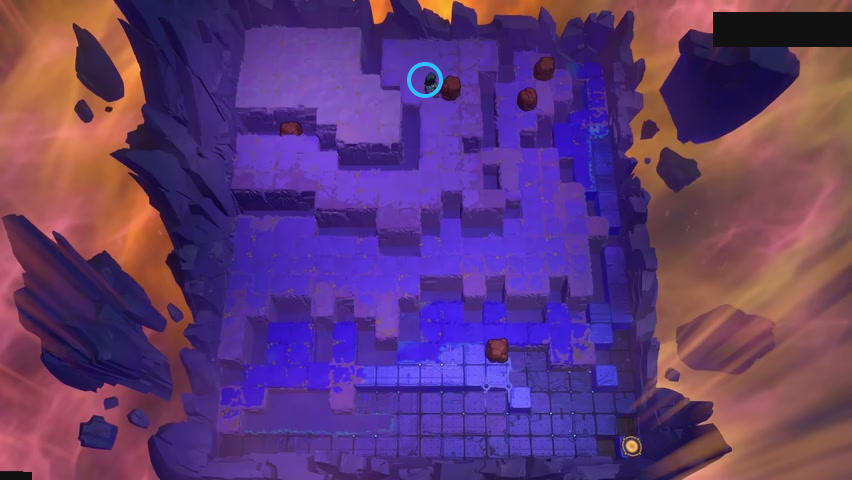
Find cyan figure on the upper ledge.
Check: The blue ring marks cyan figure on the upper ledge.
Open full-size image in a new tabVideo source
Video credit: 塞德莎.
- Full puzzle candidate inventory (PC r67121) — Extracted data
- Low Heroes solution article — Documentation · walkthrough-low-heroes-solutions
- Low Heroes solution article approved source/native crosswalk — Extracted data · approved-cross-source-candidates-2026-10-24
- Low Heroes solution article bilingual selected-layout sections — Extracted data · low-heroes-selected-layouts-2026-10-24-twelve-display-upgrades
- Low Heroes solution article linked walkthrough video — Observed in-game · low-heroes-main-chapter-part-47-2026-10-24
- Twelve room-display and three legacy source-view observations — Observed in-game · twelve-plus-three-video-frame-observations-2026-10-24
- Twelve-plus-three source-display coverage delta — Extracted data · twelve-plus-three-display-coverage-delta-2026-10-24
- Root-approved selected video frame and native layout observations — Observed in-game · verified-backlog-video-frame-observations-2026-10-25
- Verified backlog bilingual selected-layout cards — Extracted data · verified-backlog-selected-layouts-2026-10-25
- Verified backlog current display coverage delta — Extracted data · verified-backlog-display-coverage-delta-2026-10-25
Unofficial fan wiki, not affiliated with Thekla, Inc. / Arc Games / Gamirror Games. Game content belongs to its owners.
Comments & feedback
Share a tip or suggest a correction. Comments are public. Guest names are unverified; verified accounts show their account username. All language pages share this discussion. Please keep personal information private.