
 Order of the Sinking Star
Low Mirrors: selected layouts

Low Mirrors is the Mirrors area of Antipode Low. The article numbers 38 rooms and shows 11 separate Overworld puzzles; the Overworld targets remain unassigned. Article puzzle numbers are separate from internal set positions. The short hints paraphrase the article, while blue rings identify visible landmarks. The new cropped views show selected room details, not complete repeating periods.
Puzzle 1 — crystal_island
Section titled “Puzzle 1 — crystal_island”Article cue: part 48. Internal underworld_heroes_and_mirrors set position: 1.
Blue ring identifies a visible board landmark; it is not an action step.
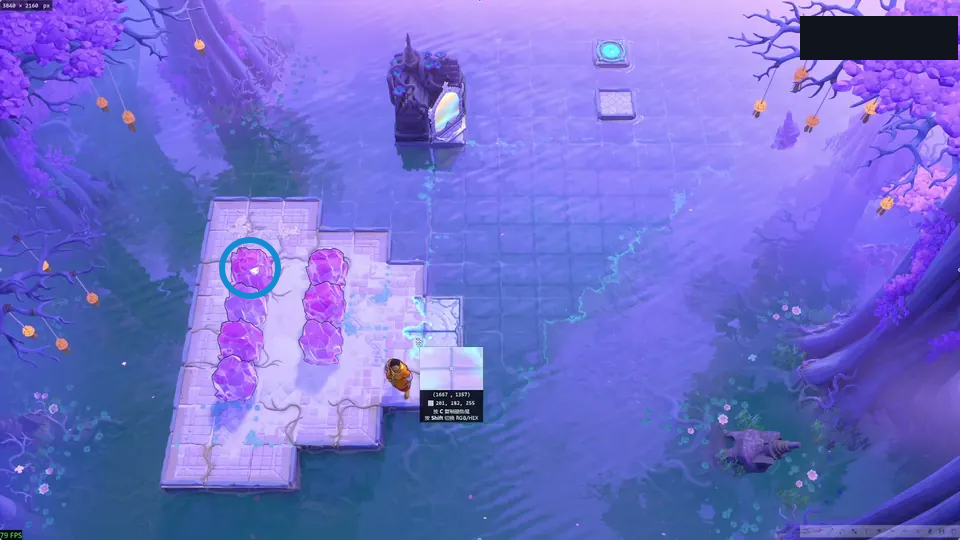
The pale paving island, two pink crystal rows, and mirror on the dark north rock identify this layout.
Check: Source-reported: leave a second stone below the paving stone so it can later be pushed upward.
Open full-size image in a new tabPuzzle 2 — bottleneck
Section titled “Puzzle 2 — bottleneck”Article cue: part 48. Internal underworld_heroes_and_mirrors set position: 17.
Blue ring identifies a visible board landmark; it is not an action step.
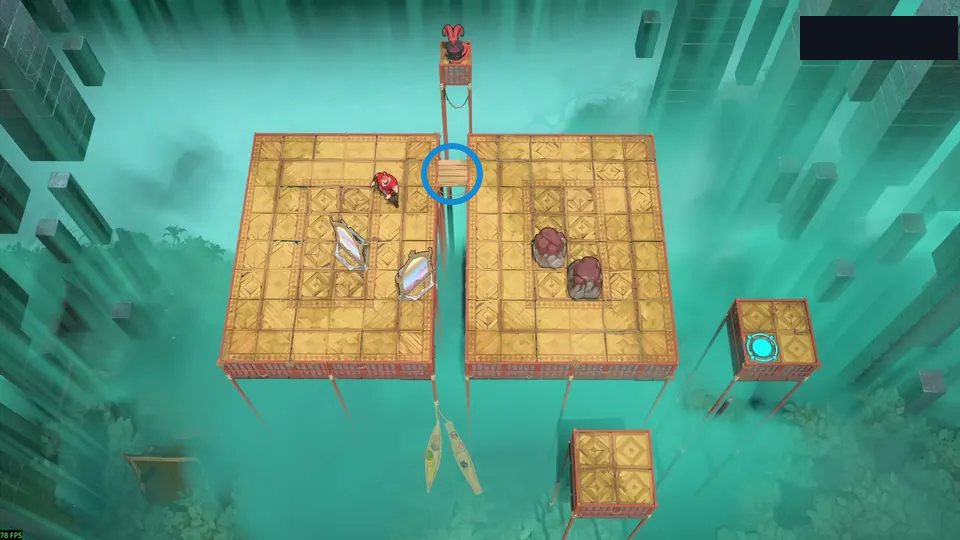
Two raised gold platforms face each other across a narrow dragon bridge.
Check: Source-reported: use two stones as a piston to move the mirror through the narrow passage.
Open full-size image in a new tabPuzzle 3 — hanoi_3
Section titled “Puzzle 3 — hanoi_3”Article cue: part 48. Internal underworld_heroes_and_mirrors set position: 18.
Blue ring identifies a visible board landmark; it is not an action step.
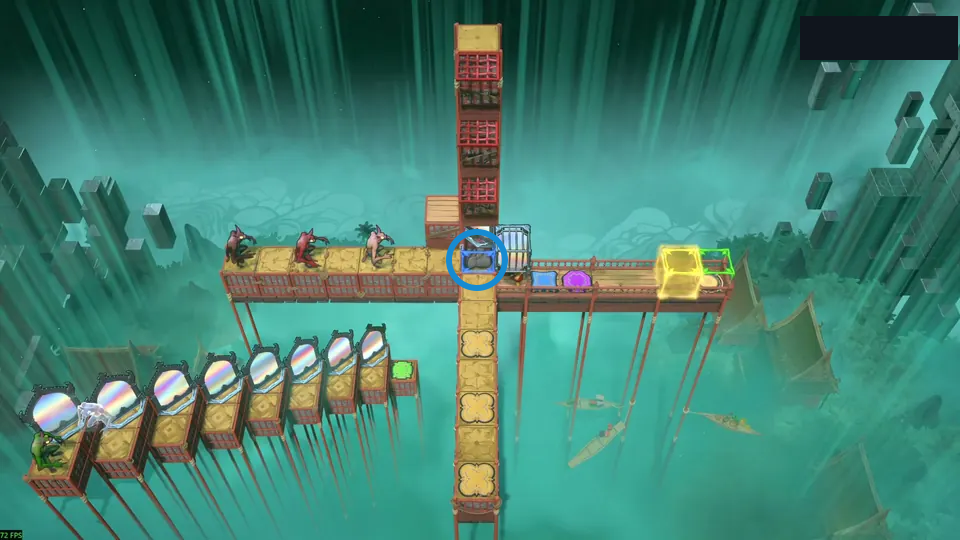
Three goblins line the left arm of a tall cross-shaped walkway; mirrors sit below.
Check: Source-reported: the article describes a seven-move Hanoi-style ordering puzzle.
Open full-size image in a new tabPuzzle 4 — busy_beaver
Section titled “Puzzle 4 — busy_beaver”Article cue: part 48. Internal underworld_heroes_and_mirrors set position: 19.
Blue ring identifies a visible board landmark; it is not an action step.
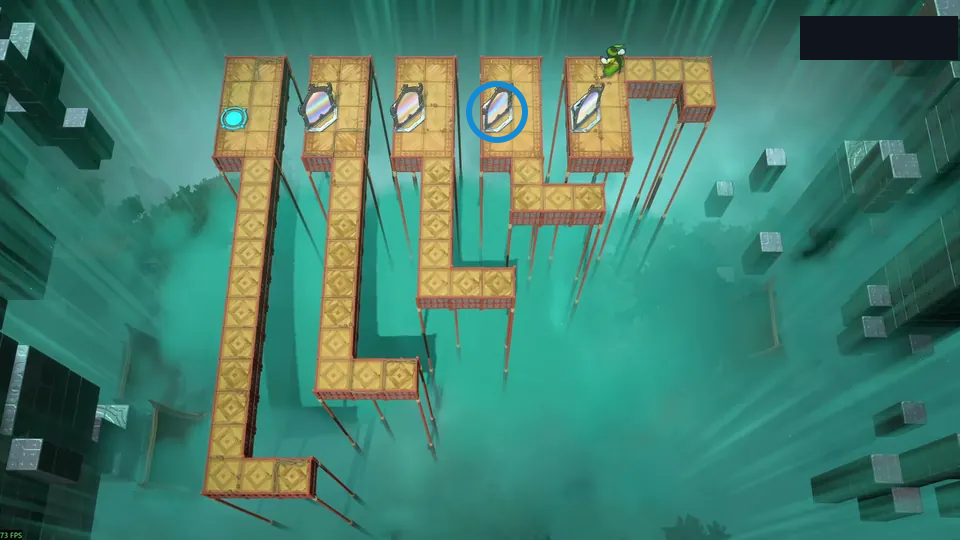
Four long gold arms form a zigzag, with a mirror at each upper end.
Check: Source-reported: the article compares the repeated pulls to a four-ring Chinese rings puzzle.
Open full-size image in a new tabPuzzle 5 — moving_through_mirrors_v3
Section titled “Puzzle 5 — moving_through_mirrors_v3”Article cue: part 48. Internal underworld_heroes_and_mirrors set position: 20.
Blue ring identifies a visible board landmark; it is not an action step.
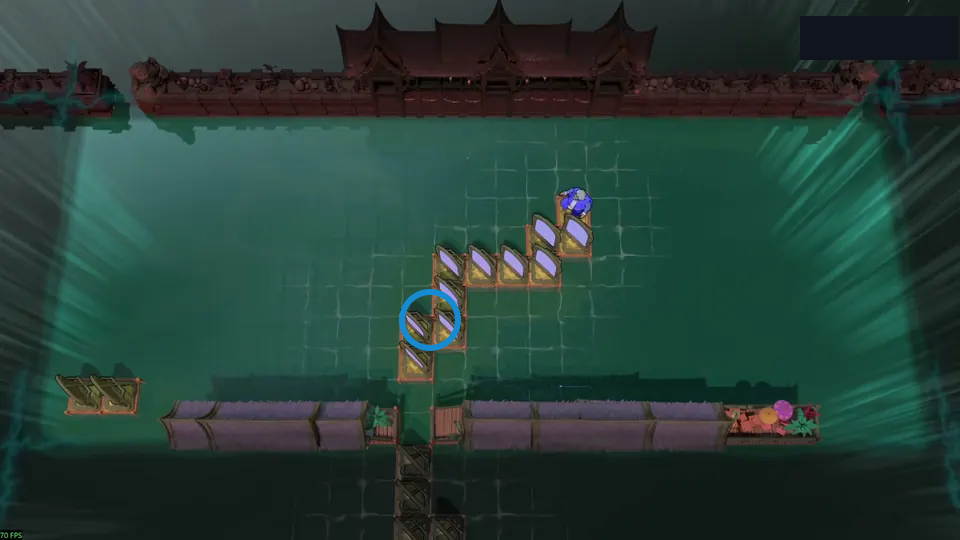
A diagonal staircase of mirrors crosses a dark green floor beneath the temple roof.
Check: Source-reported: the article says the Wizard’s swaps follow reflected lines of sight.
Open full-size image in a new tabPuzzle 6 — druid_vertical_mirror
Section titled “Puzzle 6 — druid_vertical_mirror”Article cue: part 48. Internal underworld_heroes_and_mirrors set position: 13.
Blue ring identifies a visible board landmark; it is not an action step.
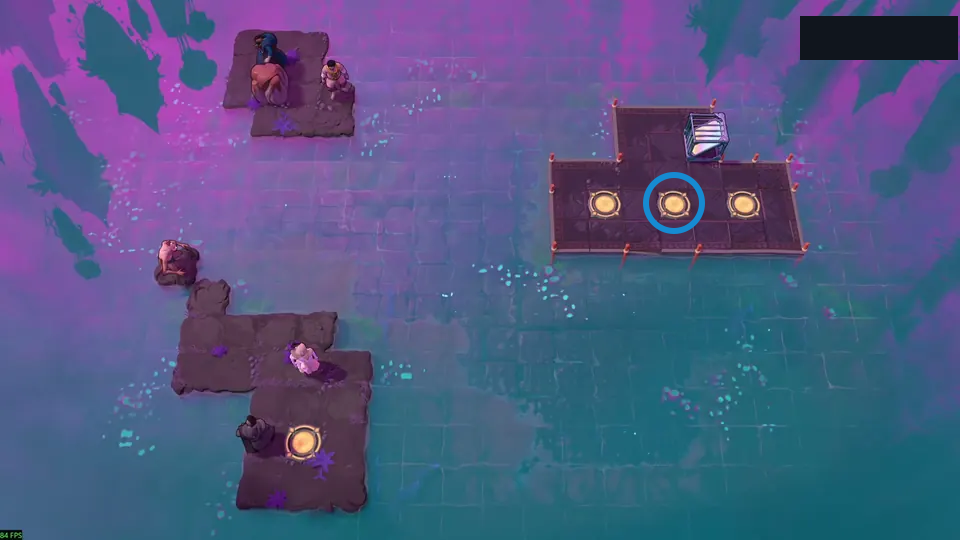
Small brown islands at left face a dark platform with three yellow exits at right.
Check: Source-reported: the article says the lower Priestess crosses as a crystal.
Open full-size image in a new tabPuzzle 7 — special_move
Section titled “Puzzle 7 — special_move”Article cue: part 48. Internal underworld_heroes_and_mirrors set position: 14.
Blue ring identifies a visible board landmark; it is not an action step.
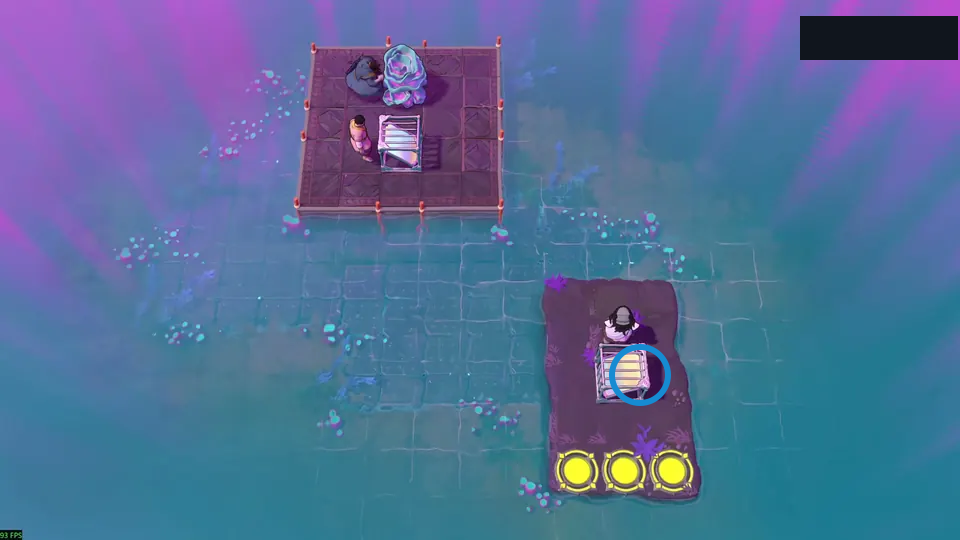
A square upper platform and a narrow lower island each hold a mirror and hero.
Check: Source-reported: the article uses a crystal teammate as a temporary stepping stone.
Open full-size image in a new tabPuzzle 8 — druid_metamirror
Section titled “Puzzle 8 — druid_metamirror”Article cue: part 48. Internal underworld_heroes_and_mirrors set position: 21.
Blue ring identifies a visible board landmark; it is not an action step.
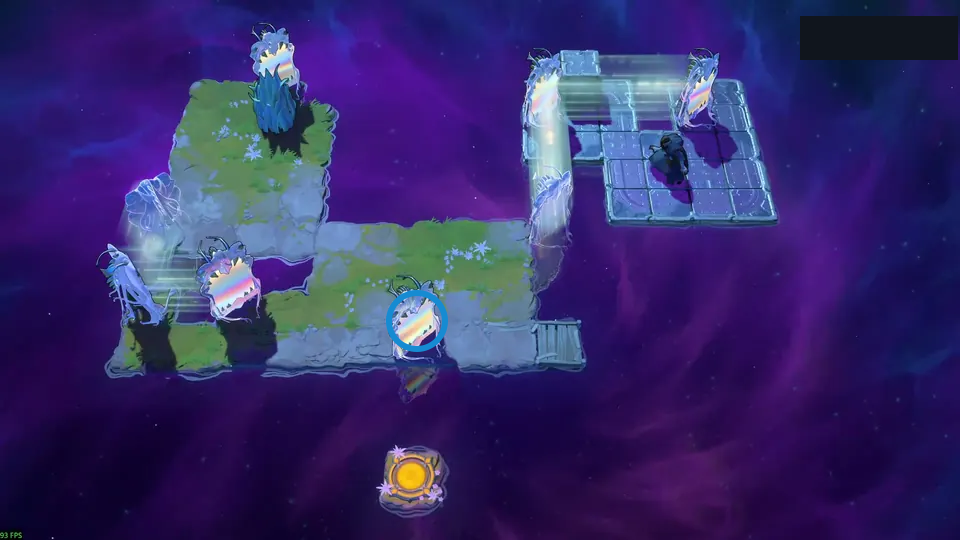
A hooked green island connects to a separate upper-right platform through crystal mirrors.
Check: Source-reported: the article uses crystal mirrors as stepping stones and removes an unwanted reflection.
Open full-size image in a new tabPuzzle 9 — mirror_the_unmirrorable_mirror
Section titled “Puzzle 9 — mirror_the_unmirrorable_mirror”Article cue: part 48. Internal underworld_heroes_and_mirrors set position: 22.
Blue ring identifies a visible board landmark; it is not an action step.
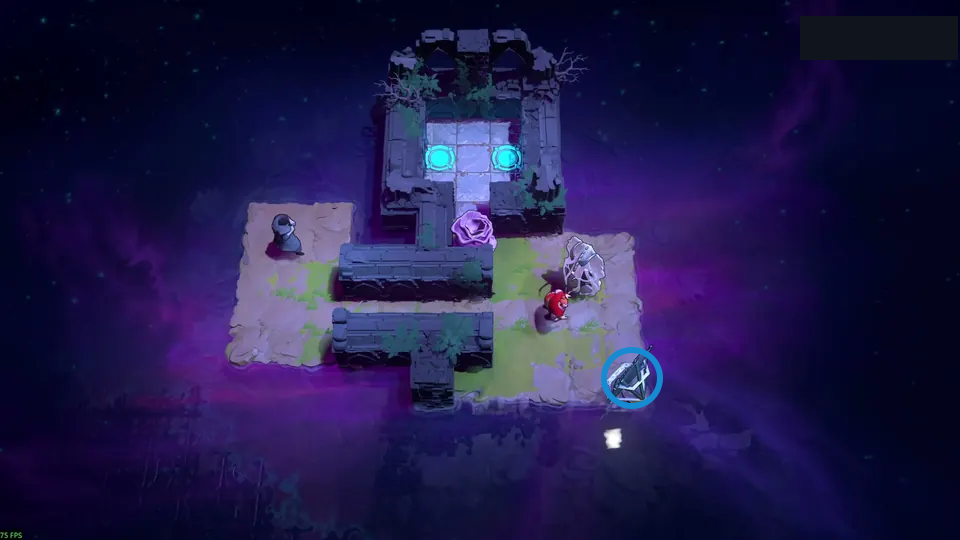
A compact ruined island has a framed pair of cyan exits, a plant, and a mirror.
Check: Source-reported: the article turns the mirror into crystal before moving it to avoid the edge.
Open full-size image in a new tabPuzzle 10 — bard_metamirror
Section titled “Puzzle 10 — bard_metamirror”Article cue: part 48. Internal underworld_heroes_and_mirrors set position: 23.
Blue ring identifies a visible board landmark; it is not an action step.
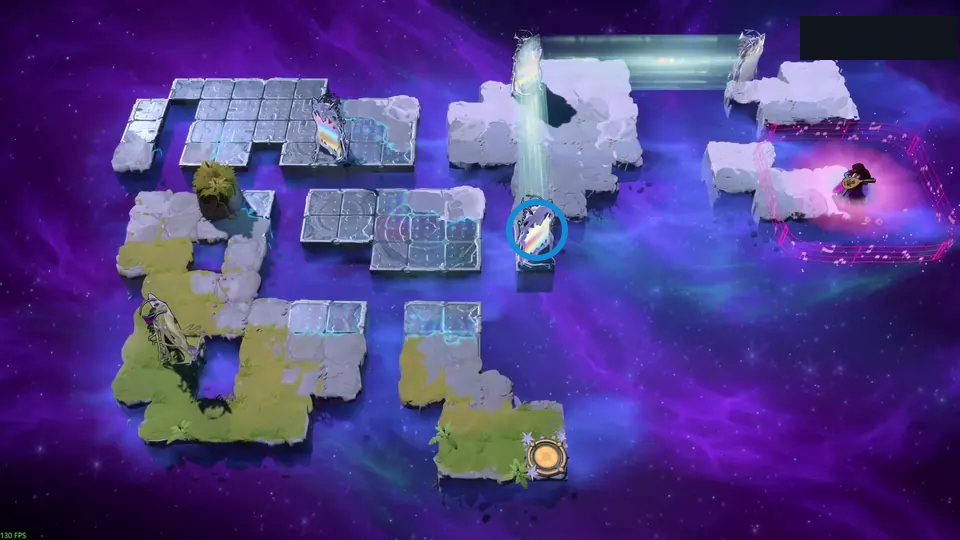
Several grey and green islands step toward the Bard’s pink-lit platform at right.
Check: Source-reported: the article says the Bard can steer crystal mirrors while reflecting.
Open full-size image in a new tabPuzzle 11 — self_teleporting
Section titled “Puzzle 11 — self_teleporting”Article cue: part 48. Internal underworld_heroes_and_mirrors set position: 6.
Blue ring identifies a visible board landmark; it is not an action step.
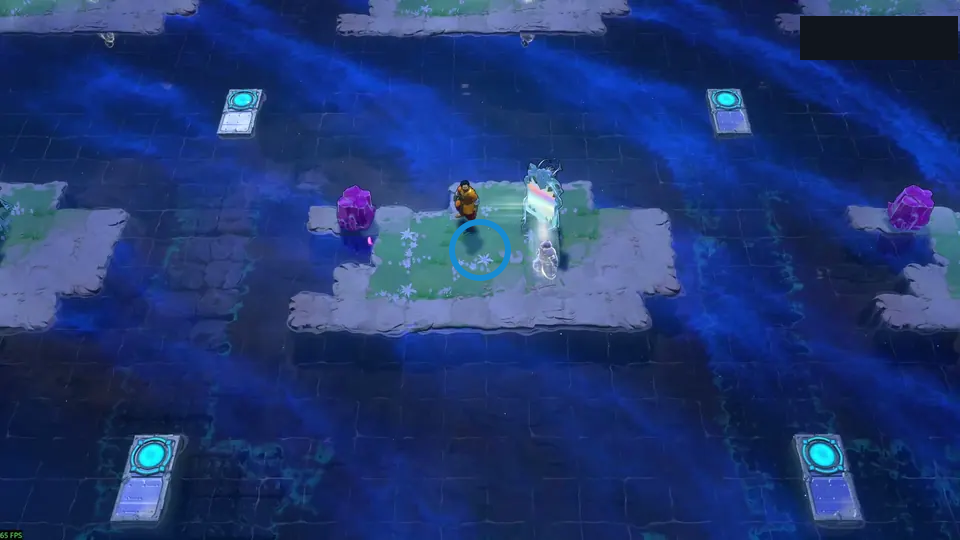
A central grassy island is surrounded by four cyan corner pads and purple crystals.
Check: Source-reported: the article describes a room that wraps on all four sides.
Open full-size image in a new tabPuzzle 12 — wrapping_mirror0
Section titled “Puzzle 12 — wrapping_mirror0”A multicolour tiled corridor is split by a vertical water channel and mirror obstacles.
Source-reported tip: the article frames this set as wrapping rooms where reflections can cross an edge.
Selected detail of the repeating room view.
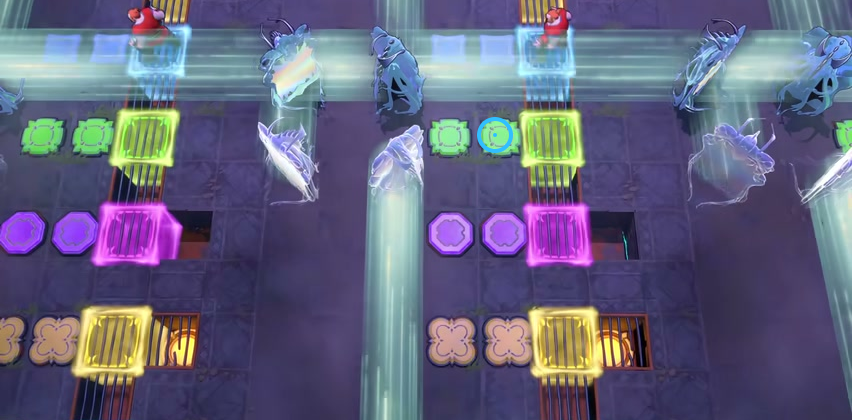
Reflections can cross the room edges.
Check: Ring marks The right button of the green pair.
Open full-size image in a new tabPuzzle 13 — wrapping_mirror0_relatively_prime
Section titled “Puzzle 13 — wrapping_mirror0_relatively_prime”Parallel colored lanes and mirrors cross a vertical water channel; small figures occupy both sides.
Source-reported tip: the article explains that mirrors and reflections can wrap across the room edges.
Selected detail of the repeating room view.
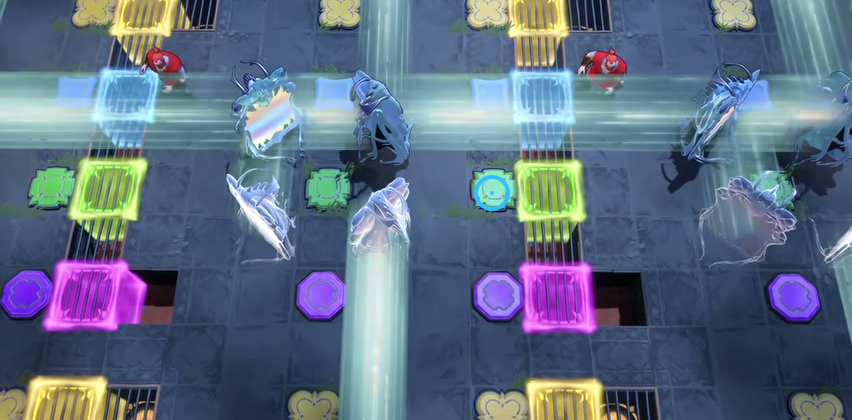
Check where a reflection wraps across the edge.
Check: Ring marks The single green button beside the green gate.
Open full-size image in a new tabPuzzle 14 — the_line_must_be_drawn_HERE
Section titled “Puzzle 14 — the_line_must_be_drawn_HERE”Repeating colored tiles, dragon lanes and gates fill the room.
Source-reported tip: the article notes the room’s repeated tile pattern and moving through mirrored lanes.
Selected detail of the repeating room view.
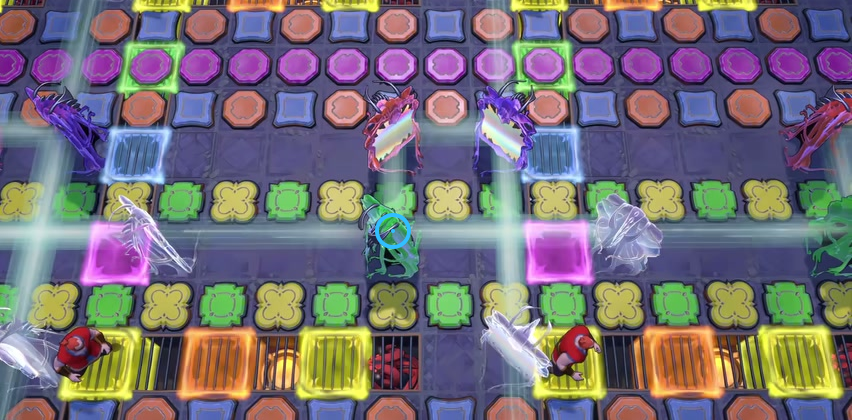
Track the repeating colored lanes.
Check: Ring marks The green mirror in the central lane.
Open full-size image in a new tabPuzzle 15 — lemonade
Section titled “Puzzle 15 — lemonade”Article cue: part 48. Internal underworld_heroes_and_mirrors set position: 12.
Blue ring identifies a visible board landmark; it is not an action step.
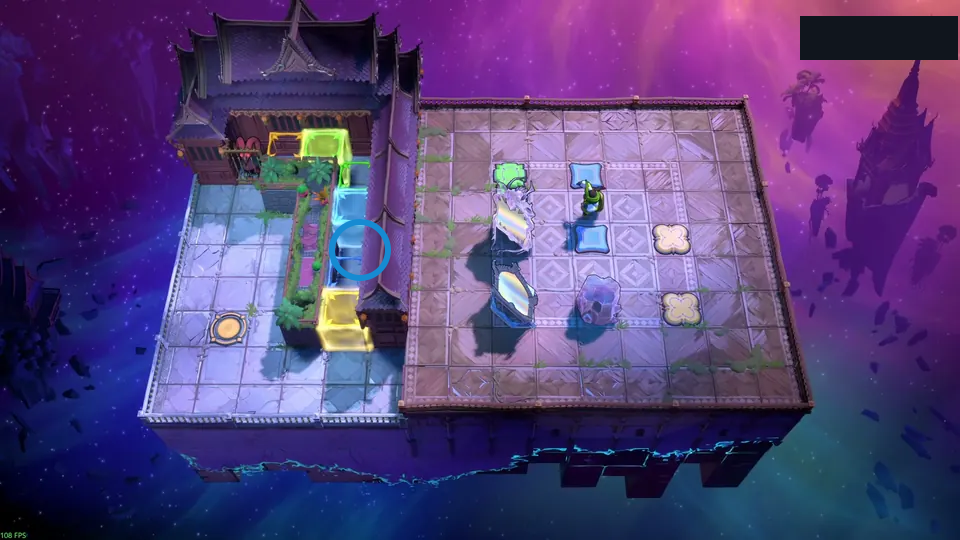
A floating temple floor contains colored gates, mirror pieces, and a button path at left.
Check: Source-reported: the article notes that the mirror placements create a repeating switch-state loop.
Open full-size image in a new tabPuzzle 16 — lemonade_tng_stages_towers_no_float
Section titled “Puzzle 16 — lemonade_tng_stages_towers_no_float”Article cue: part 48. Internal underworld_heroes_and_mirrors set position: 11.
Blue ring identifies a visible board landmark; it is not an action step.
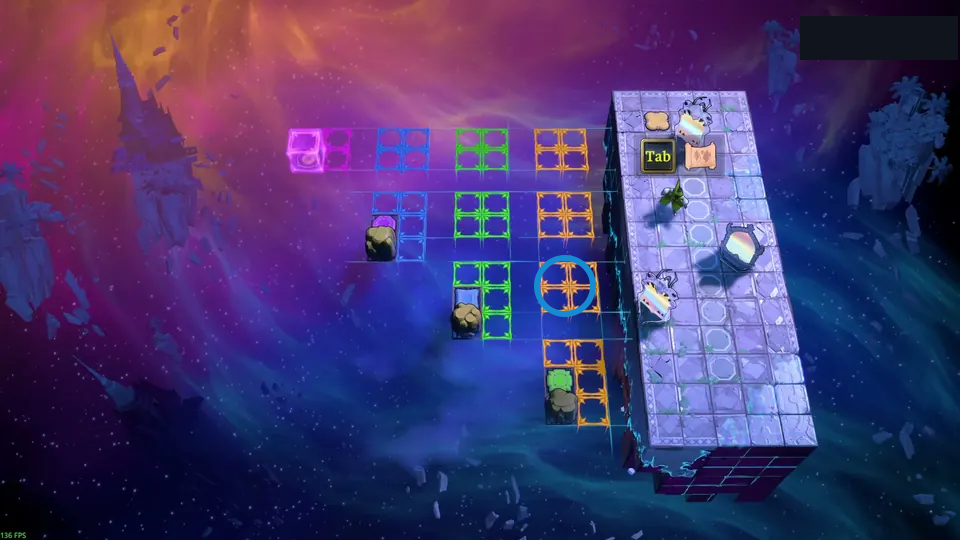
A tall stone slab faces four colored outline grids; two crystal mirrors sit beside it.
Check: Source-reported: the article says one extra crystal mirror must be copied to fill the row.
Open full-size image in a new tabPuzzle 17 — wrapping_mirror_alt
Section titled “Puzzle 17 — wrapping_mirror_alt”Caged pink crystals, two dark stones, orange buttons, and a vertical mirror fill the tiled room.
Source-reported tip: the article describes the crystal mirror reflecting itself upward.
Selected detail of the repeating room view.
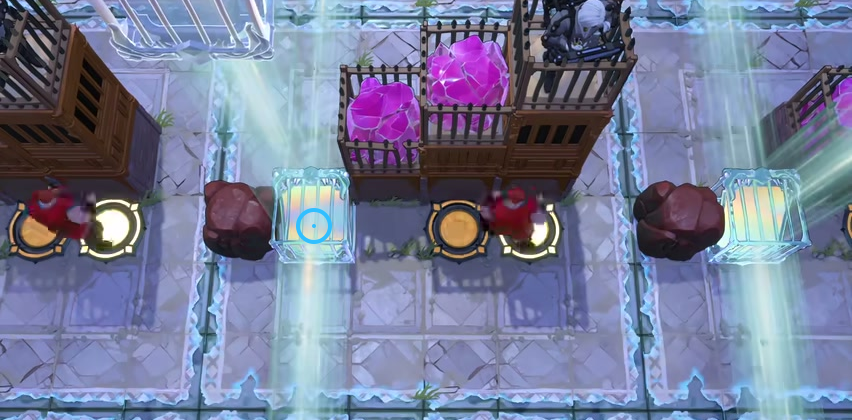
Check how the crystal mirror reflects upward.
Check: Ring marks The blue gate beside the dark stone.
Open full-size image in a new tabPuzzle 18 — base_jump
Section titled “Puzzle 18 — base_jump”Article cue: part 48. Internal underworld_heroes_and_mirrors set position: 3.
Blue ring identifies a visible board landmark; it is not an action step.
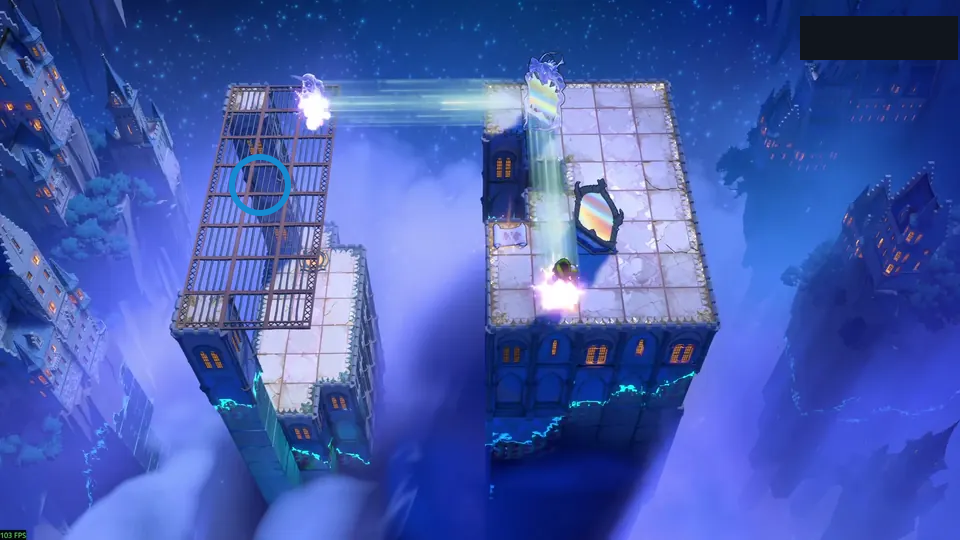
Two high platforms stand apart, with a small suspended bridge and figures between them.
Check: Source-reported: the article notes the mirror route and the narrow gap between platforms.
Open full-size image in a new tabPuzzle 19 — hyper_jump_2c
Section titled “Puzzle 19 — hyper_jump_2c”Article cue: part 48. Internal underworld_heroes_and_mirrors set position: 5.
Blue ring identifies a visible board landmark; it is not an action step.
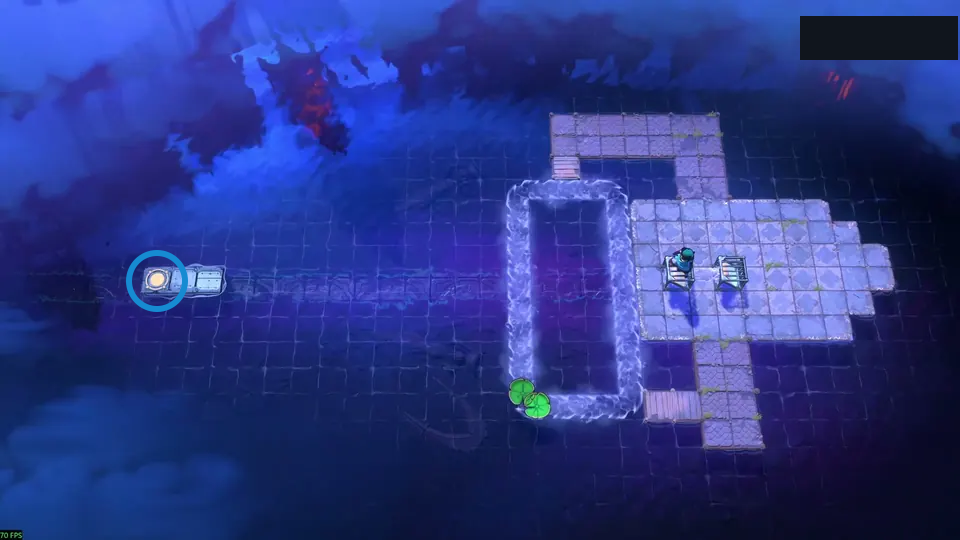
A pale platform runs below a rectangular central shaft; a small yellow plate sits apart at the far left.
Check: Source-reported: the article emphasizes the central tower as the split between the two sides.
Open full-size image in a new tabPuzzle 20 — hyper_jump
Section titled “Puzzle 20 — hyper_jump”Article cue: part 48. Internal underworld_heroes_and_mirrors set position: 4.
Blue ring identifies a visible board landmark; it is not an action step.
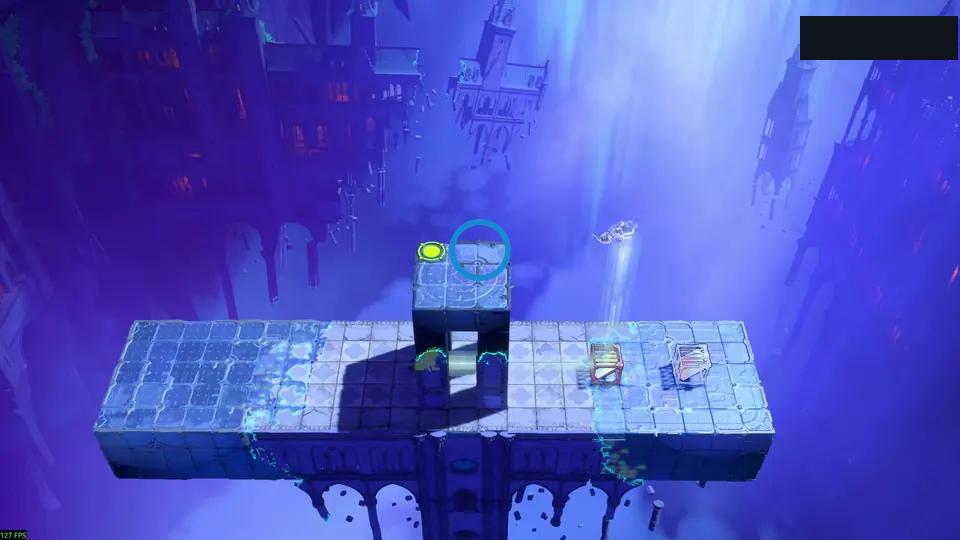
One broad tiled platform sits below a raised square with a green plate near its middle.
Check: Source-reported: the article describes using the raised lanes around the tower.
Open full-size image in a new tabPuzzle 21 — stasis_v2
Section titled “Puzzle 21 — stasis_v2”Article cue: part 49. Internal underworld_heroes_and_mirrors set position: 24.
Blue ring identifies a visible board landmark; it is not an action step.
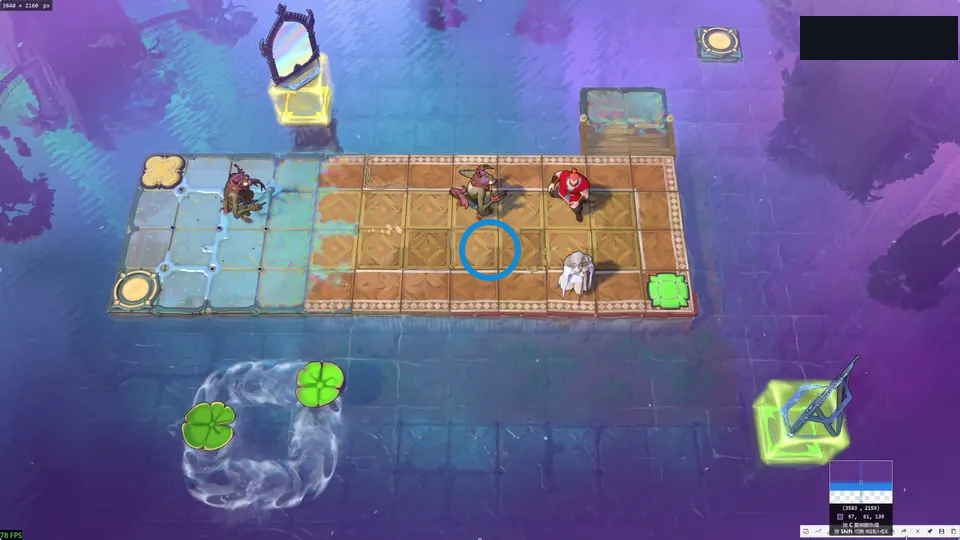
A long orange platform sits above a lower cluster of green crystals and water.
Check: Source-reported: the article warns that the X action can also use a carried relic.
Open full-size image in a new tabPuzzle 22 — pigeonhole_squished
Section titled “Puzzle 22 — pigeonhole_squished”Article cue: part 49. Internal underworld_heroes_and_mirrors set position: 16.
Blue ring identifies a visible board landmark; it is not an action step.
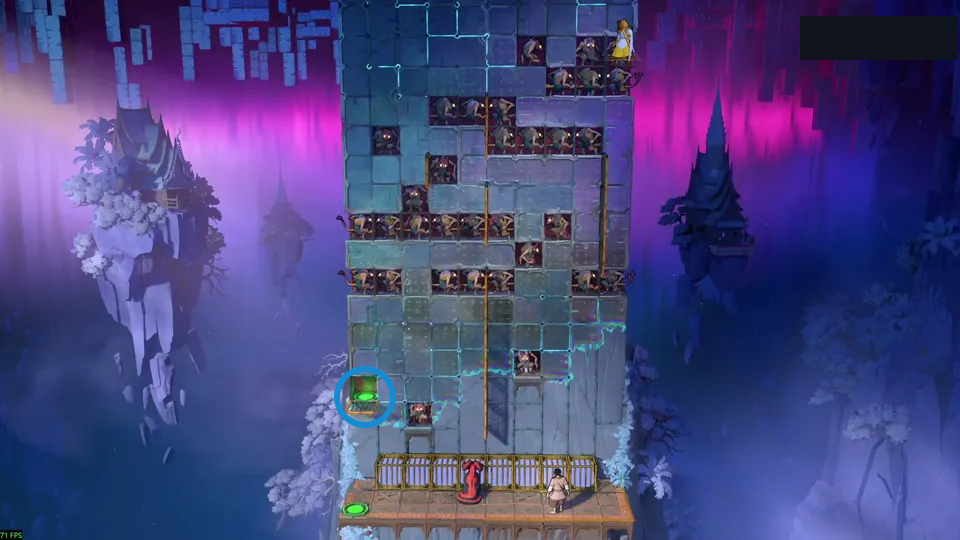
A tall blue-grey tower rises from the water, with a small green button near its base.
Check: Source-reported: the article says the Priestess’s route loops around barriers before dropping.
Open full-size image in a new tabPuzzle 23 — far_cl_no_walls_pit
Section titled “Puzzle 23 — far_cl_no_walls_pit”Article cue: part 49. Internal underworld_heroes_and_mirrors set position: 25.
Blue ring identifies a visible board landmark; it is not an action step.
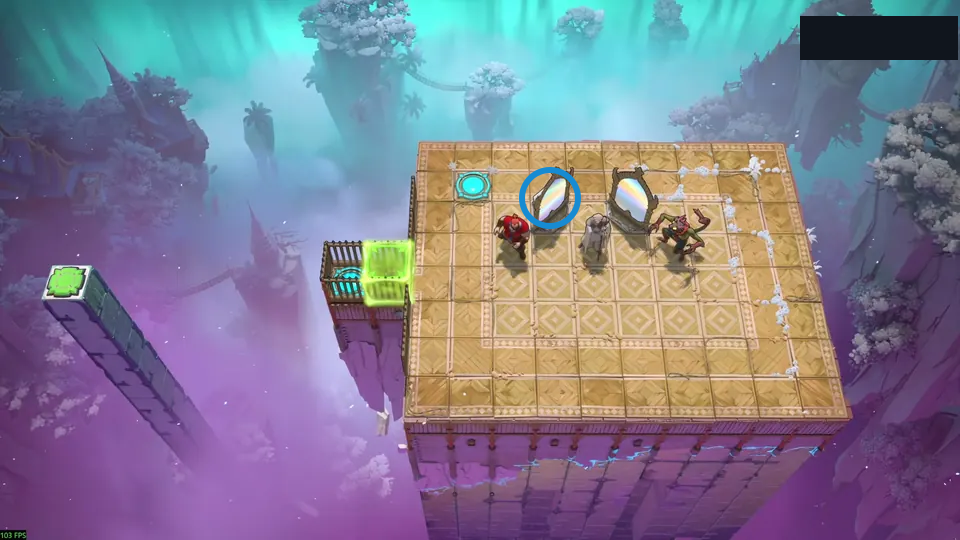
A broad pale platform has two mirrors and a caged Warrior at its left edge.
Check: Source-reported: the article describes using a protected Priestess clone to cross.
Open full-size image in a new tabPuzzle 24 — goblin_hat_v2
Section titled “Puzzle 24 — goblin_hat_v2”Article cue: part 49. Internal underworld_heroes_and_mirrors set position: 15.
Blue ring identifies a visible board landmark; it is not an action step.
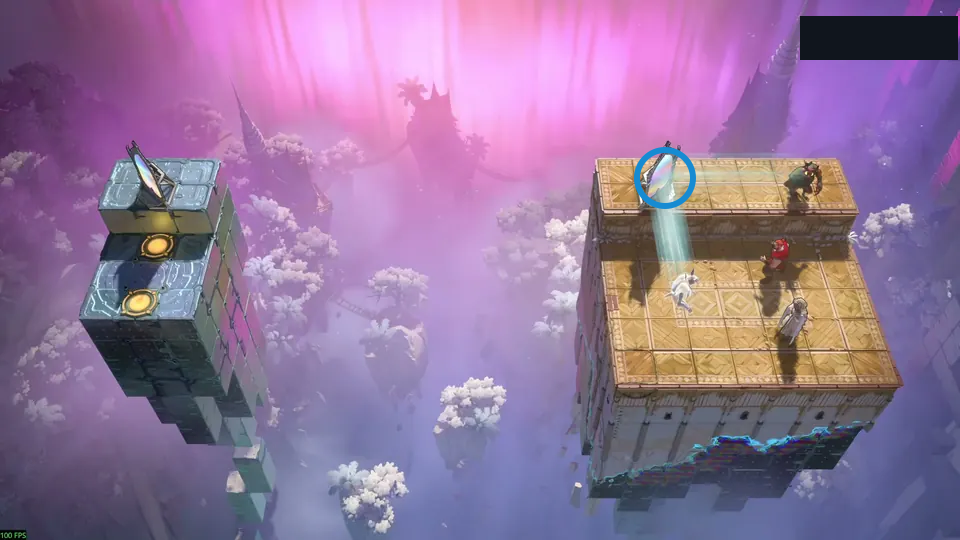
Separate gold-topped towers face each other across a deep gap.
Check: Source-reported: the article describes a mirror and stone transfer between the towers.
Open full-size image in a new tabPuzzle 25 — torus_mirrors
Section titled “Puzzle 25 — torus_mirrors”Two pink blocks and two caged creatures sit among paired mirrors on a stone floor.
Source-reported tip: the article points to the two paired mirrors as the room’s main constraint.
Selected detail of the repeating room view.
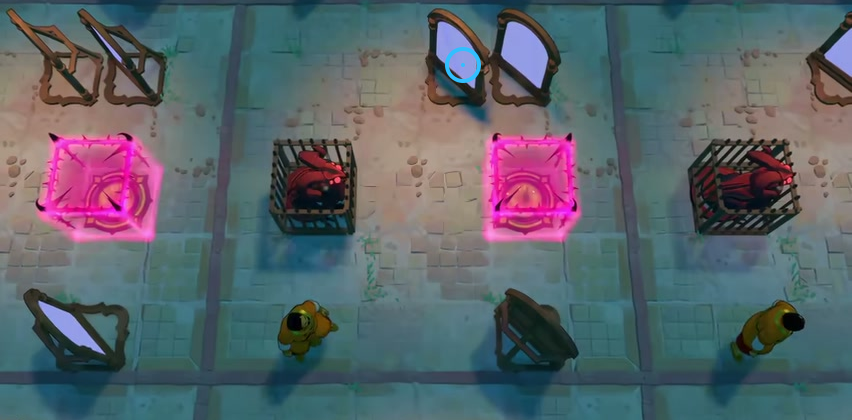
Account for both pairs of mirrors.
Check: Ring marks The left mirror of the upper pair.
Open full-size image in a new tabPuzzle 26 — wrapping_magic_mirror_2
Section titled “Puzzle 26 — wrapping_magic_mirror_2”Article cue: part 49. Internal underworld_mirrors_and_promesst set position: 2.
Blue ring identifies a visible board landmark; it is not an action step.
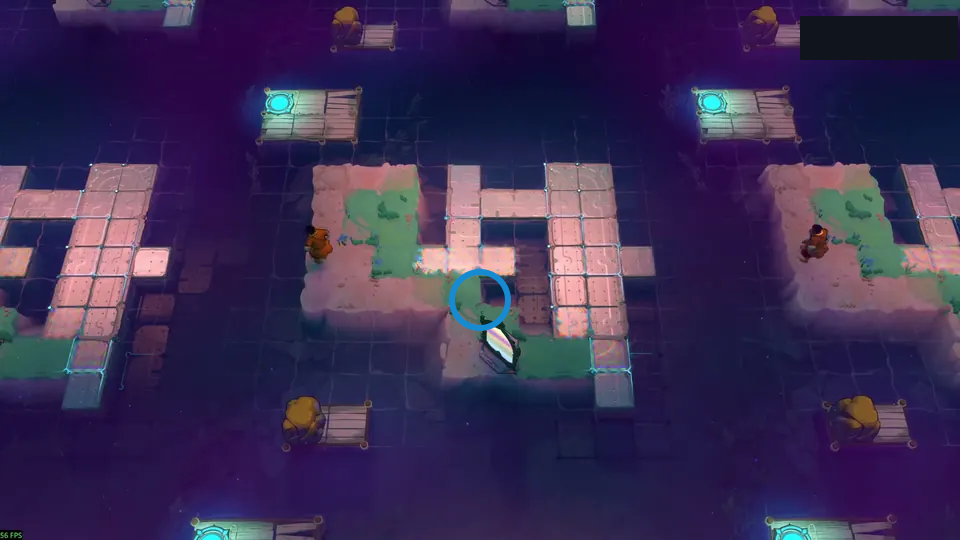
Three grassy and stone islands sit apart over the water, with crystal mirrors between them.
Check: Source-reported: the article says the room wraps around and uses a mirror behind the edge.
Open full-size image in a new tabPuzzle 27 — double_sided_skip
Section titled “Puzzle 27 — double_sided_skip”Article cue: part 49. Internal underworld_mirrors_and_promesst set position: 3.
Blue ring identifies a visible board landmark; it is not an action step.
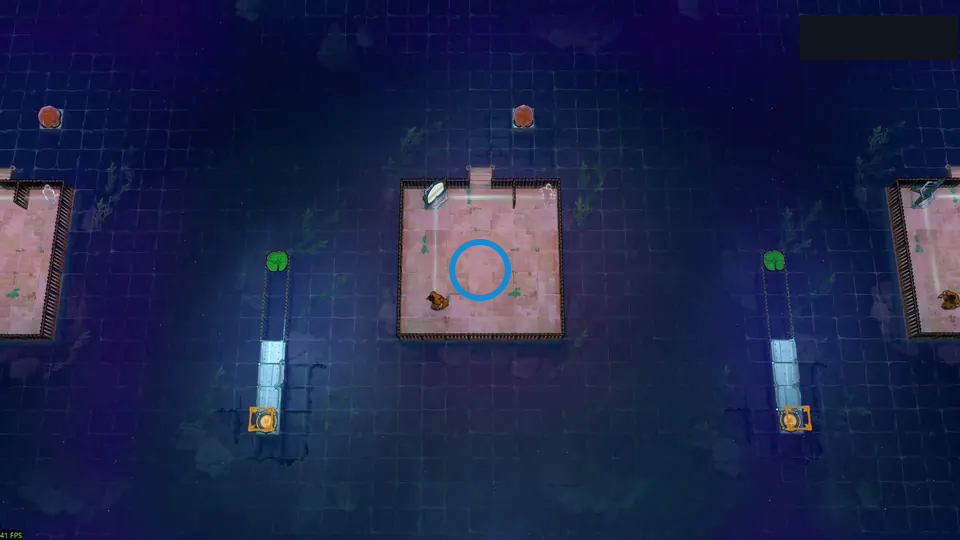
A small square island has a mirror at its upper-left corner, with a lily-pad lane and plate on each side.
Check: Source-reported: the article describes copies meeting at one destination and merging.
Open full-size image in a new tabPuzzle 28 — army_v5
Section titled “Puzzle 28 — army_v5”Article cue: part 49. Internal underworld_heroes_and_mirrors set position: 2.
Blue ring identifies a visible board landmark; it is not an action step.
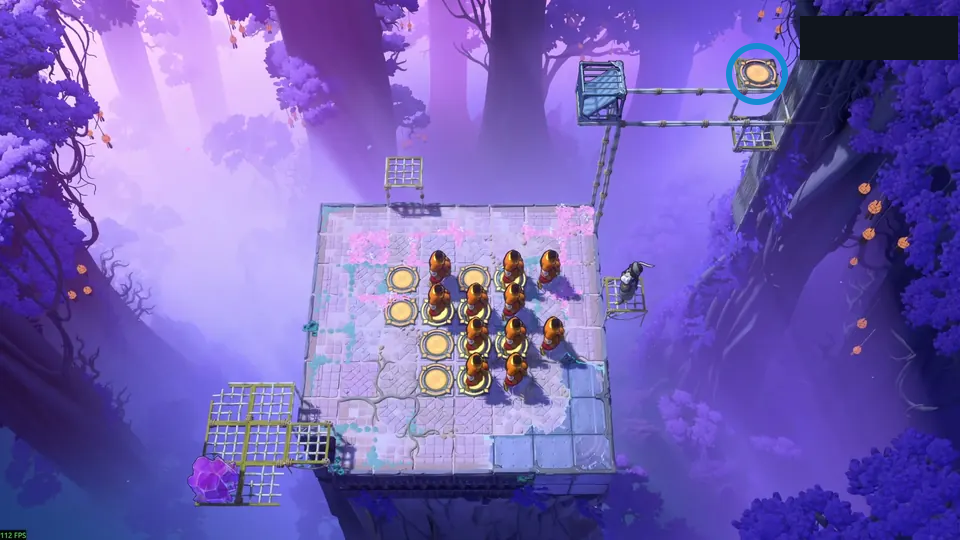
Orange-robed figures stand among yellow plates on a pale square platform.
Check: Source-reported: the article says a crystal first fills the landing hole for the Thief.
Open full-size image in a new tabPuzzle 29 — mega_clone_v2
Section titled “Puzzle 29 — mega_clone_v2”Article cue: part 49. Internal underworld_mirrors_and_promesst set position: 5.
Blue ring identifies a visible board landmark; it is not an action step.
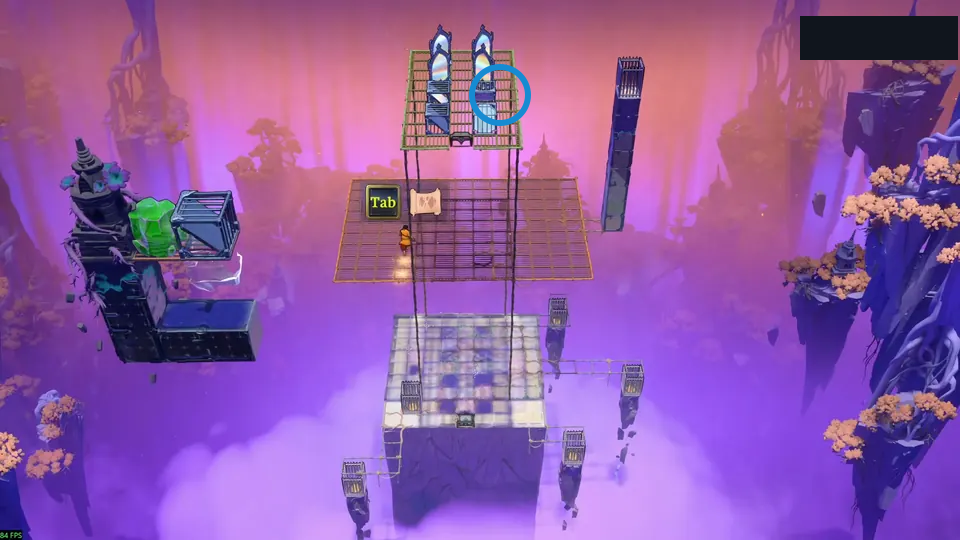
A multi-level grid of platforms rises toward a frame of mirrors at the top.
Check: Source-reported: the article describes one reflection creating six copies toward six exits.
Open full-size image in a new tabPuzzle 30 — mega_merge_v5
Section titled “Puzzle 30 — mega_merge_v5”Article cue: part 49. Internal underworld_mirrors_and_promesst set position: 6.
Blue ring identifies a visible board landmark; it is not an action step.
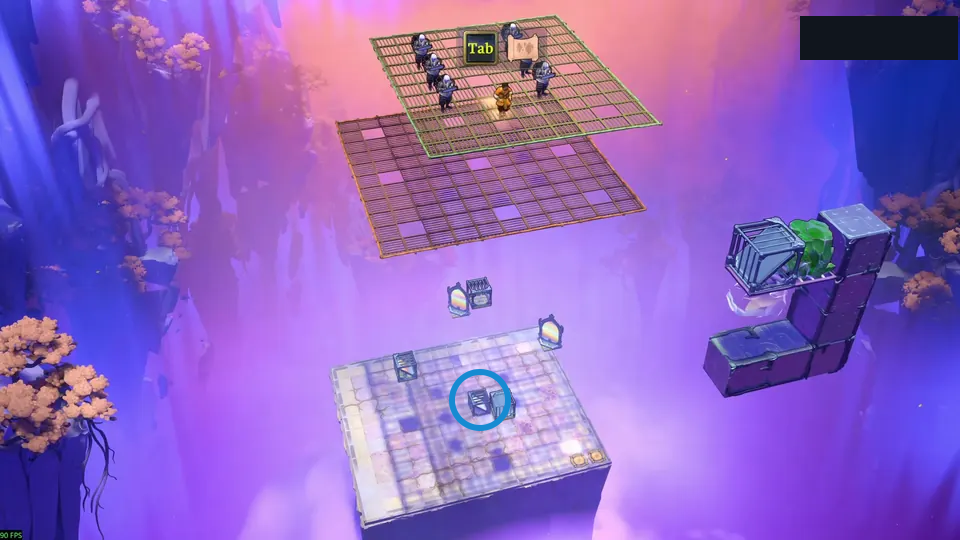
Two separated grid platforms face one another; small mirror pieces mark their edges.
Check: Source-reported: the article describes a multi-part room where board sections connect through reflections.
Open full-size image in a new tabPuzzle 31 — fail_to_mirror_sequence_v2
Section titled “Puzzle 31 — fail_to_mirror_sequence_v2”Article section: Puzzle 31; internal set position: 4.
The ring marks a visible landmark, not an action step.
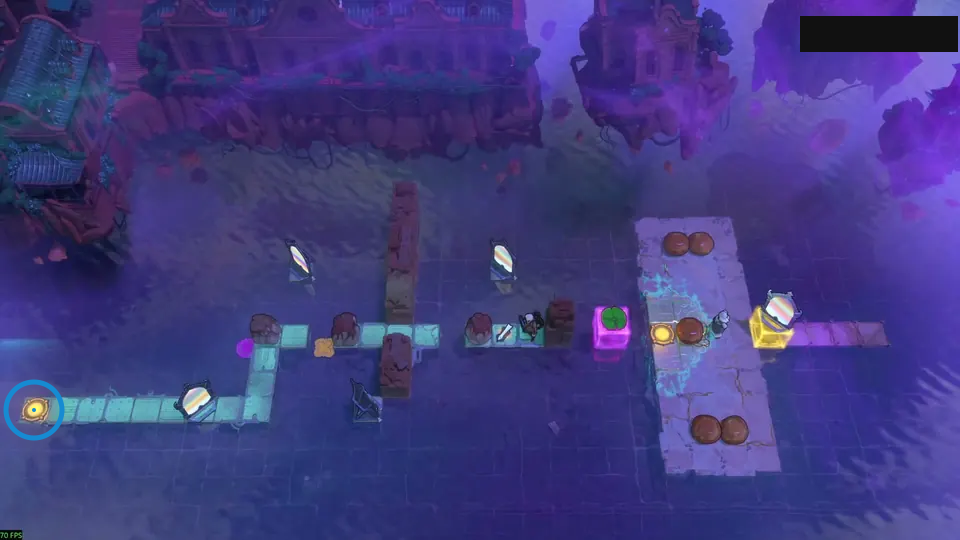
Block your reflection before using the wand.
Check: Ring marks yellow circular pad at the far-left end.
Open full-size image in a new tabPuzzle 32 — 3wcn_purple_goblin
Section titled “Puzzle 32 — 3wcn_purple_goblin”Article cue: part 49. Internal underworld_mirrors_and_promesst set position: 19.
Blue ring identifies a visible board landmark; it is not an action step.
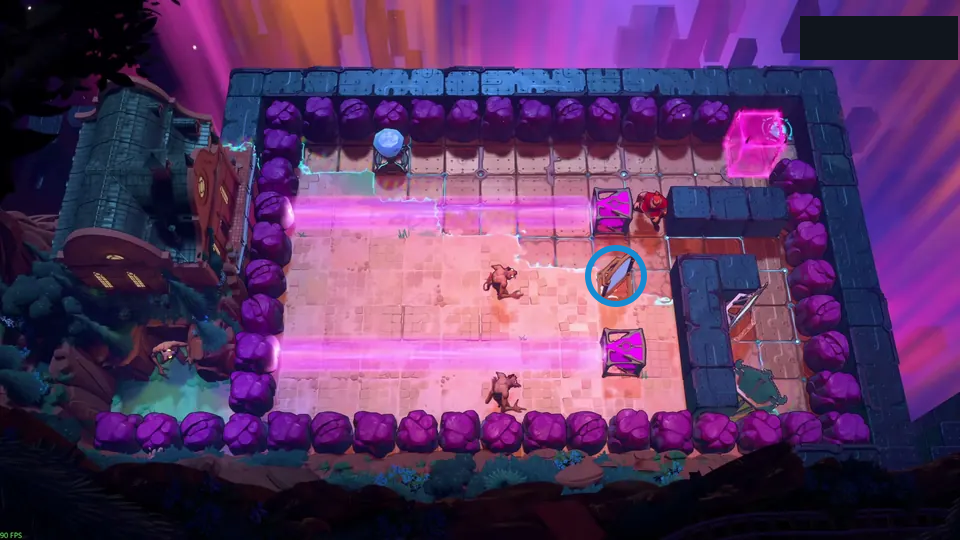
A pink room is ringed by purple hedges, crossed by beams, and dotted with goblins.
Check: Source-reported: the article says the bottom-left goblin prevents a triple kill, so the room uses paired kills and a merge.
Open full-size image in a new tabPuzzle 33 — simultaneous_x
Section titled “Puzzle 33 — simultaneous_x”Article section: Puzzle 33; internal set position: 1.
The ring marks a visible landmark, not an action step.
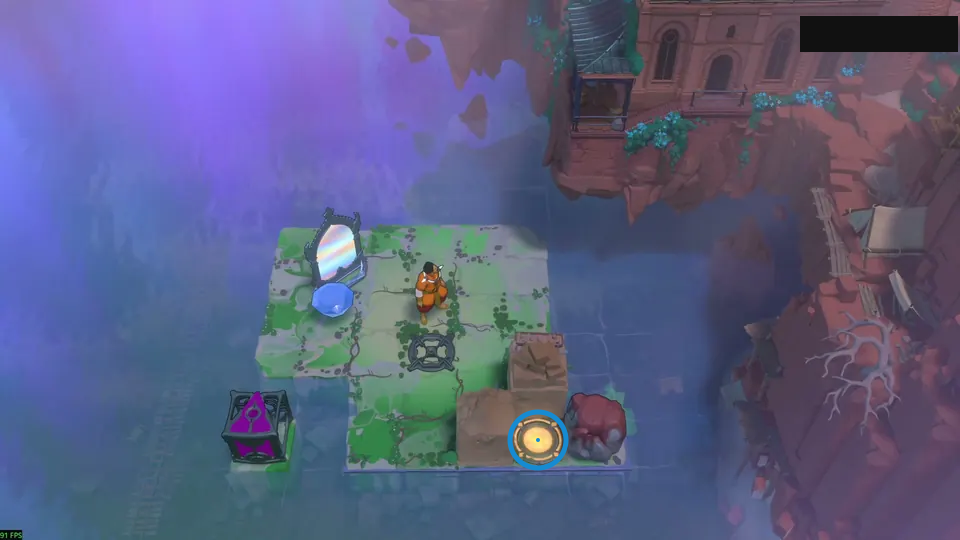
Use the gem as the purple beam’s endpoint.
Check: Ring marks yellow circular pad beside the lower rock.
Open full-size image in a new tabPuzzle 34 — simultaneous_x_surprise
Section titled “Puzzle 34 — simultaneous_x_surprise”Article section: Puzzle 34; internal set position: 2.
The ring marks a visible landmark, not an action step.
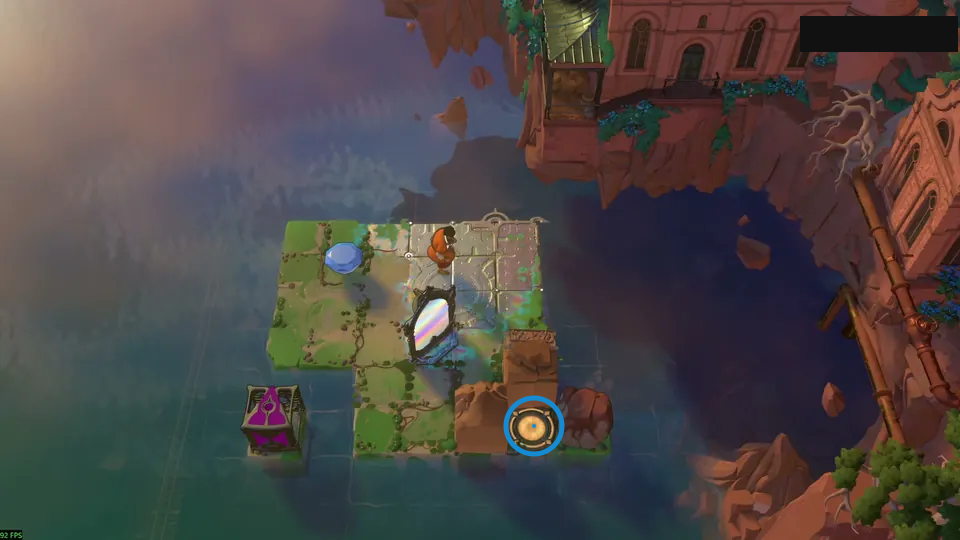
Reflect first, then take the necklace.
Check: Ring marks yellow circular pad beside the lower brown rock.
Open full-size image in a new tabPuzzle 35 — three_artifacts_v3
Section titled “Puzzle 35 — three_artifacts_v3”Article section: Puzzle 35; internal set position: 5.
The ring marks a visible landmark, not an action step.
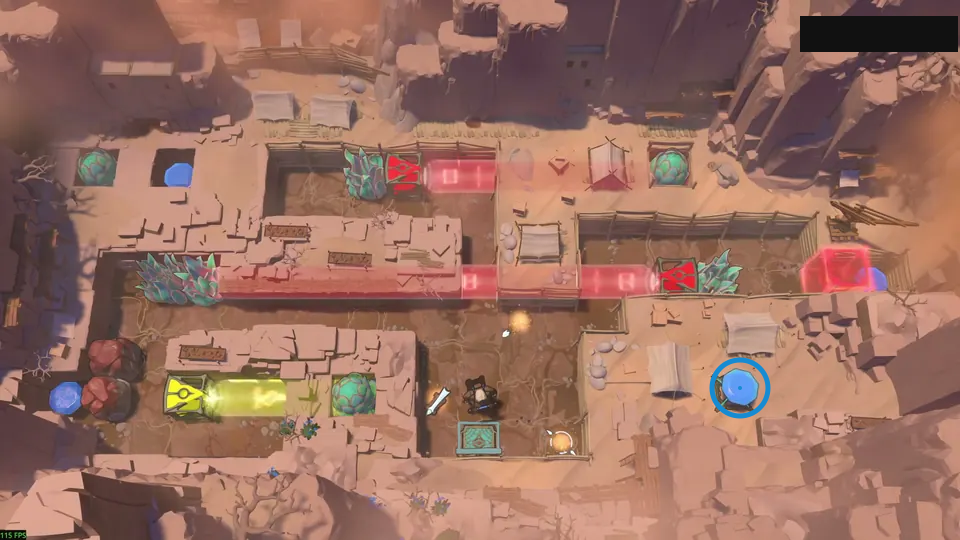
Pick up the wand, necklace and prism in order.
Check: Ring marks blue gem on the lower-right ledge.
Open full-size image in a new tabPuzzle 36 — lazy_susan_v2
Section titled “Puzzle 36 — lazy_susan_v2”Article section: Puzzle 36; internal set position: 3.
The ring marks a visible landmark, not an action step.
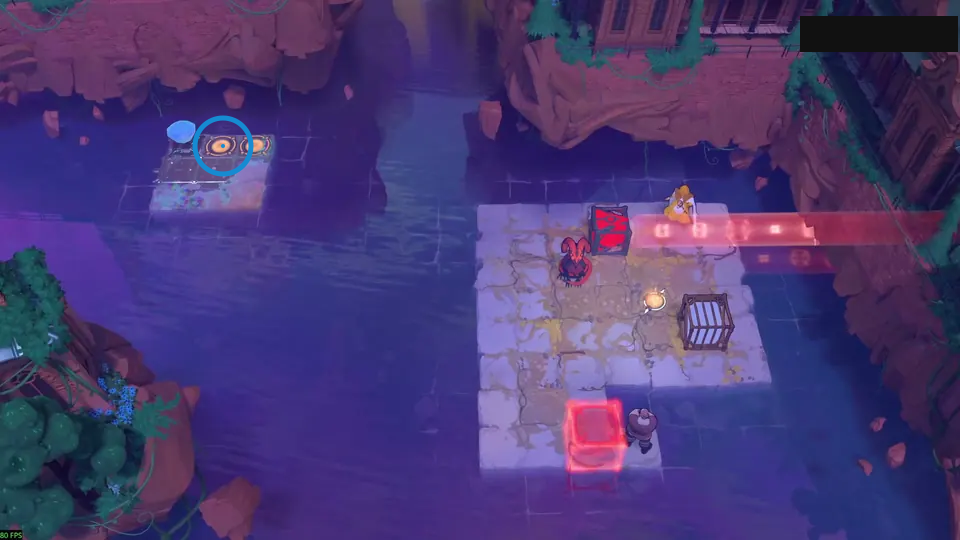
Turn the red emitter to turn the dragon with it.
Check: Ring marks left yellow circular pad on the upper-left landing.
Open full-size image in a new tabPuzzle 37 — magnitudes_v3
Section titled “Puzzle 37 — magnitudes_v3”Article section: Puzzle 37; internal set position: 6.
The ring marks a visible landmark, not an action step.
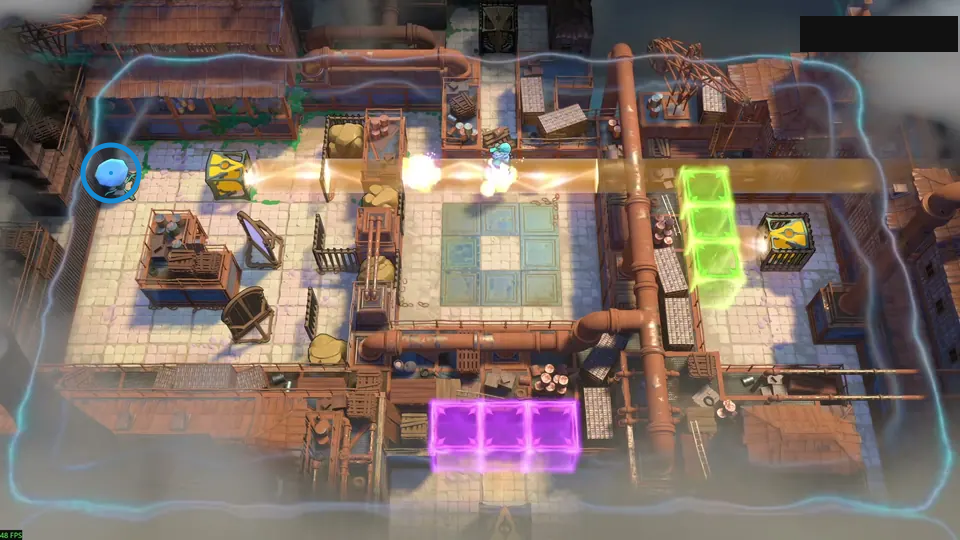
Stack orange beams to multiply each jump.
Check: Ring marks blue gem on the upper-left floor.
Open full-size image in a new tabPuzzle 38 — 3wcn_shm_dragon_lily
Section titled “Puzzle 38 — 3wcn_shm_dragon_lily”Article section: Puzzle 38; internal set position: 1.
The ring marks a visible landmark, not an action step.
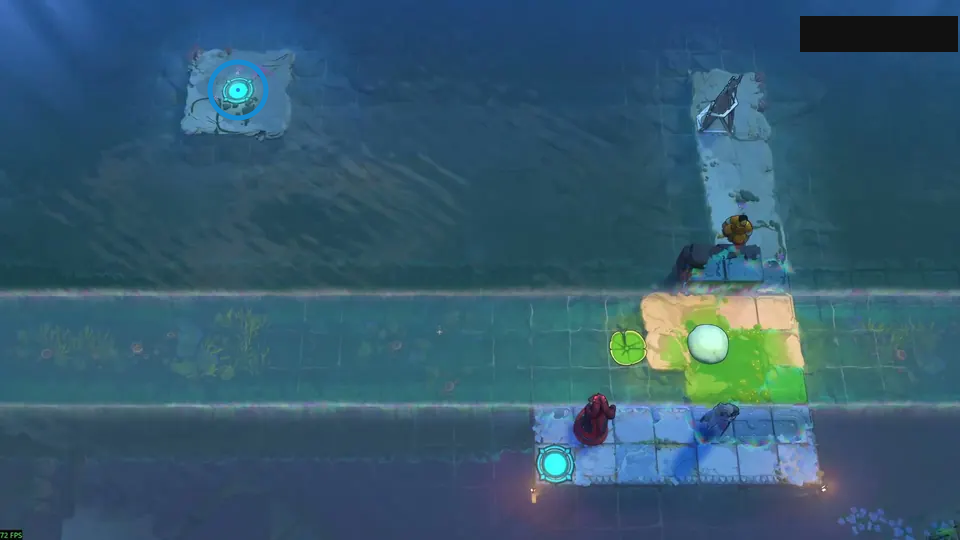
Turn the dragon left with a mirror.
Check: Ring marks cyan circular pad on the upper-left island.
Open full-size image in a new tabSources
Sinking Star Walkthrough, Low Mirrors solutions, updated 2026-10-21. Video credit: 塞德莎, Low Mirrors chapter.
- Full puzzle candidate inventory (PC r67121) — Extracted data
- Sinking Star Walkthrough Low Mirrors solutions — Documentation · walkthrough-updated-2026-10-21
- 塞德莎 Low Mirrors narrated walkthrough, parts 48–50 — Observed in-game · low-mirrors-main-chapter-part-49-2026-10-24
- Low Mirrors candidate crosswalk — Documentation · low-mirrors-candidate-review-2026-10-23+low-beamcasters-cross-source-2026-10-23+low-skipping-stones-cross-source-2026-10-24+selected-video-display-2026-10-24+remaining29-display-upgrades-2026-10-25
- Low Mirrors bilingual selected-layout cards — Extracted data · low-mirrors-selected-layouts-2026-10-23-selected-video-display-2026-10-24
- Remaining approved source/native candidate crosswalk — Extracted data · remaining-source-candidates-2026-10-25-29-video-display-upgrades
- Low Mirrors bilingual selected-layout evidence — Extracted data · remaining-source-layouts-low-mirrors-2026-10-24
- Sinking Star Walkthrough article: low mirrors solutions — Documentation · walkthrough-low-mirrors-solutions
- Twelve room-display and three legacy source-view observations — Observed in-game · twelve-plus-three-video-frame-observations-2026-10-24
- Twelve-plus-three source-display coverage delta — Extracted data · twelve-plus-three-display-coverage-delta-2026-10-24
Unofficial fan wiki, not affiliated with Thekla, Inc. / Arc Games / Gamirror Games. Game content belongs to its owners.
Comments & feedback
Share a tip or suggest a correction. Comments are public. Guest names are unverified; verified accounts show their account username. All language pages share this discussion. Please keep personal information private.