
 Order of the Sinking Star
Workshop layouts

Compare the controls, rooms and objects as the walkthrough explores puzzle-design revisions. The hints summarize its visible design notes.
Keep the central idea
Section titled “Keep the central idea”Remove puzzles that stray from the main idea.
The ring marks a visible feature in this selected view.
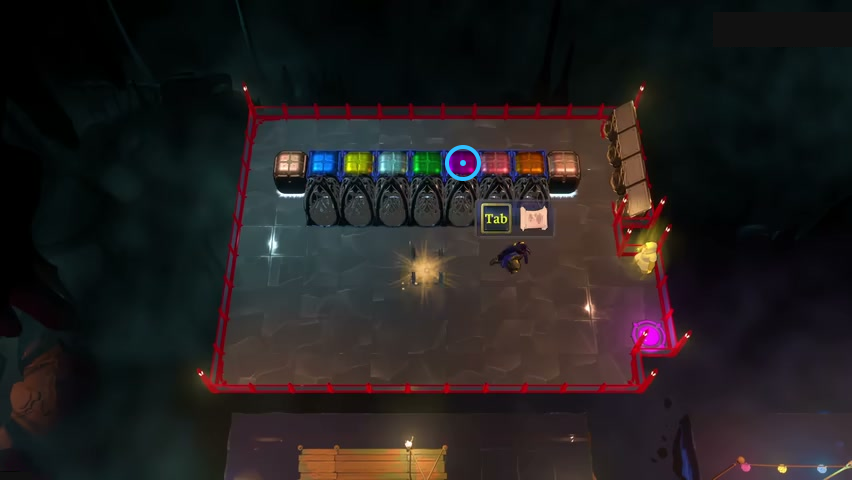
Find the purple choice in the upper row.
Check: The blue ring marks the purple choice in the upper row.
Open full-size image in a new tabClear visual clutter
Section titled “Clear visual clutter”Clear visual clutter while preserving the puzzle’s barriers.
The ring marks a visible feature in this selected view.
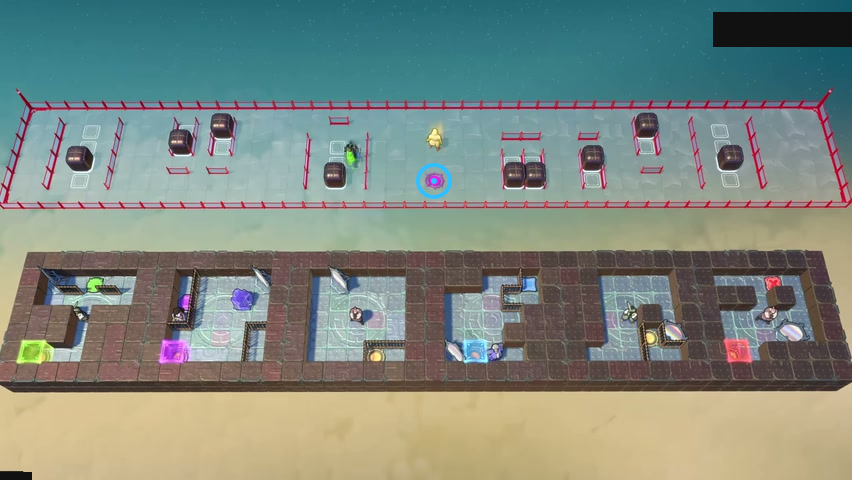
Find the pink exit below the golden designer.
Check: The blue ring marks the pink exit below the golden designer.
Open full-size image in a new tabColor puzzle objects
Section titled “Color puzzle objects”Adjust the stones’ materials and colors, then compare them with the green beam.
The ring marks a visible feature in this selected view.
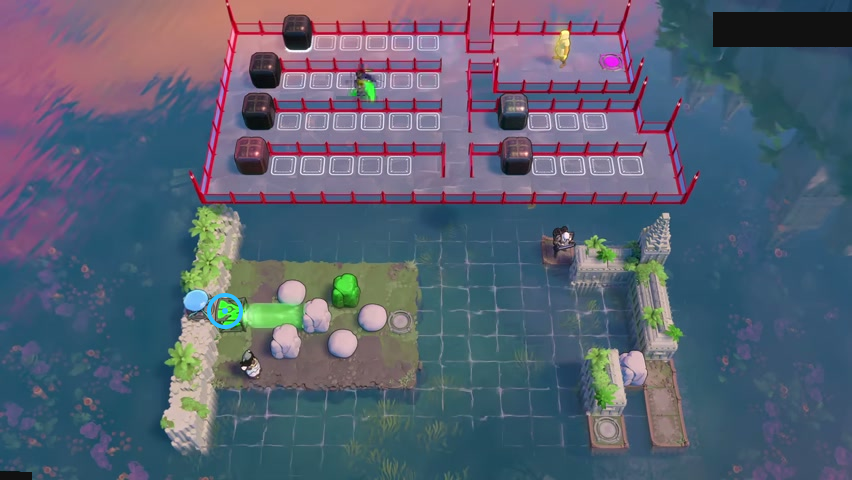
Find the green beamcaster beside the stones.
Check: The blue ring marks the green beamcaster beside the stones.
Open full-size image in a new tabAdd readable scenery
Section titled “Add readable scenery”Add scenery while keeping the puzzle easy to read.
The ring marks a visible feature in this selected view.
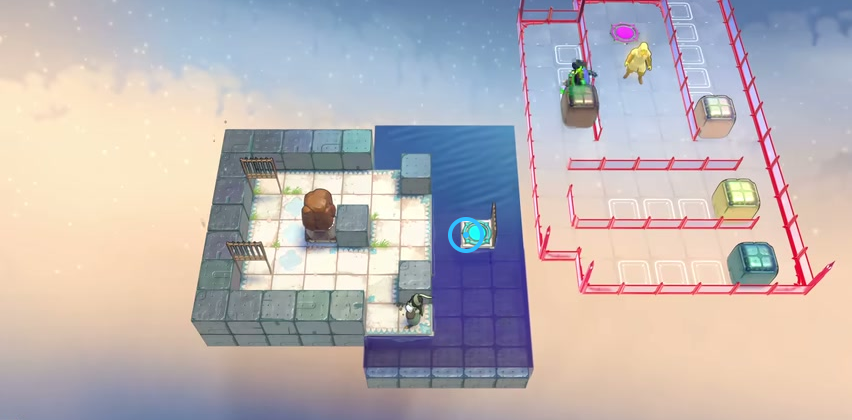
Find the cyan exit beside the left puzzle.
Check: The blue ring marks the cyan exit beside the left puzzle.
Open full-size image in a new tabStart with empty rooms
Section titled “Start with empty rooms”Start with empty rooms, then pair each hero with a mirror.
The ring marks a visible feature in this selected view.
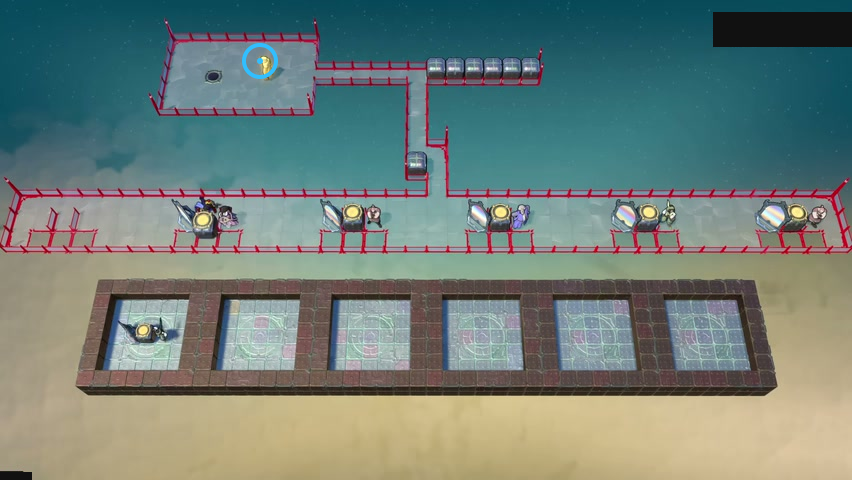
Find the golden designer at the left end of the upper control strip.
Check: The blue ring marks the golden designer at the left end of the upper control strip.
Open full-size image in a new tabReorder linked rooms
Section titled “Reorder linked rooms”Track how the colored blocks change the order of the rooms below.
The ring marks a visible feature in this selected view.
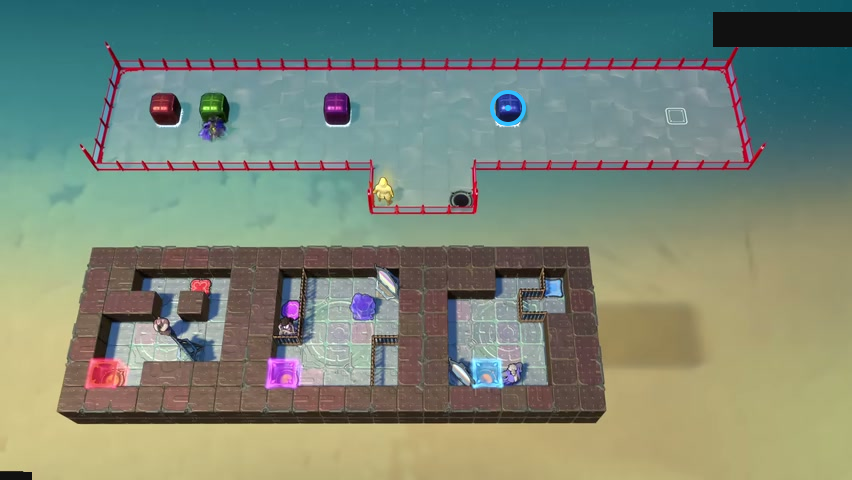
Find the blue block on the upper control strip.
Check: The blue ring marks the blue block on the upper control strip.
Open full-size image in a new tabOrder the skipping rooms
Section titled “Order the skipping rooms”Use every block and check the room order.
The ring marks a visible feature in this selected view.
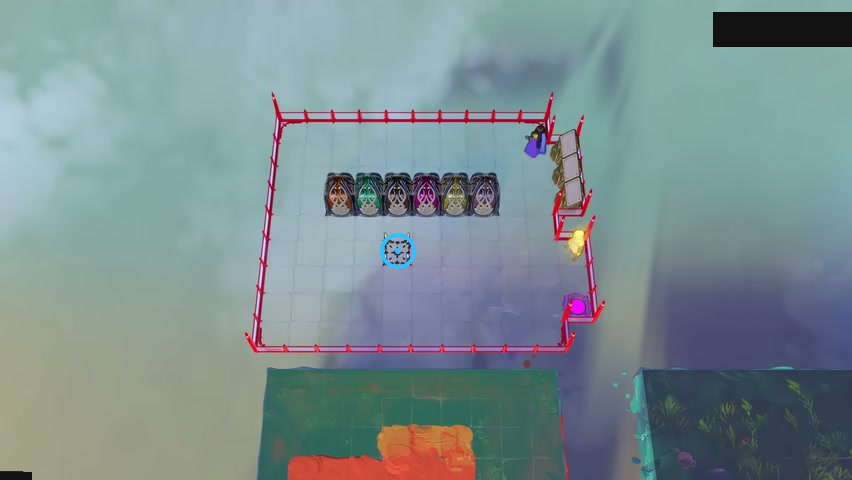
Find the four-pronged tile below the six colored choices.
Check: The blue ring marks the four-pronged tile below the six colored choices.
Open full-size image in a new tabA mirror-room progression
Section titled “A mirror-room progression”Try each room, then arrange a progression around one idea.
The ring marks a visible feature in this selected view.
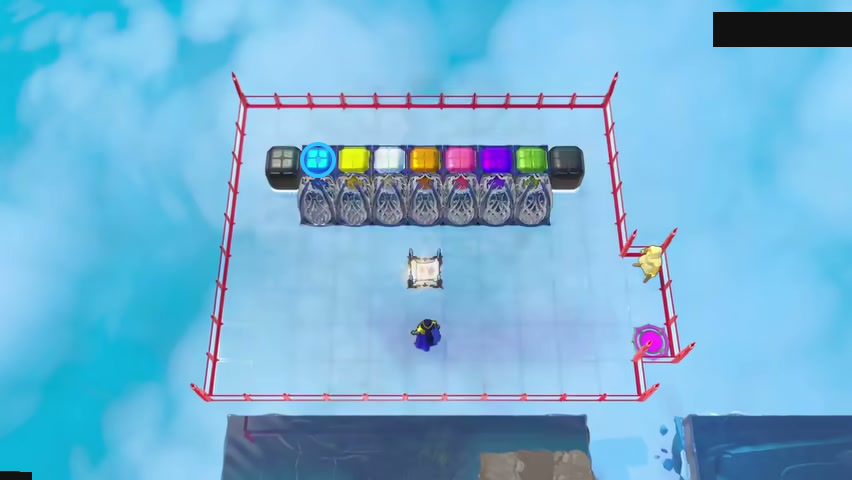
Find the blue choice in the upper row.
Check: The blue ring marks the blue choice in the upper row.
Open full-size image in a new tabA hero-room progression
Section titled “A hero-room progression”Watch how the line of thought changes in the middle of the sequence.
The ring marks a visible feature in this selected view.
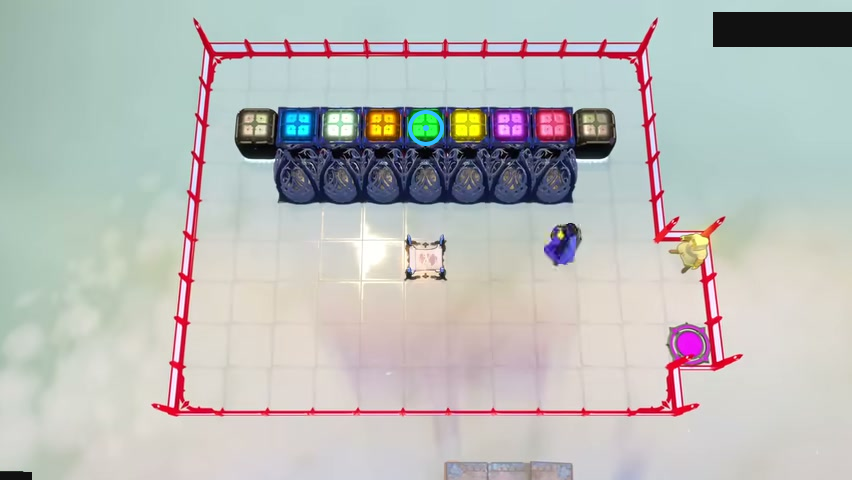
Find the green choice in the upper row.
Check: The blue ring marks the green choice in the upper row.
Open full-size image in a new tabReorder the mirror rooms
Section titled “Reorder the mirror rooms”Try all the rooms before changing their order.
The ring marks a visible feature in this selected view.
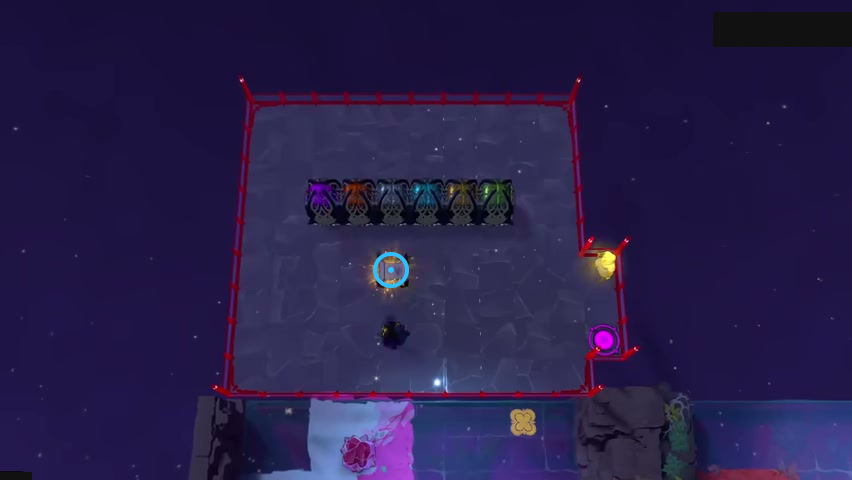
Find the four-pronged tile below the six choices.
Check: The blue ring marks the four-pronged tile below the six choices.
Open full-size image in a new tabReadable finished scenery
Section titled “Readable finished scenery”Keep background decoration distinct from playable areas.
The ring marks a visible feature in this selected view.
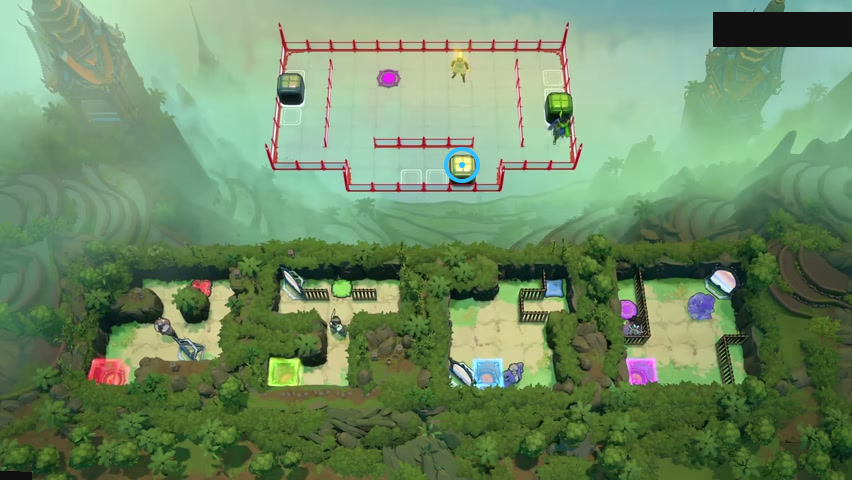
Find the yellow block in the lower control row.
Check: The blue ring marks the yellow block in the lower control row.
Open full-size image in a new tabUse the upper island
Section titled “Use the upper island”Choose a mirror position that makes use of the upper island’s shape.
The ring marks a visible feature in this selected view.
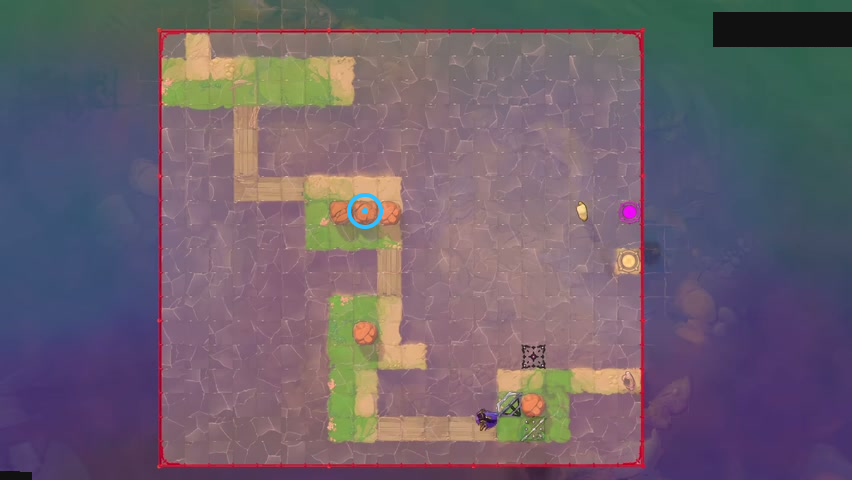
Find the middle orange stone in the central row.
Check: The blue ring marks the middle orange stone in the central row.
Open full-size image in a new tabSimplify the island
Section titled “Simplify the island”Simplify the island while preserving the original puzzle idea.
The ring marks a visible feature in this selected view.
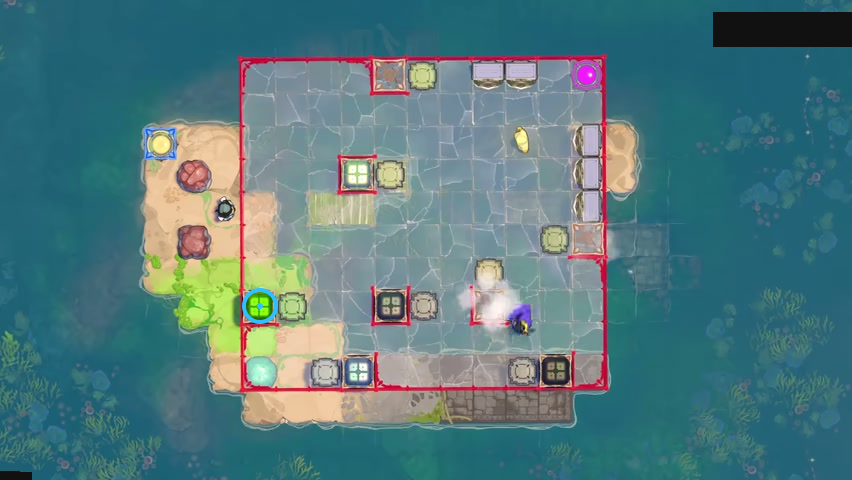
Find the green block in the lower-left control pocket.
Check: The blue ring marks the green block in the lower-left control pocket.
Open full-size image in a new tabPlace the purple emitter
Section titled “Place the purple emitter”Avoid a placement that makes the puzzle trivial.
The ring marks a visible feature in this selected view.
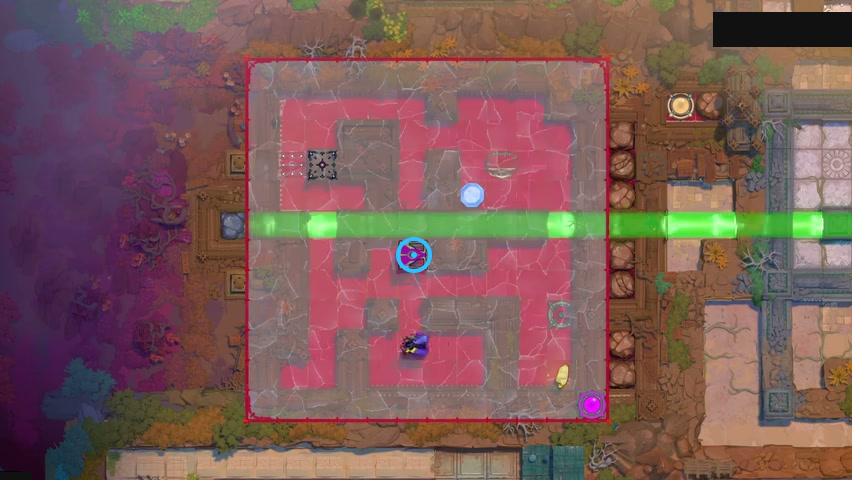
Find the purple beamcaster below the green beam.
Check: The blue ring marks the purple beamcaster below the green beam.
Open full-size image in a new tabUse the courtyard loop
Section titled “Use the courtyard loop”Keep the courtyard loop relevant when placing the crystal.
The ring marks a visible feature in this selected view.
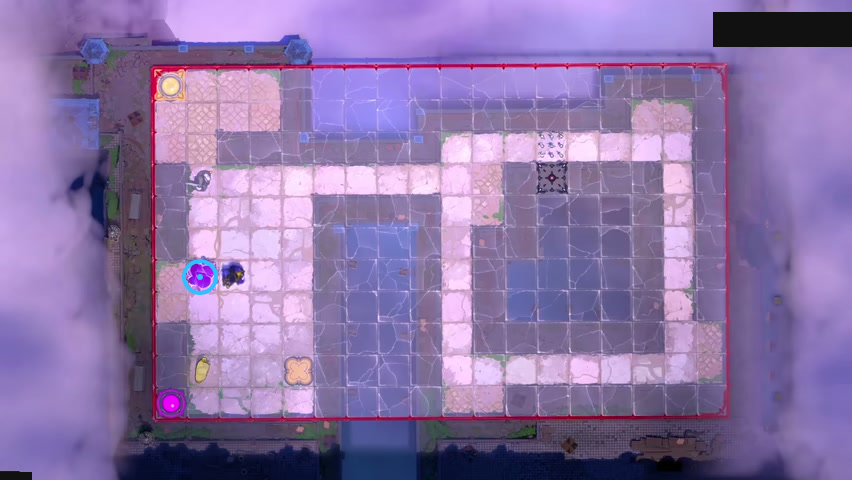
Find the purple crystal on the left terrace.
Check: The blue ring marks the purple crystal on the left terrace.
Open full-size image in a new tabRead the inner water channels
Section titled “Read the inner water channels”Compare the skipping stone’s starting point with the island’s inner water channels.
The ring marks a visible feature in this selected view.
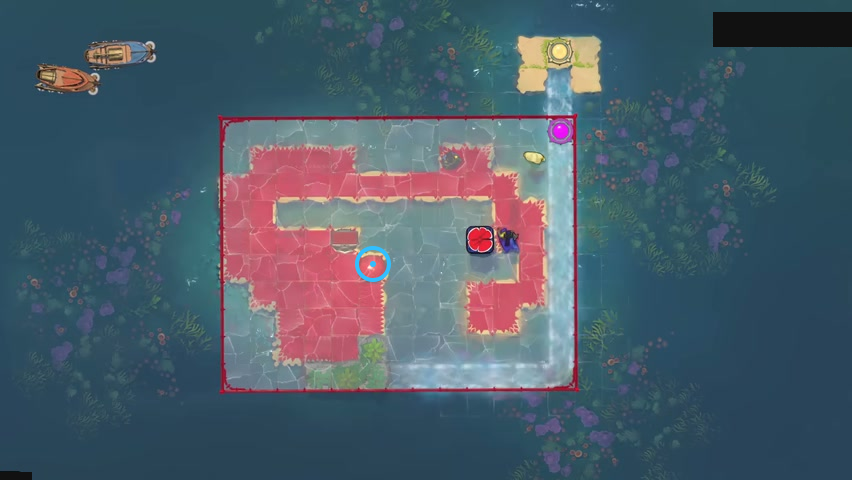
Find the red skipping stone inside the island.
Check: The blue ring marks the red skipping stone inside the island.
Open full-size image in a new tabCheck the bridge ends
Section titled “Check the bridge ends”Compare the bridge ends on both sides of the current.
The ring marks a visible feature in this selected view.
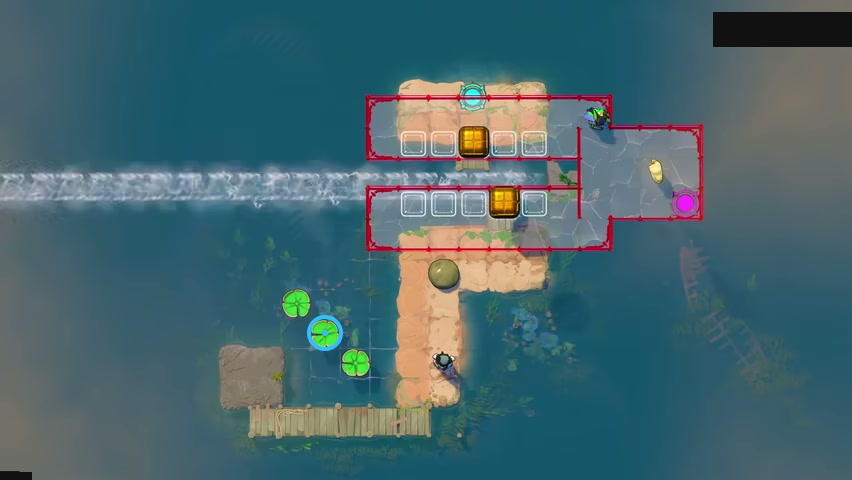
Find the middle lily pad in the diagonal row.
Check: The blue ring marks the middle lily pad in the diagonal row.
Open full-size image in a new tabBeat the skipping stone
Section titled “Beat the skipping stone”Place the exit so teleporting can beat the skipping stone.
The ring marks a visible feature in this selected view.
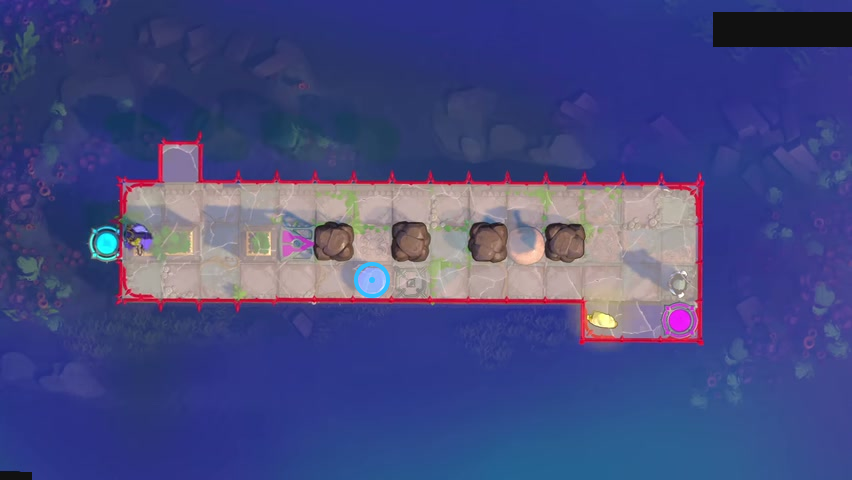
Find the blue gem on the narrow pier.
Check: The blue ring marks the blue gem on the narrow pier.
Open full-size image in a new tabOne-way passages
Section titled “One-way passages”Arrange the beams so rooms can be crossed in only one direction.
The ring marks a visible feature in this selected view.
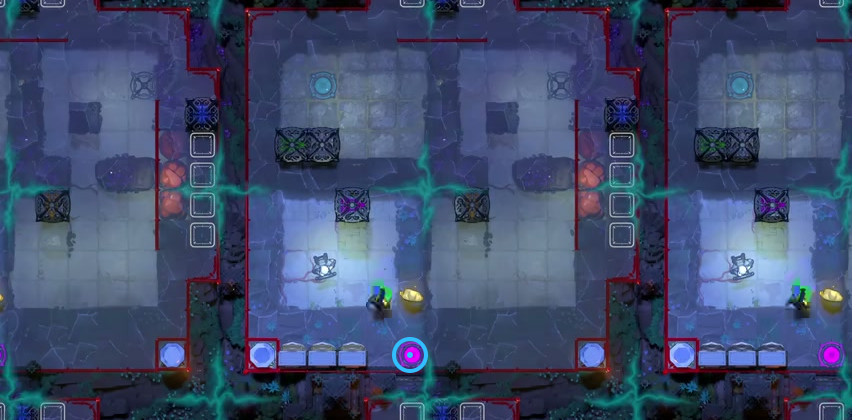
Find the pink exit below the central control room.
Check: The blue ring marks the pink exit below the central control room.
Open full-size image in a new tabChoose useful beam colors
Section titled “Choose useful beam colors”Choose colors that make each emitter useful.
The ring marks a visible feature in this selected view.
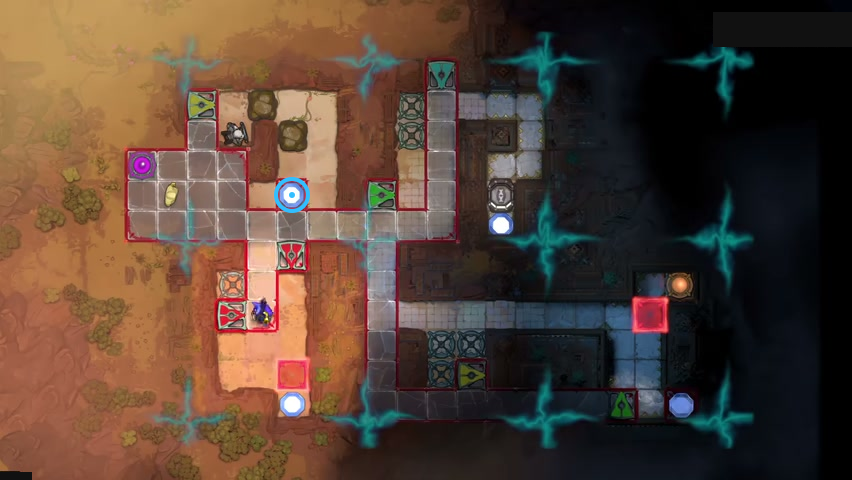
Find the blue gem activator in the left control area.
Check: The blue ring marks the blue gem activator in the left control area.
Open full-size image in a new tabFind unused emitters
Section titled “Find unused emitters”Check which emitters are unused or used only once.
The ring marks a visible feature in this selected view.
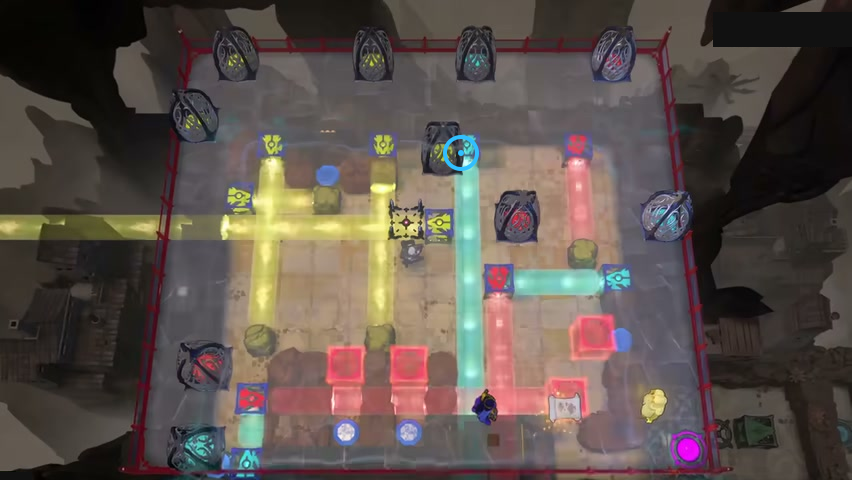
Find the cyan beamcaster above the central vertical cyan beam.
Check: The blue ring marks the cyan beamcaster above the central vertical cyan beam.
Open full-size image in a new tabRemove repeated rooms
Section titled “Remove repeated rooms”Remove repeated rooms so the remaining rooms each add something.
The ring marks a visible feature in this selected view.
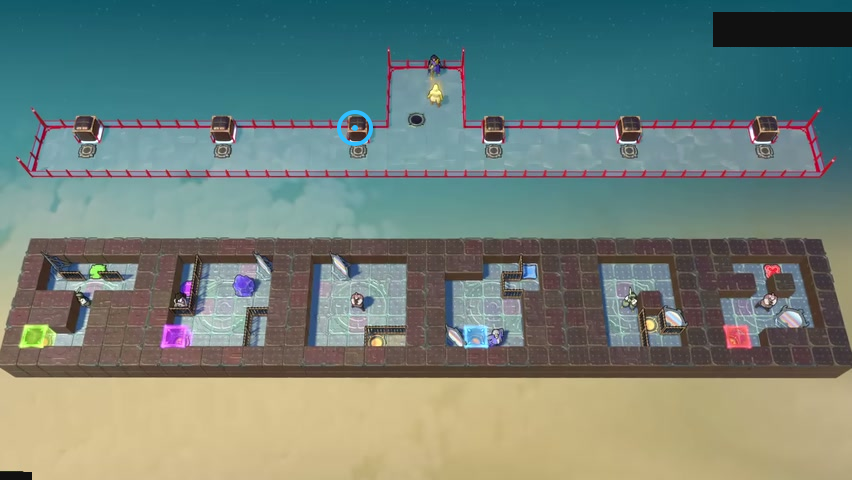
Find the third dark control block from the left.
Check: The blue ring marks the third dark control block from the left.
Open full-size image in a new tabVideo source
Selected frames come from 塞德莎’s Bilibili puzzle-design workshop walkthrough, parts 62–68.
- Full puzzle candidate inventory (PC r67121) — Extracted data
- Selected walkthrough and puzzle-design workshop frame observations — Observed in-game · current-development-layout-observations-2026-10-25
- Current development-layout identity and display delta — Extracted data · current-development-layout-display-delta-2026-10-25
- Workshop selected layouts — Extracted data · workshop-layouts-selected-layouts-2026-10-25-next15-endgame3
- 塞德莎 puzzle-design workshop walkthrough, playlist part 66 — Observed in-game · playlist-part-66-cid-42829088582-2026-10-25
- 塞德莎 puzzle-design workshop walkthrough, playlist part 67 — Observed in-game · playlist-part-67-cid-42836231934-2026-10-25
- 塞德莎 puzzle-design workshop walkthrough, playlist part 68 — Observed in-game · playlist-part-68-cid-42838330330-2026-10-25
- Endgame3 selected walkthrough/workshop frame observations — Observed in-game · remaining-endgame3-workshop-observations-2026-10-25
- Endgame3 workshop current identity and display delta — Extracted data · remaining-endgame3-workshop-display-delta-2026-10-25
- 塞德莎 walkthrough playlist part 62 — Observed in-game · playlist-part-62-cid-42816176893-2026-10-25
- 塞德莎 walkthrough playlist part 63 — Observed in-game · playlist-part-63-cid-42819585554-2026-10-25
- 塞德莎 walkthrough playlist part 64 — Observed in-game · playlist-part-64-cid-42825025598-2026-10-25
- 塞德莎 walkthrough playlist part 65 — Observed in-game · playlist-part-65-cid-42827449995-2026-10-25
Unofficial fan wiki, not affiliated with Thekla, Inc. / Arc Games / Gamirror Games. Game content belongs to its owners.
Comments & feedback
Share a tip or suggest a correction. Comments are public. Guest names are unverified; verified accounts show their account username. All language pages share this discussion. Please keep personal information private.